Auto set-up
Auto
•Horizontal and vertical position
•Sampling clock
•Phase
•Chooses between available video formats and NTSC/PAL auto detection
Source
You can connect four different sources to the projector; one computer source, two video sources and one TV tuner (optional).
You select the source you want to use by click- ing on the icon representing the source. Use the
Set-up menu
In this menu you set up the projector with settings that will not be changed often, e.g. language, mouse system or picture orientation.
Control panel
In this menu you can make adjustments for picture and sound.
Removing the main menu
To remove the menu system, press the MENU key on the Remote control. You can also remove the menu by clicking the right mouse button (on the top of the remote control). The right mouse button will also function as cancel when in the menus.
The menu will disappear in 40 seconds.
Product information
Click on the product information icon for information about the product and support.
Press the main menu button again to exit this screen.
7.2 Set-up menu
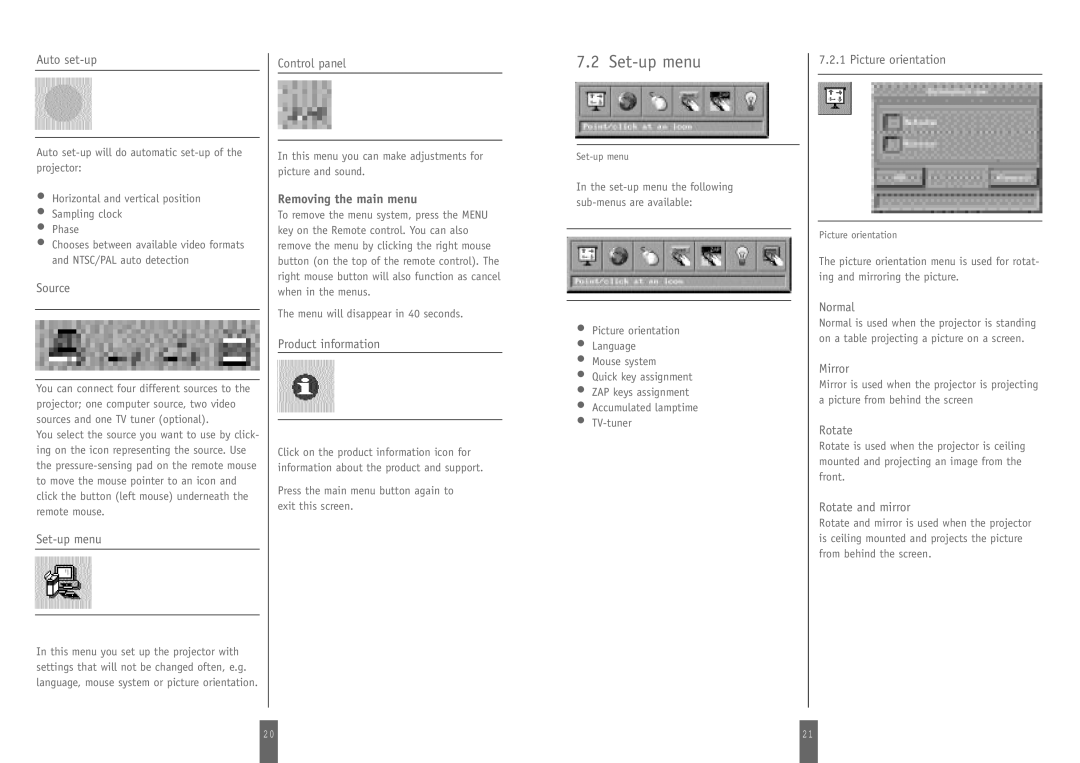
In the
•Picture orientation
•Language
•Mouse system
•Quick key assignment
•ZAP keys assignment
•Accumulated lamptime
•
7.2.1 Picture orientation
Picture orientation
The picture orientation menu is used for rotat- ing and mirroring the picture.
Normal
Normal is used when the projector is standing on a table projecting a picture on a screen.
Mirror
Mirror is used when the projector is projecting a picture from behind the screen
Rotate
Rotate is used when the projector is ceiling mounted and projecting an image from the front.
Rotate and mirror
Rotate and mirror is used when the projector is ceiling mounted and projects the picture from behind the screen.
2 0 |
| 21 |
|
|
|
