SYSTEM ALIGNMENT
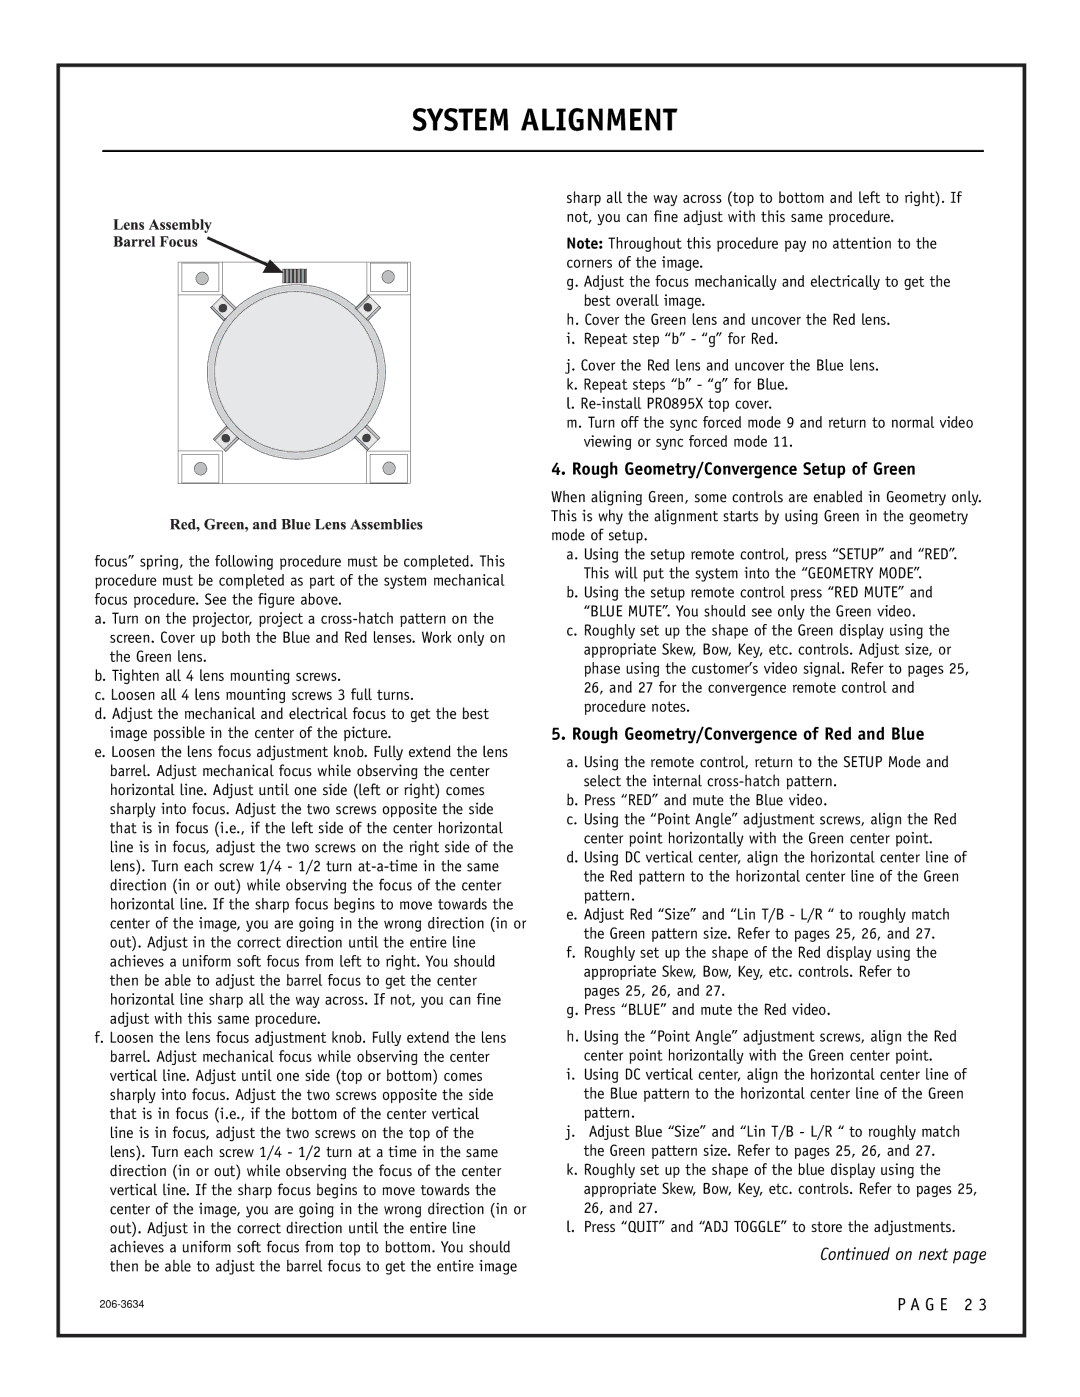
focus” spring, the following procedure must be completed. This procedure must be completed as part of the system mechanical focus procedure. See the figure above.
a. Turn on the projector, project a
b. Tighten all 4 lens mounting screws.
c. Loosen all 4 lens mounting screws 3 full turns.
d. Adjust the mechanical and electrical focus to get the best image possible in the center of the picture.
e. Loosen the lens focus adjustment knob. Fully extend the lens barrel. Adjust mechanical focus while observing the center horizontal line. Adjust until one side (left or right) comes sharply into focus. Adjust the two screws opposite the side that is in focus (i.e., if the left side of the center horizontal line is in focus, adjust the two screws on the right side of the lens). Turn each screw 1/4 - 1/2 turn
f. Loosen the lens focus adjustment knob. Fully extend the lens barrel. Adjust mechanical focus while observing the center vertical line. Adjust until one side (top or bottom) comes sharply into focus. Adjust the two screws opposite the side that is in focus (i.e., if the bottom of the center vertical line is in focus, adjust the two screws on the top of the lens). Turn each screw 1/4 - 1/2 turn at a time in the same direction (in or out) while observing the focus of the center vertical line. If the sharp focus begins to move towards the center of the image, you are going in the wrong direction (in or out). Adjust in the correct direction until the entire line achieves a uniform soft focus from top to bottom. You should then be able to adjust the barrel focus to get the entire image
sharp all the way across (top to bottom and left to right). If not, you can fine adjust with this same procedure.
Note: Throughout this procedure pay no attention to the corners of the image.
g. Adjust the focus mechanically and electrically to get the best overall image.
h. Cover the Green lens and uncover the Red lens.
i.Repeat step “b” - “g” for Red.
j.Cover the Red lens and uncover the Blue lens.
k.Repeat steps “b” - “g” for Blue.
l.
m.Turn off the sync forced mode 9 and return to normal video viewing or sync forced mode 11.
4. Rough Geometry/Convergence Setup of Green
When aligning Green, some controls are enabled in Geometry only. This is why the alignment starts by using Green in the geometry mode of setup.
a. Using the setup remote control, press “SETUP” and “RED”. This will put the system into the “GEOMETRY MODE”.
b. Using the setup remote control press “RED MUTE” and
“BLUE MUTE”. You should see only the Green video.
c. Roughly set up the shape of the Green display using the appropriate Skew, Bow, Key, etc. controls. Adjust size, or phase using the customer’s video signal. Refer to pages 25, 26, and 27 for the convergence remote control and procedure notes.
5.Rough Geometry/Convergence of Red and Blue
a.Using the remote control, return to the SETUP Mode and select the internal
b.Press “RED” and mute the Blue video.
c.Using the “Point Angle” adjustment screws, align the Red center point horizontally with the Green center point.
d.Using DC vertical center, align the horizontal center line of the Red pattern to the horizontal center line of the Green pattern.
e.Adjust Red “Size” and “Lin T/B - L/R “ to roughly match the Green pattern size. Refer to pages 25, 26, and 27.
f.Roughly set up the shape of the Red display using the appropriate Skew, Bow, Key, etc. controls. Refer to pages 25, 26, and 27.
g.Press “BLUE” and mute the Red video.
h.Using the “Point Angle” adjustment screws, align the Red center point horizontally with the Green center point.
i.Using DC vertical center, align the horizontal center line of the Blue pattern to the horizontal center line of the Green pattern.
j.Adjust Blue “Size” and “Lin T/B - L/R “ to roughly match the Green pattern size. Refer to pages 25, 26, and 27.
k.Roughly set up the shape of the blue display using the appropriate Skew, Bow, Key, etc. controls. Refer to pages 25, 26, and 27.
l.Press “QUIT” and “ADJ TOGGLE” to store the adjustments.
Continued on next page
P A G E 2 3 |