PHYSICAL SETUP
EXAMPLES OF DISPLAY SETUP DISTANCES AND CENTER POINTS
| “A”* | “B” |
|
Screen | Projection | Display | “Peerless” |
Width | Distance | Center | Mount Center |
48” | 58 5/8” | 26 3/8” | 11” |
60” | 72 7/8” | 30 3/4” | 11” |
80” | 96 3/8” | 38” | 11” |
96” | 115 1/4” | 43 5/8” | 11” |
120” | 143 1/2” | 52 3/8” | 11” |
144” | 171 7/8” | 61” | 11” |
160” | 190 5/8” | 66 3/4” | 11” |
200” | 237 7/8” | 81 1/8” | 11” |
PHYSICAL SETUP TO THE SCREEN (for all aspect ratios)
1.Set distance “A” according to the selected display width (* or calculate the distance in inches “A” = 1.179 x width) +2.063
Note: Distance “A” is measured from the cabinet panel front directly below the green CRT lens.
2.Calculate the Display Center “B” from a reference line projected from the bottom of the cabinet. Display Center “B” = A x 0.3057) + 8.44.
3. Set the projector’s height using measurement “B”. This references the bottom of the cabinet to the display center. When doing a ceiling mount, be sure to allow for the dimensions of the mounting bracket hardware.
4.Ensure that the projector is mounted horizontally centered and perpendicular to the screen.
5.The Peerless
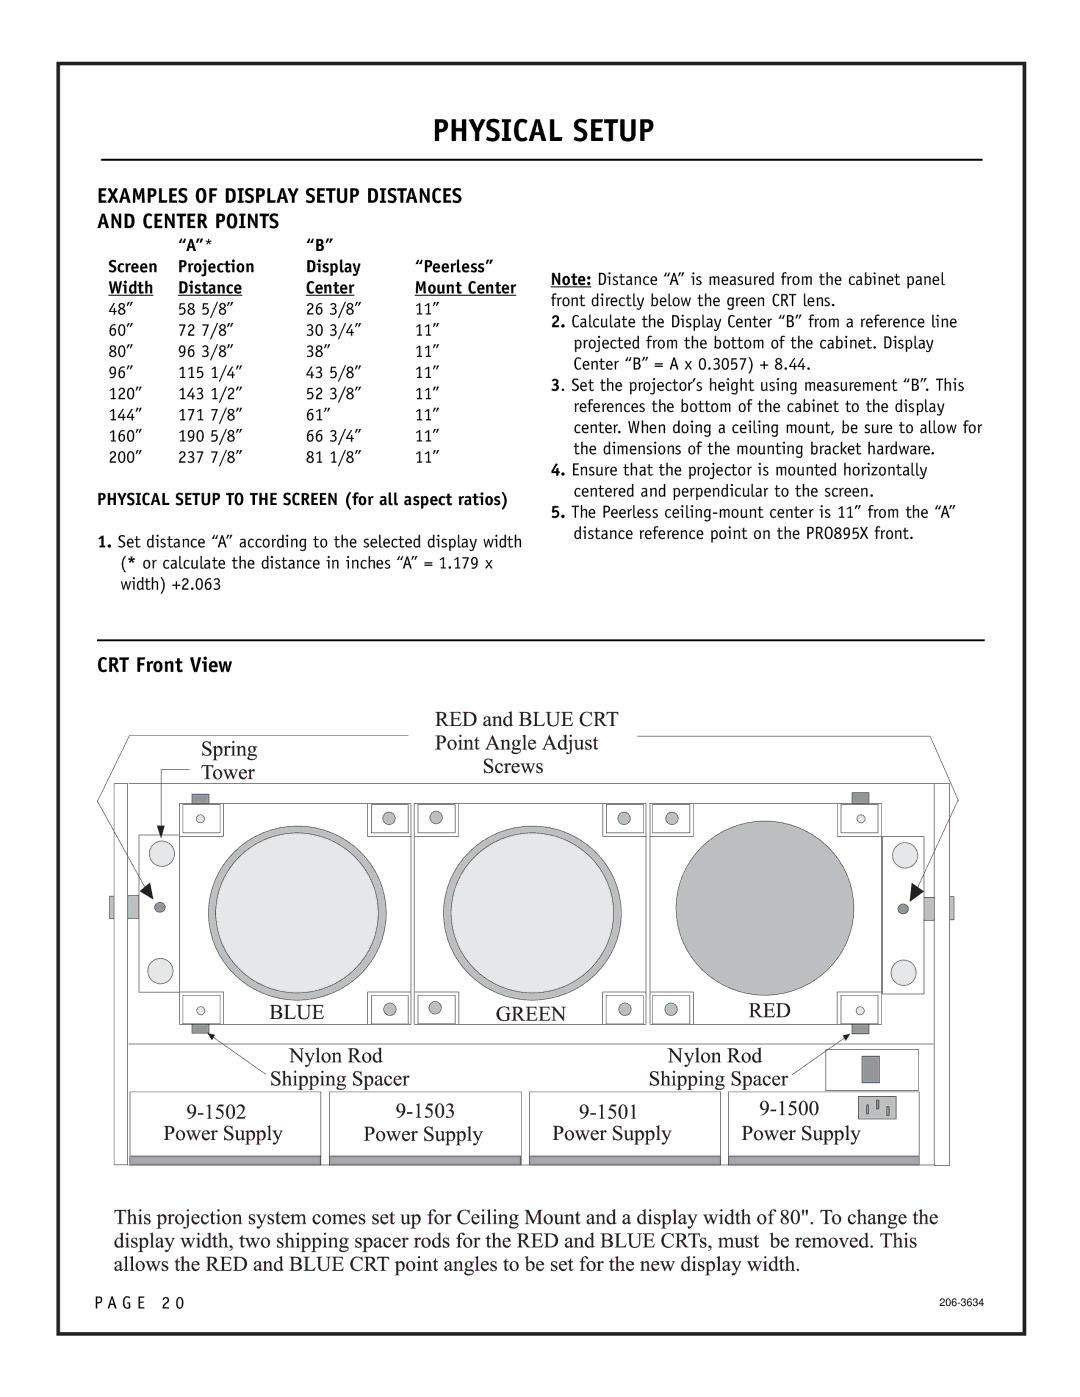
CRT Front View
P A G E 2 0 |
