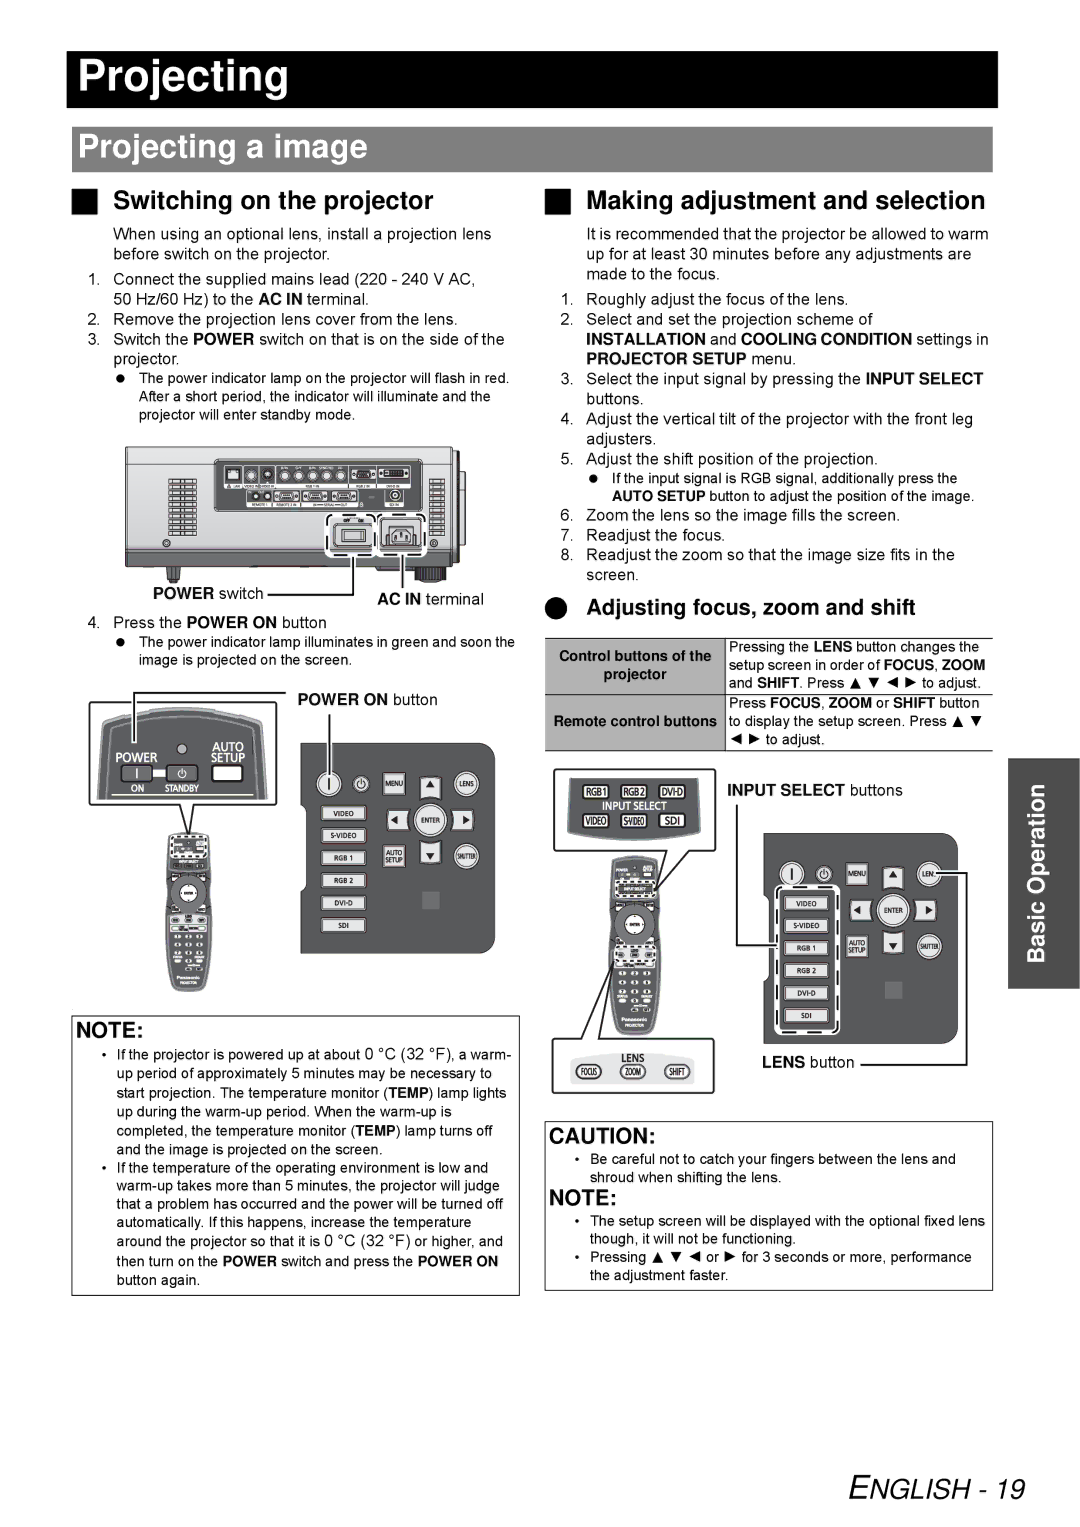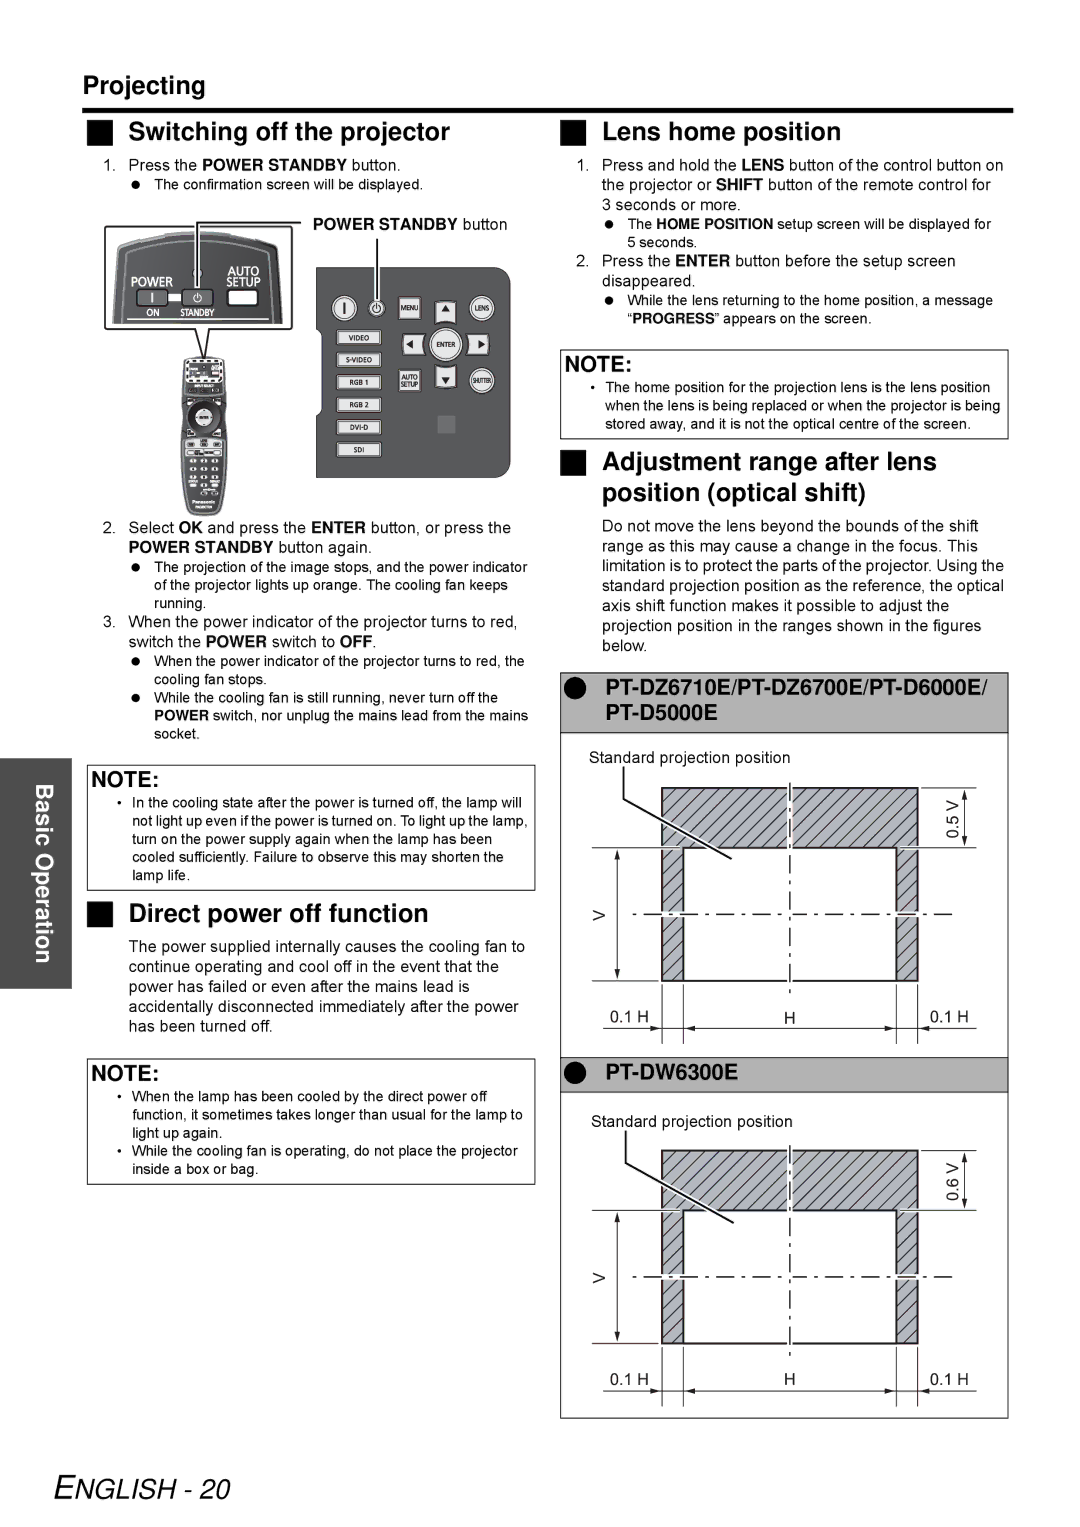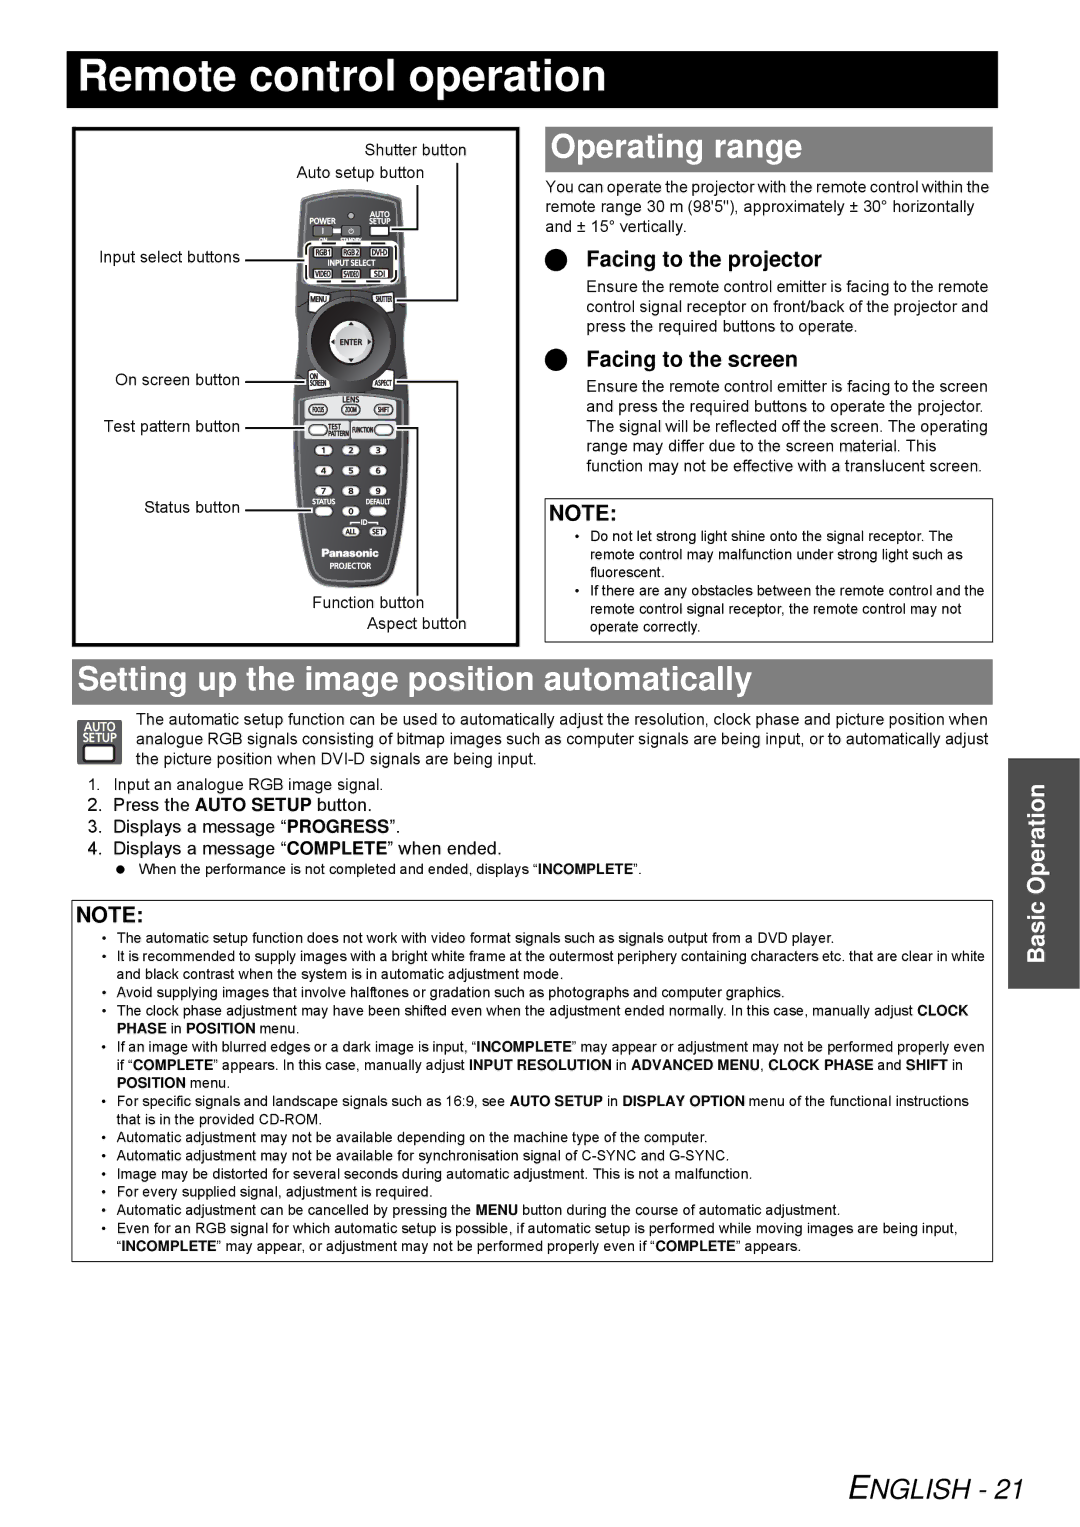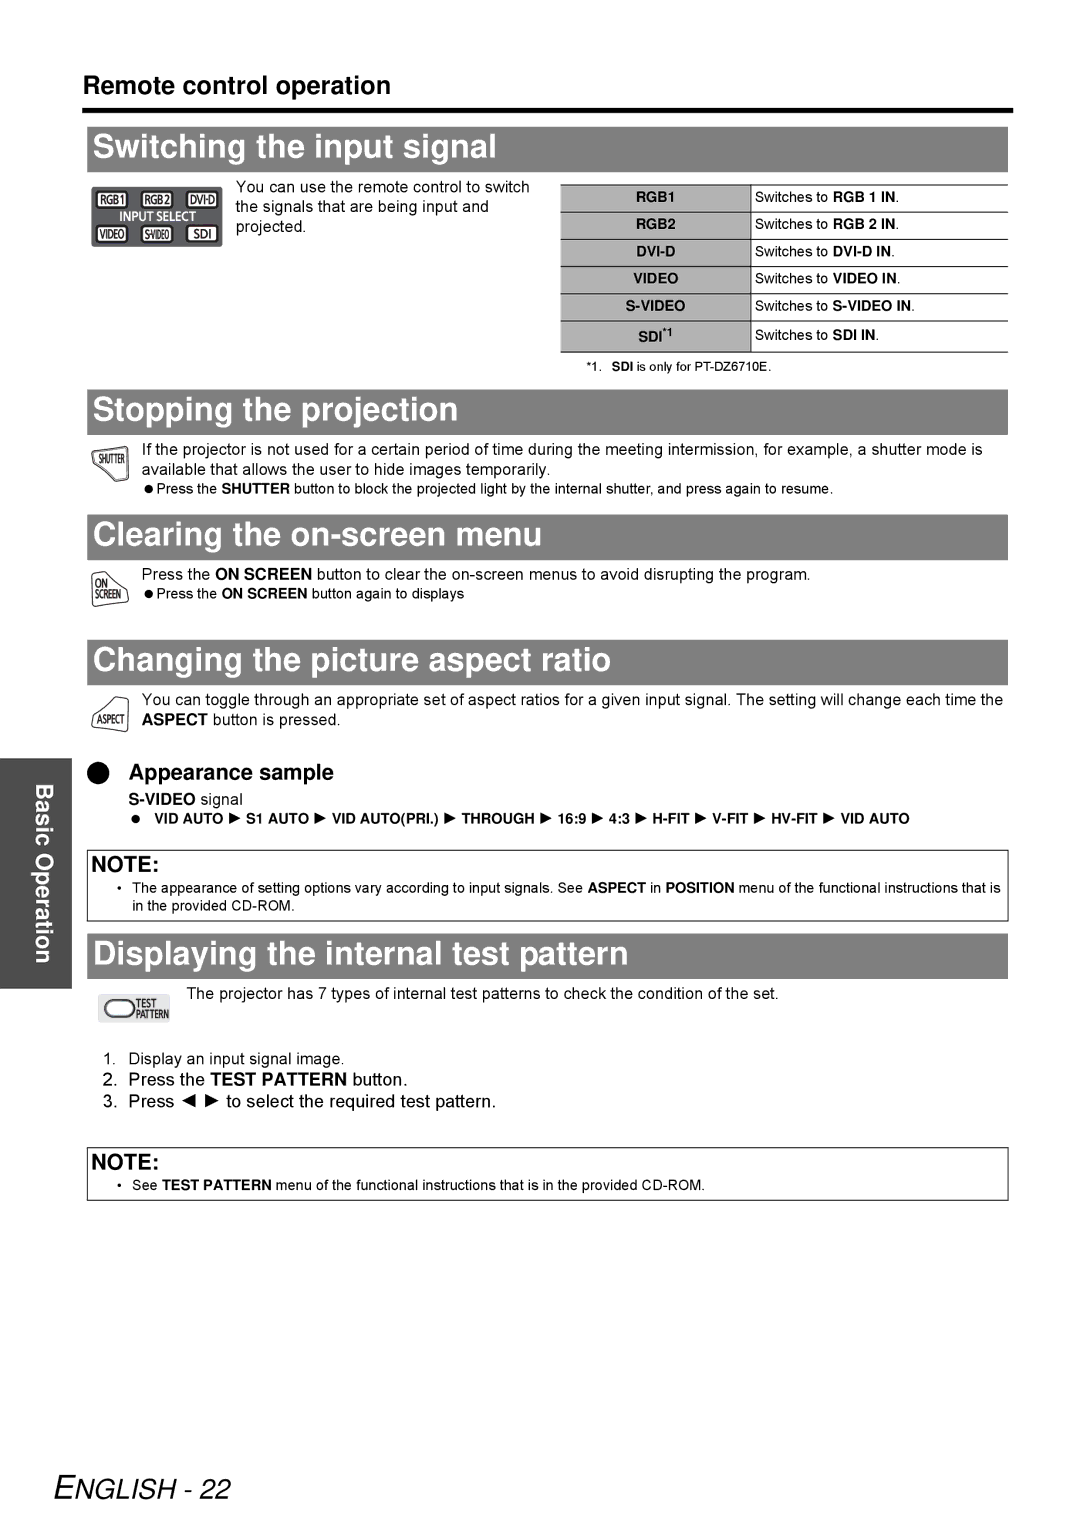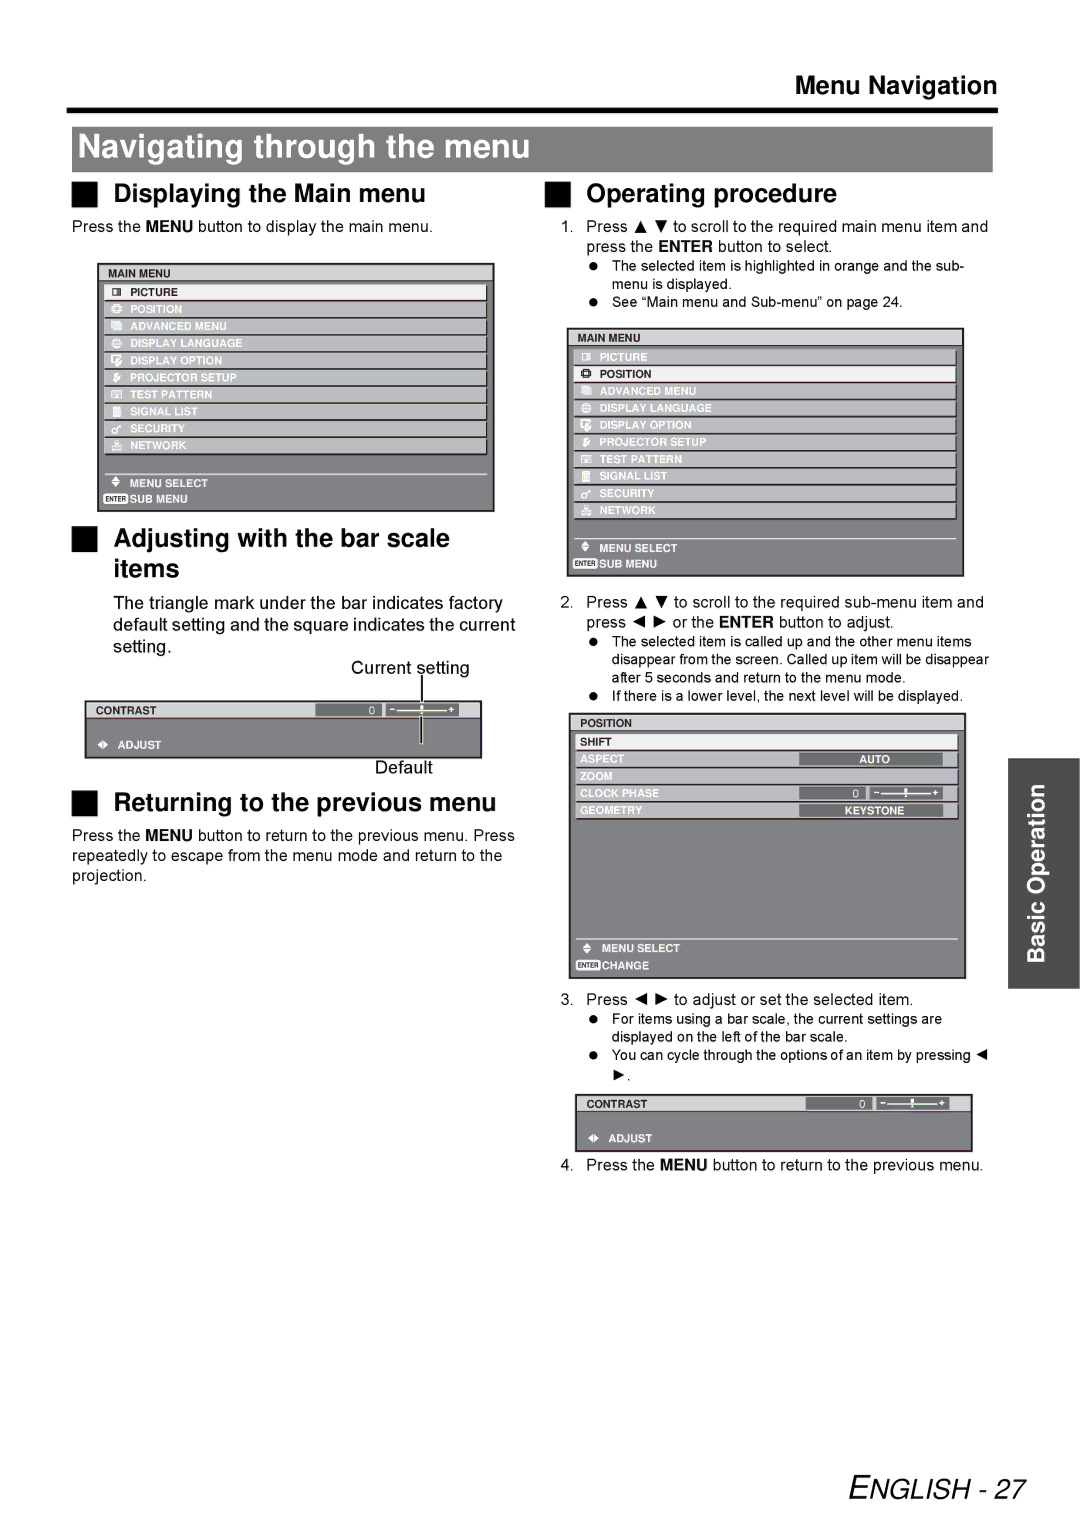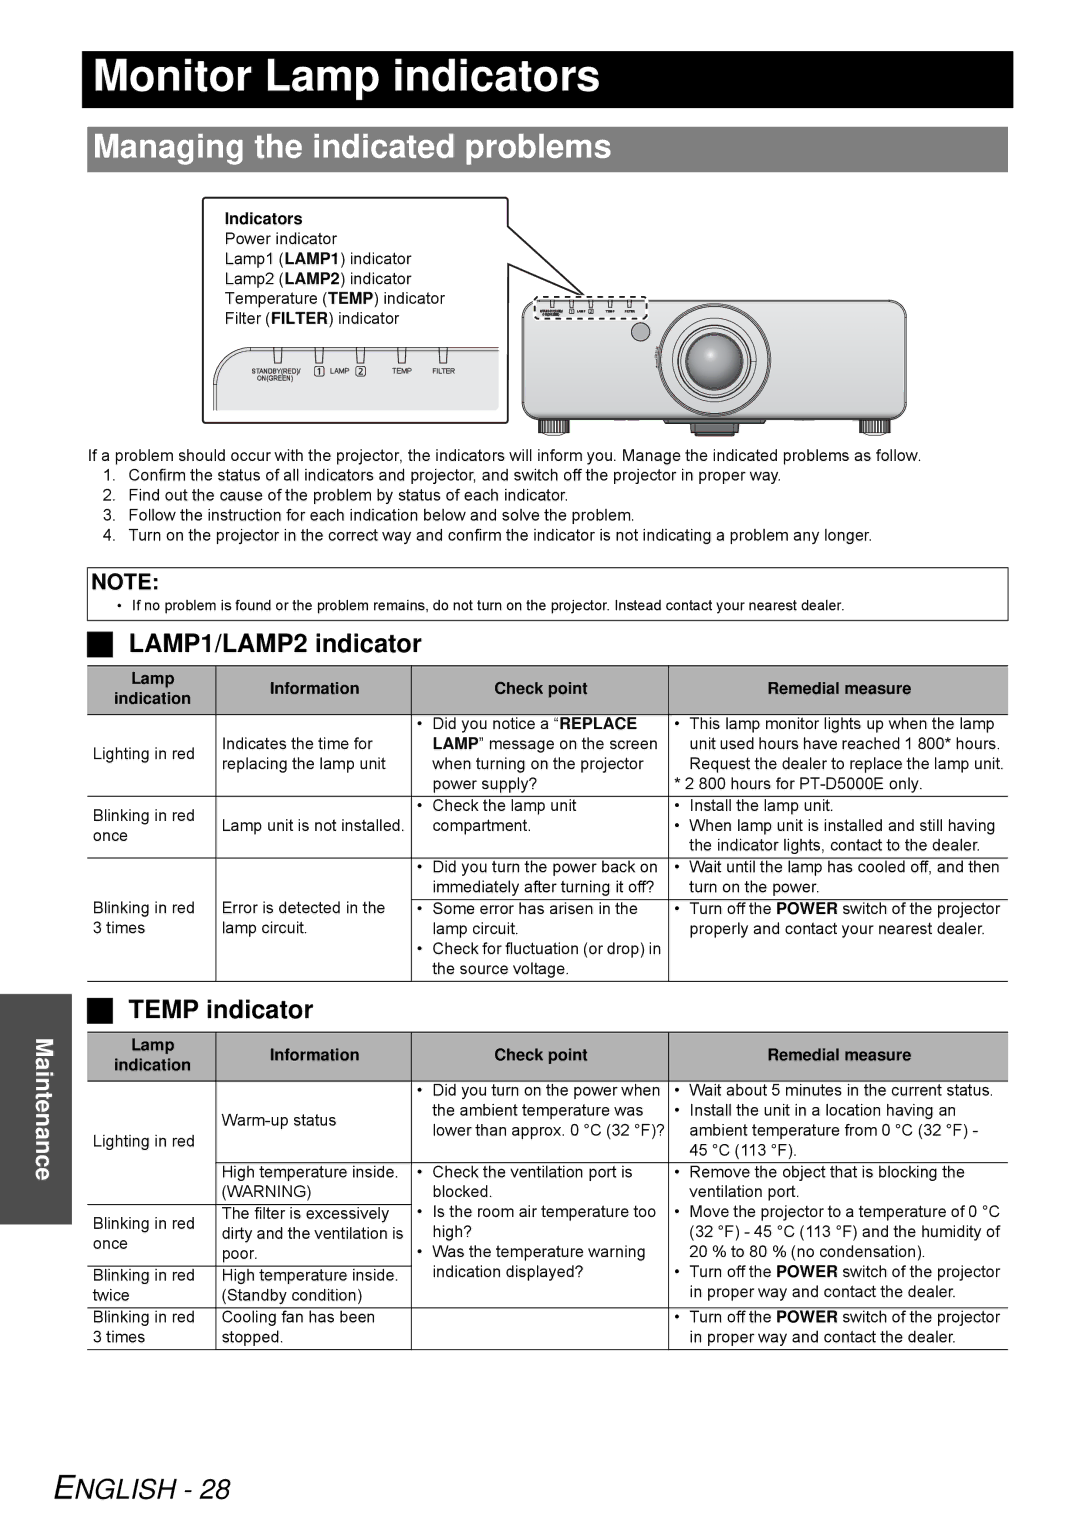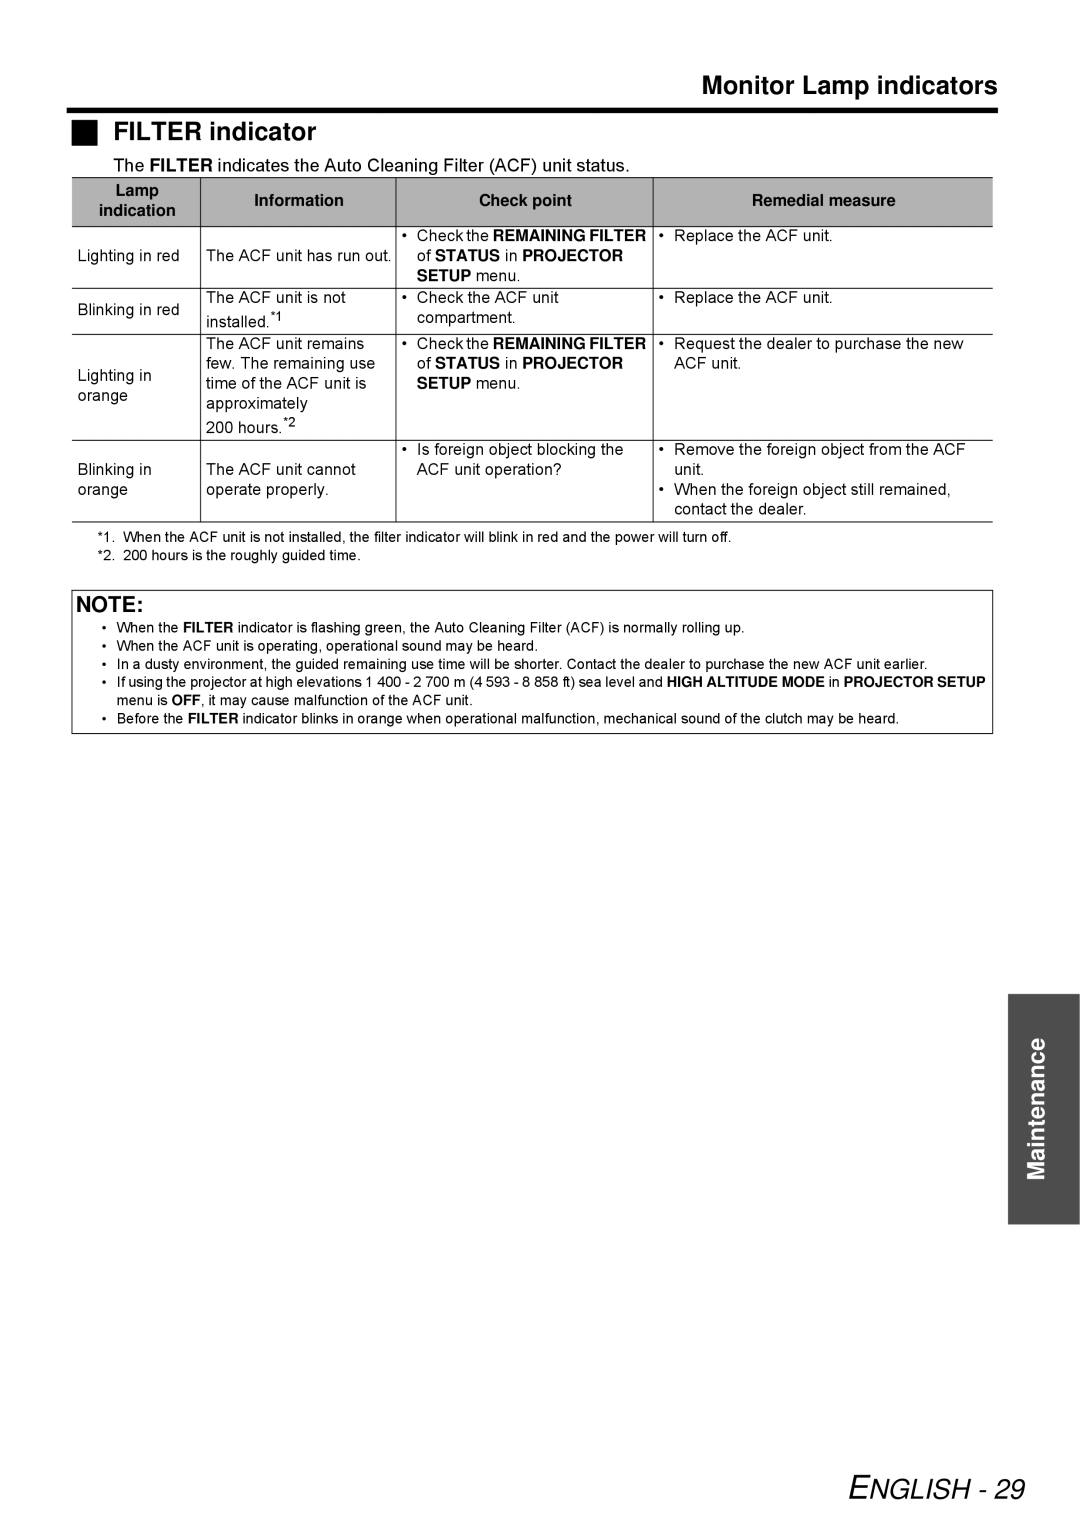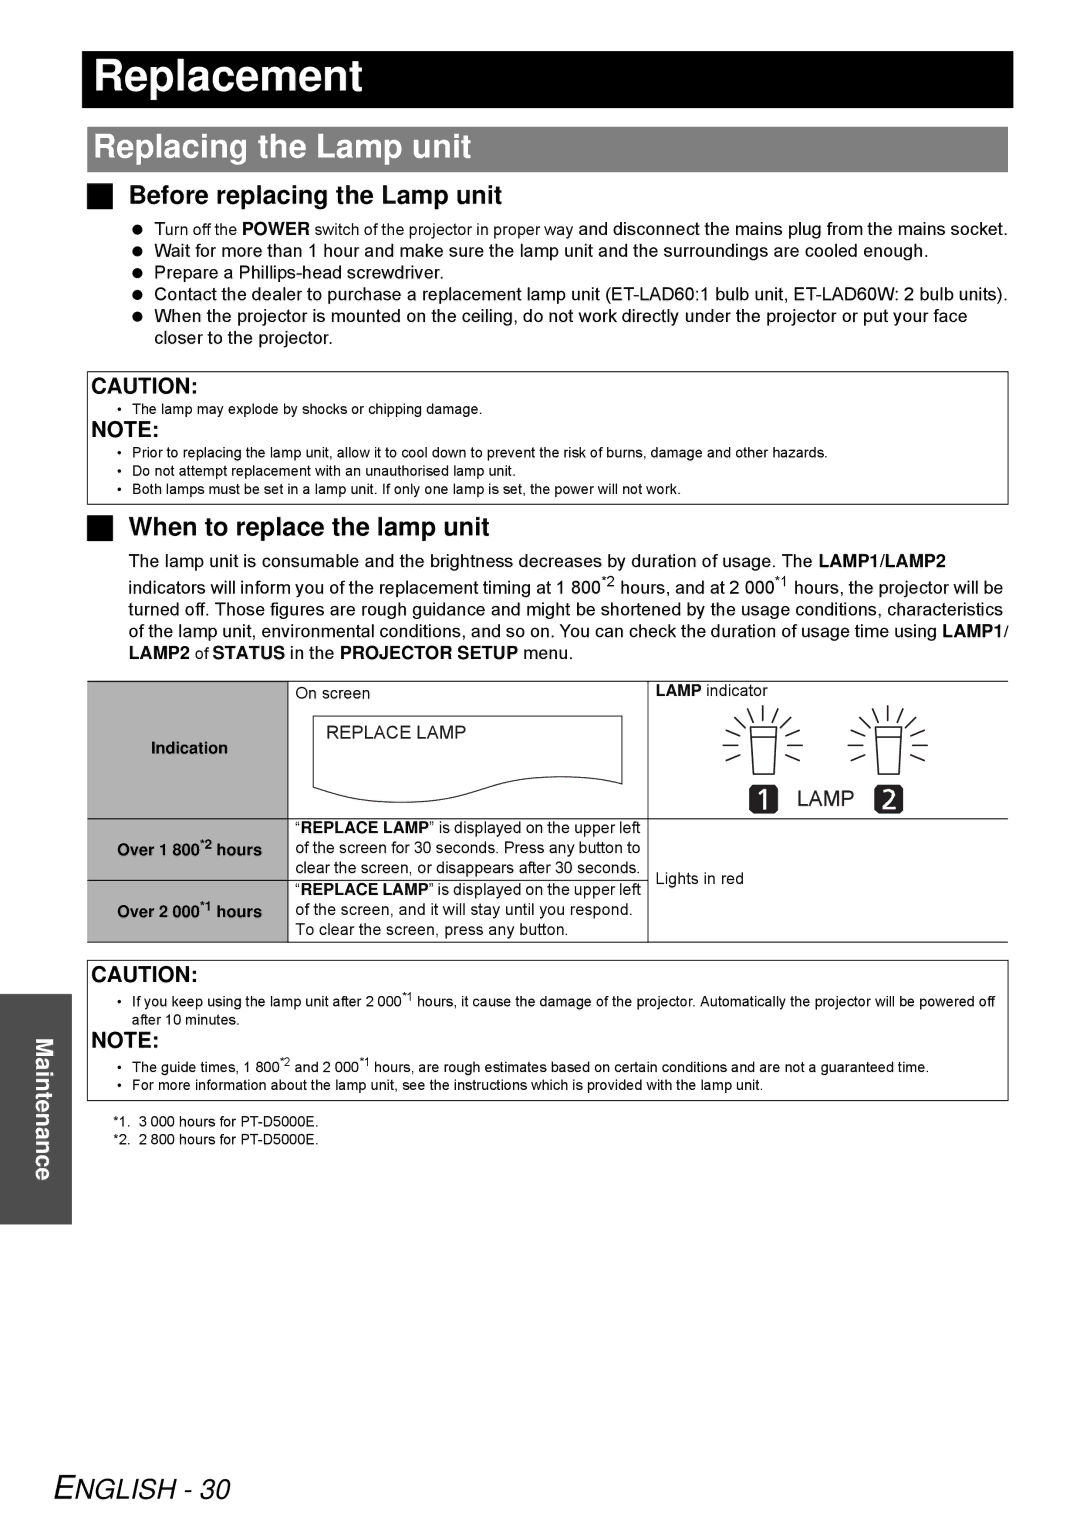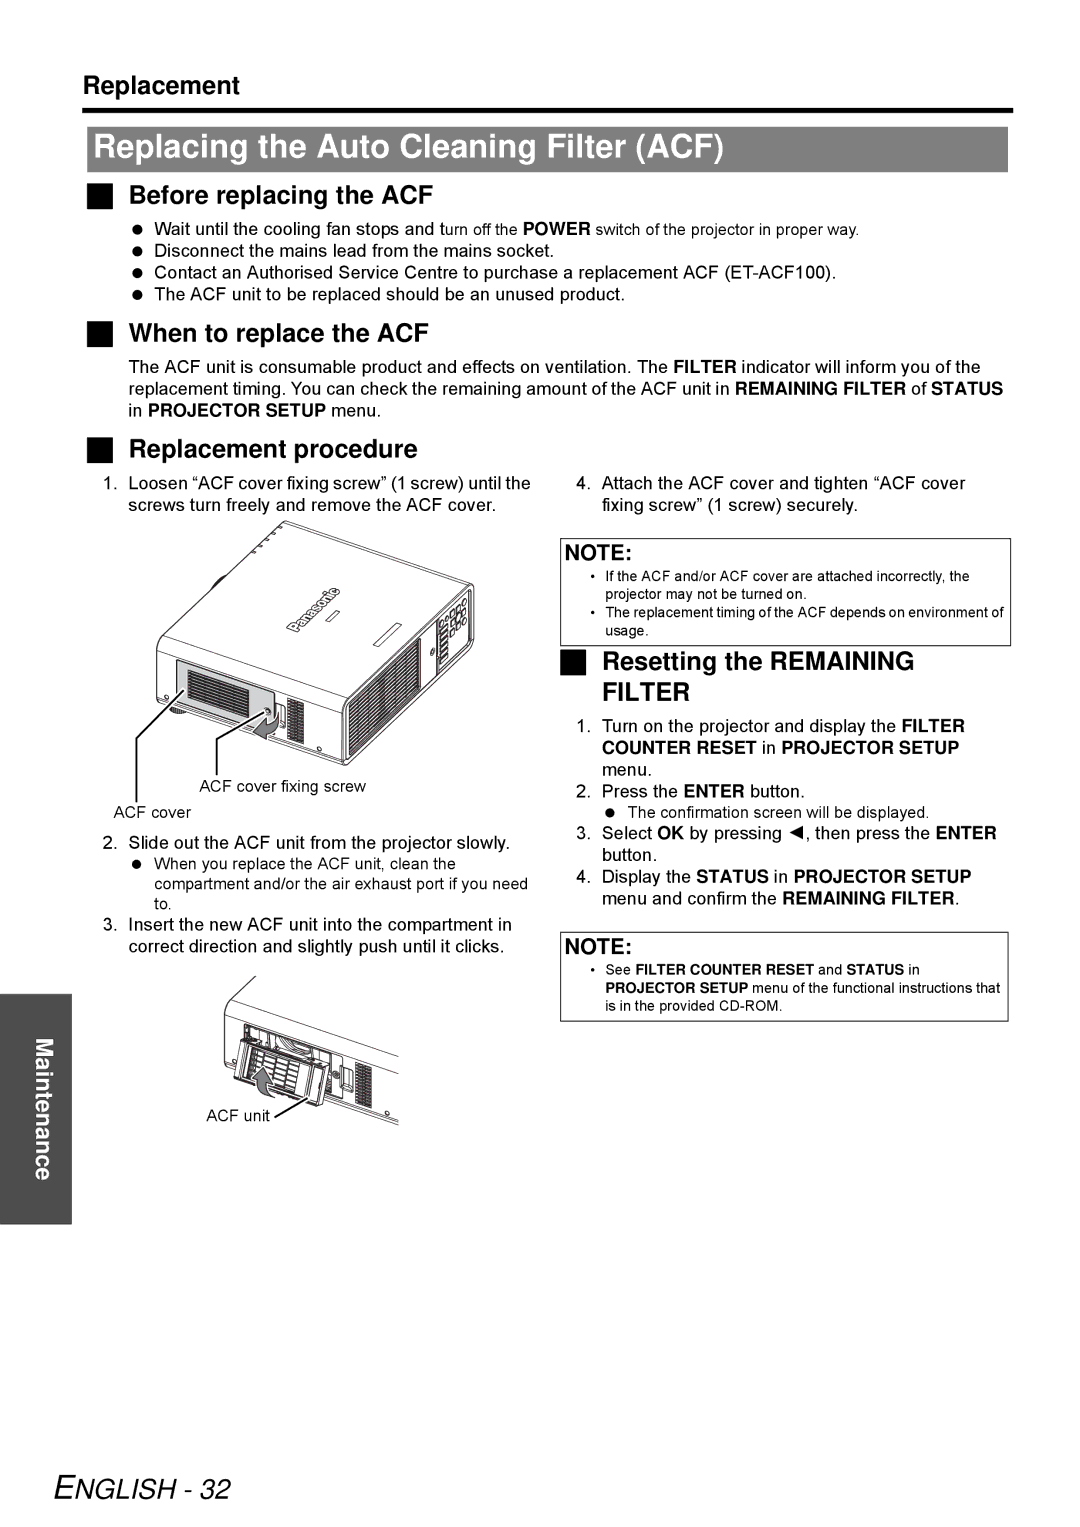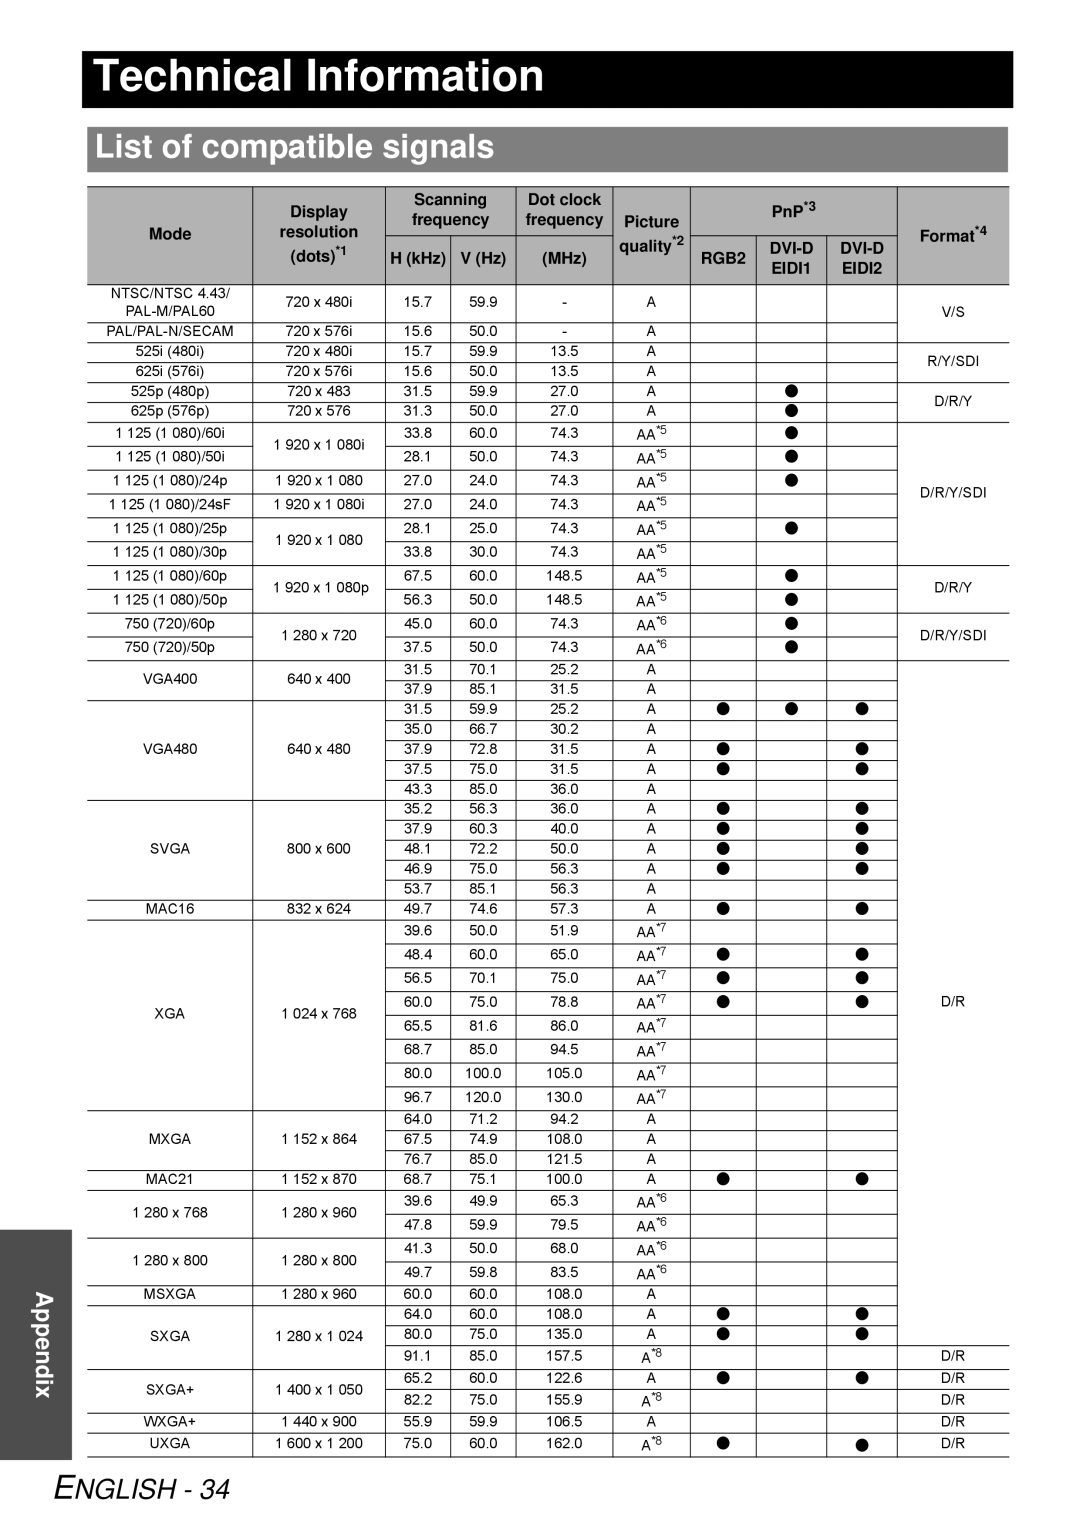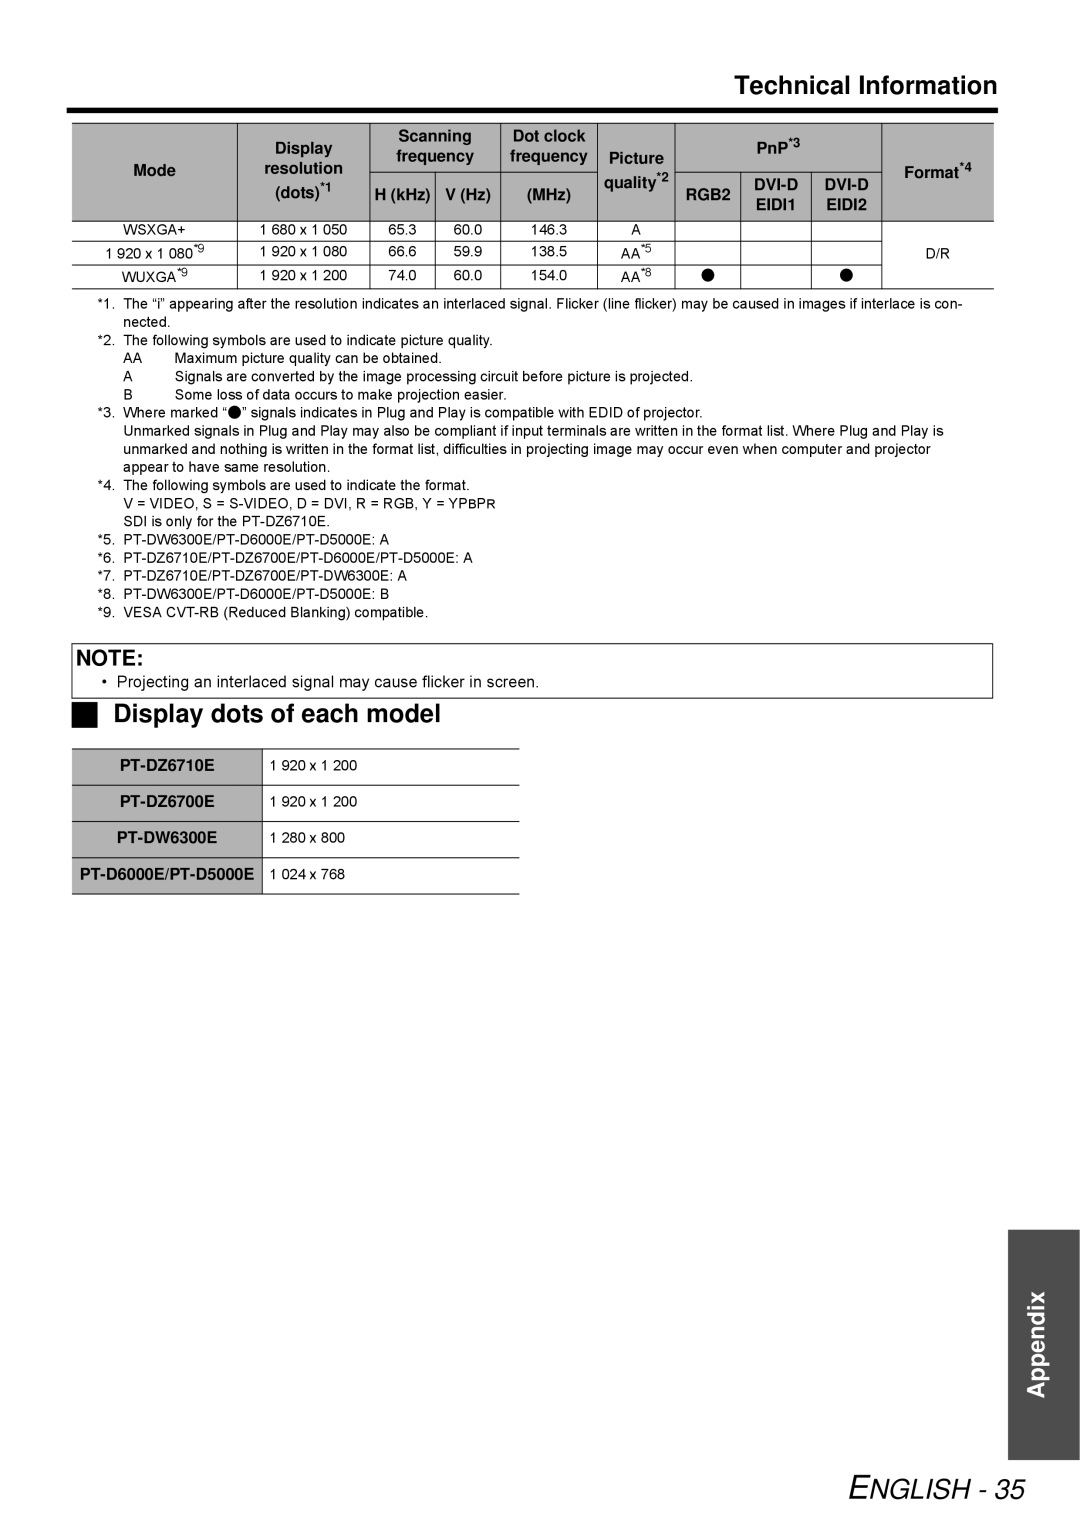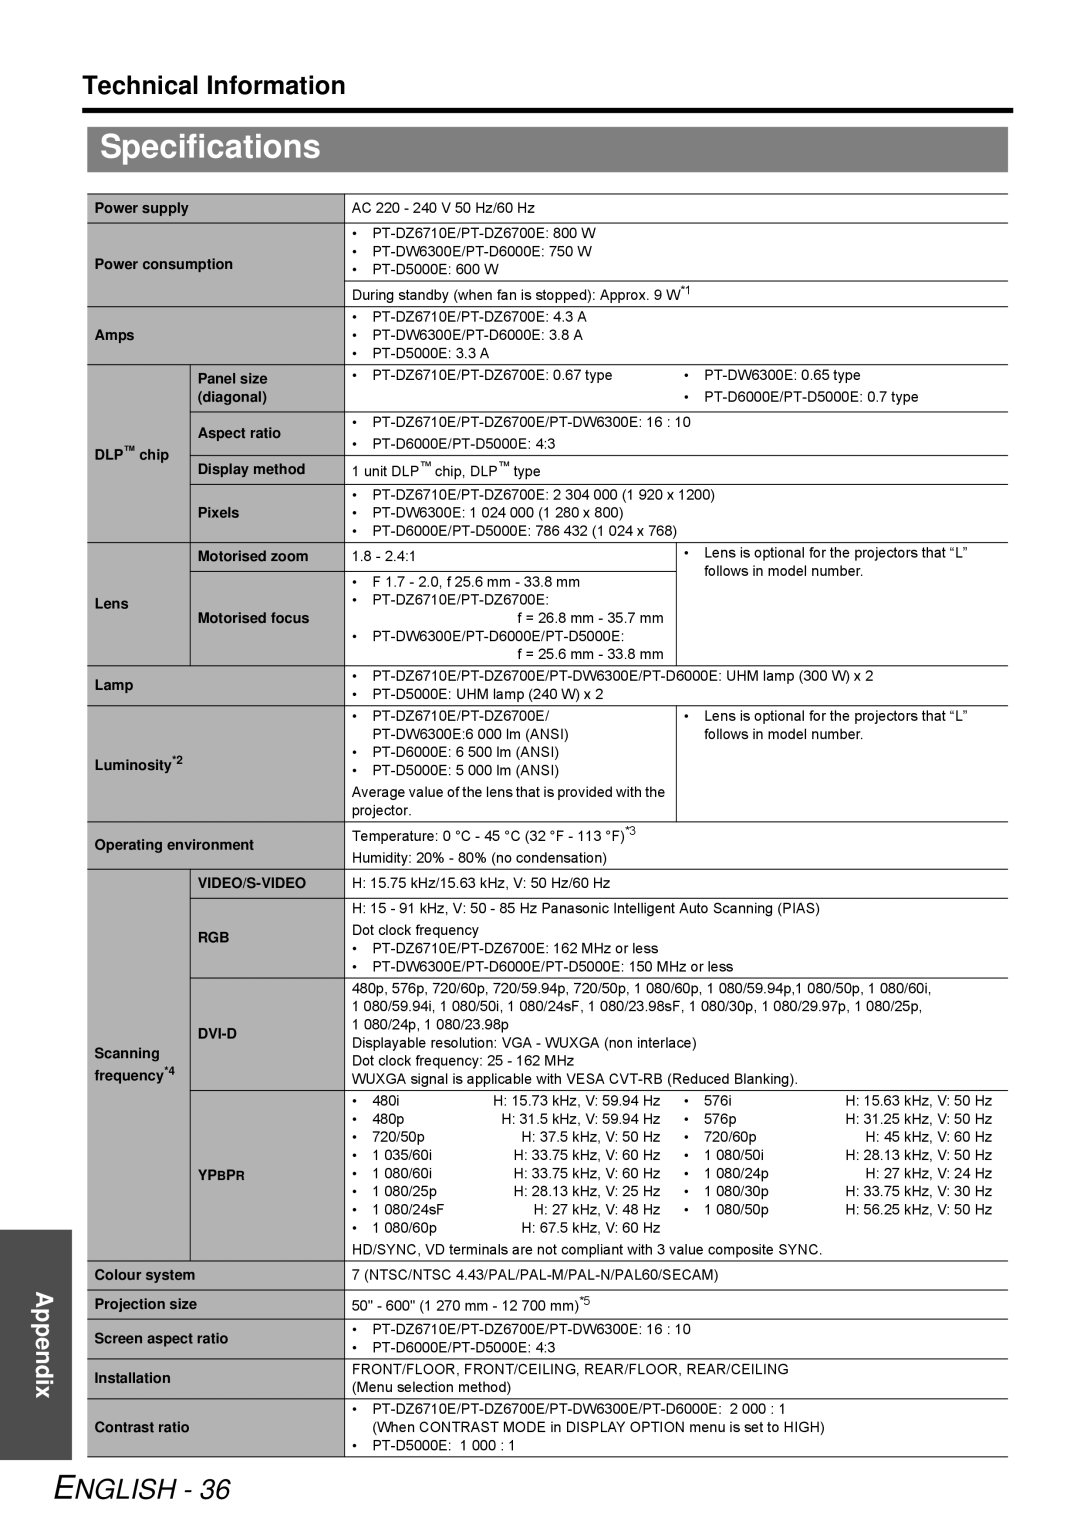
Setting up
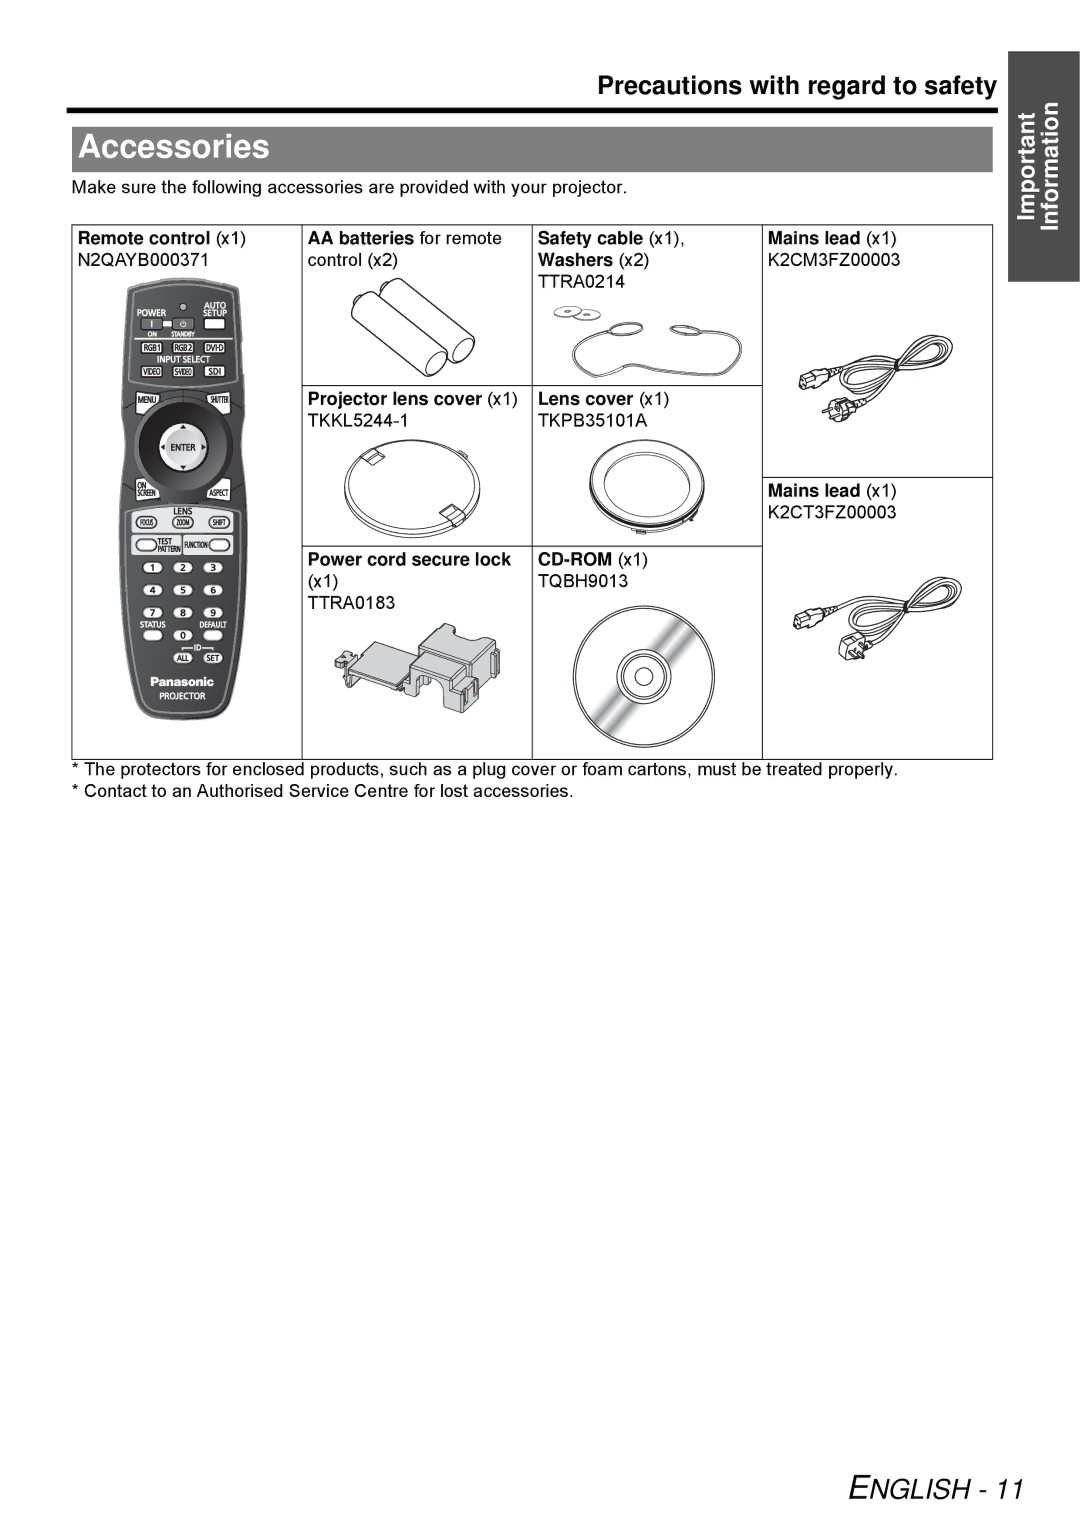
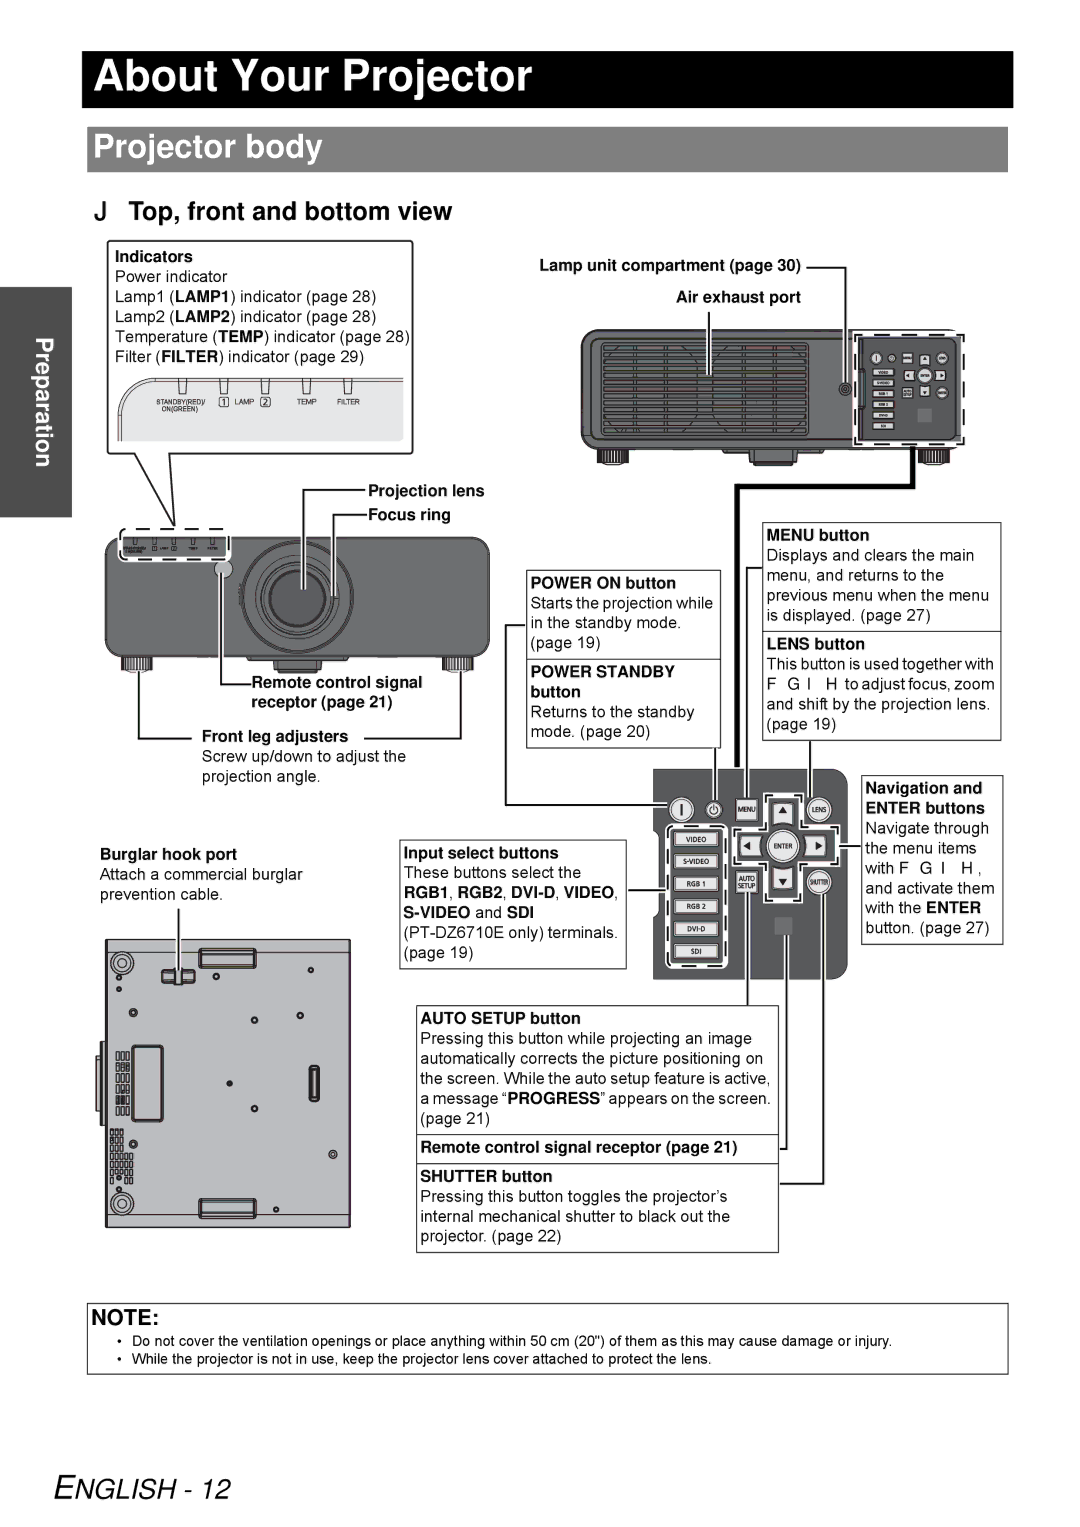
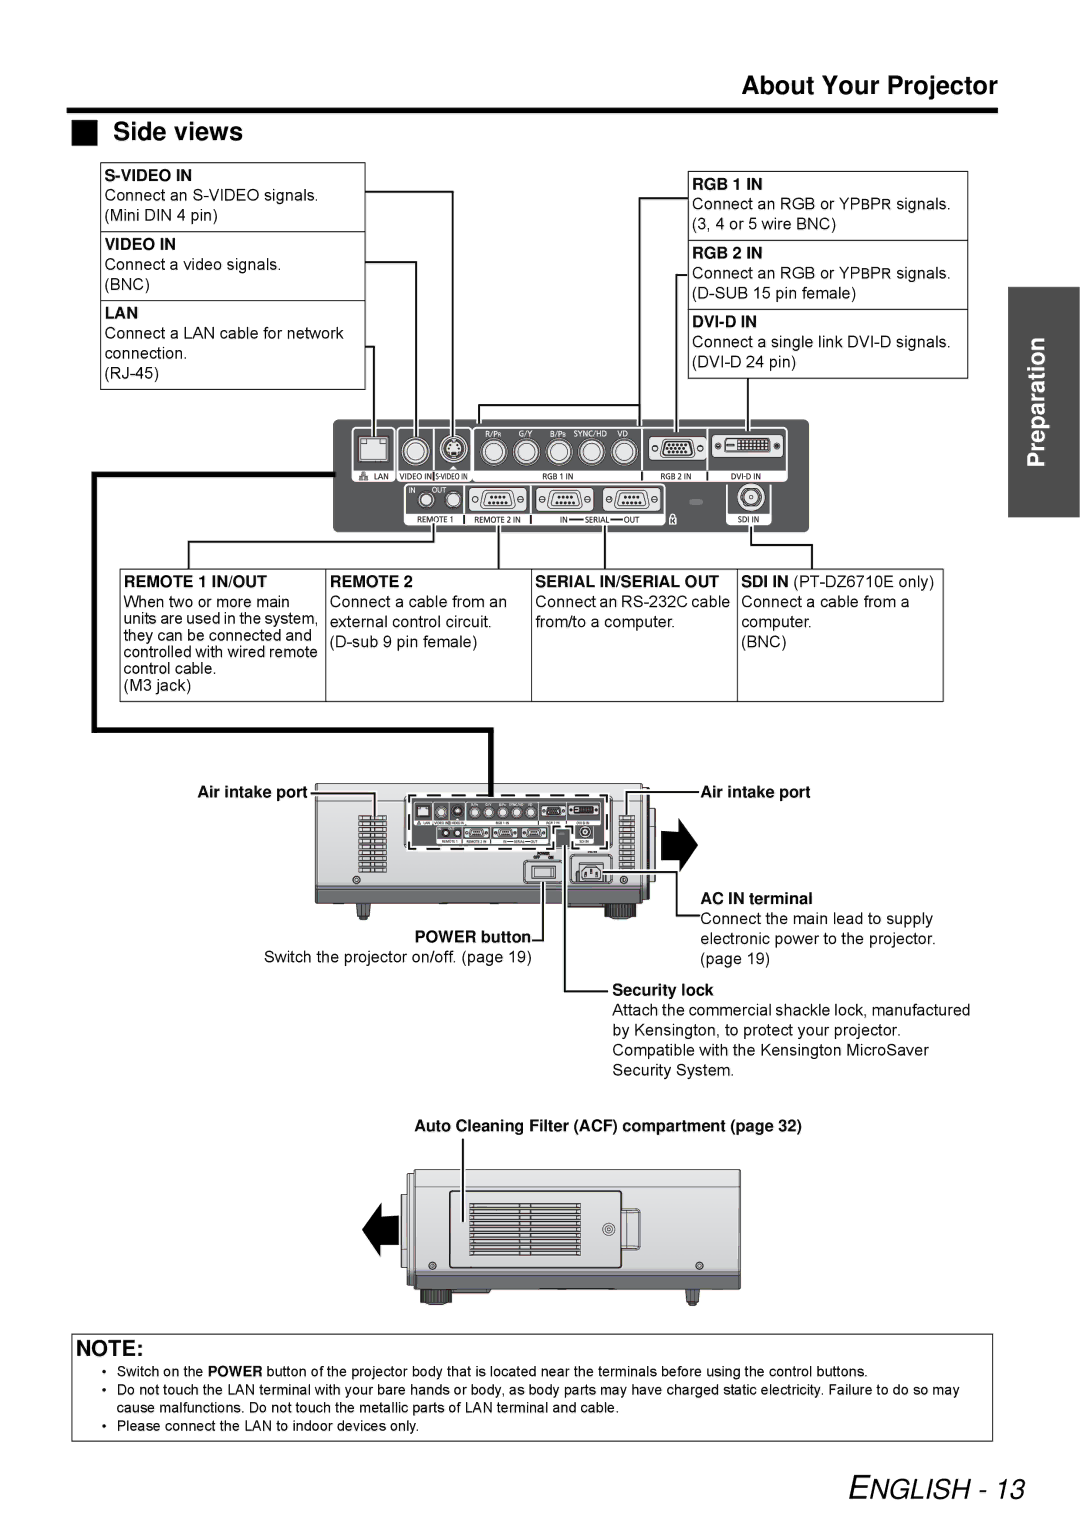
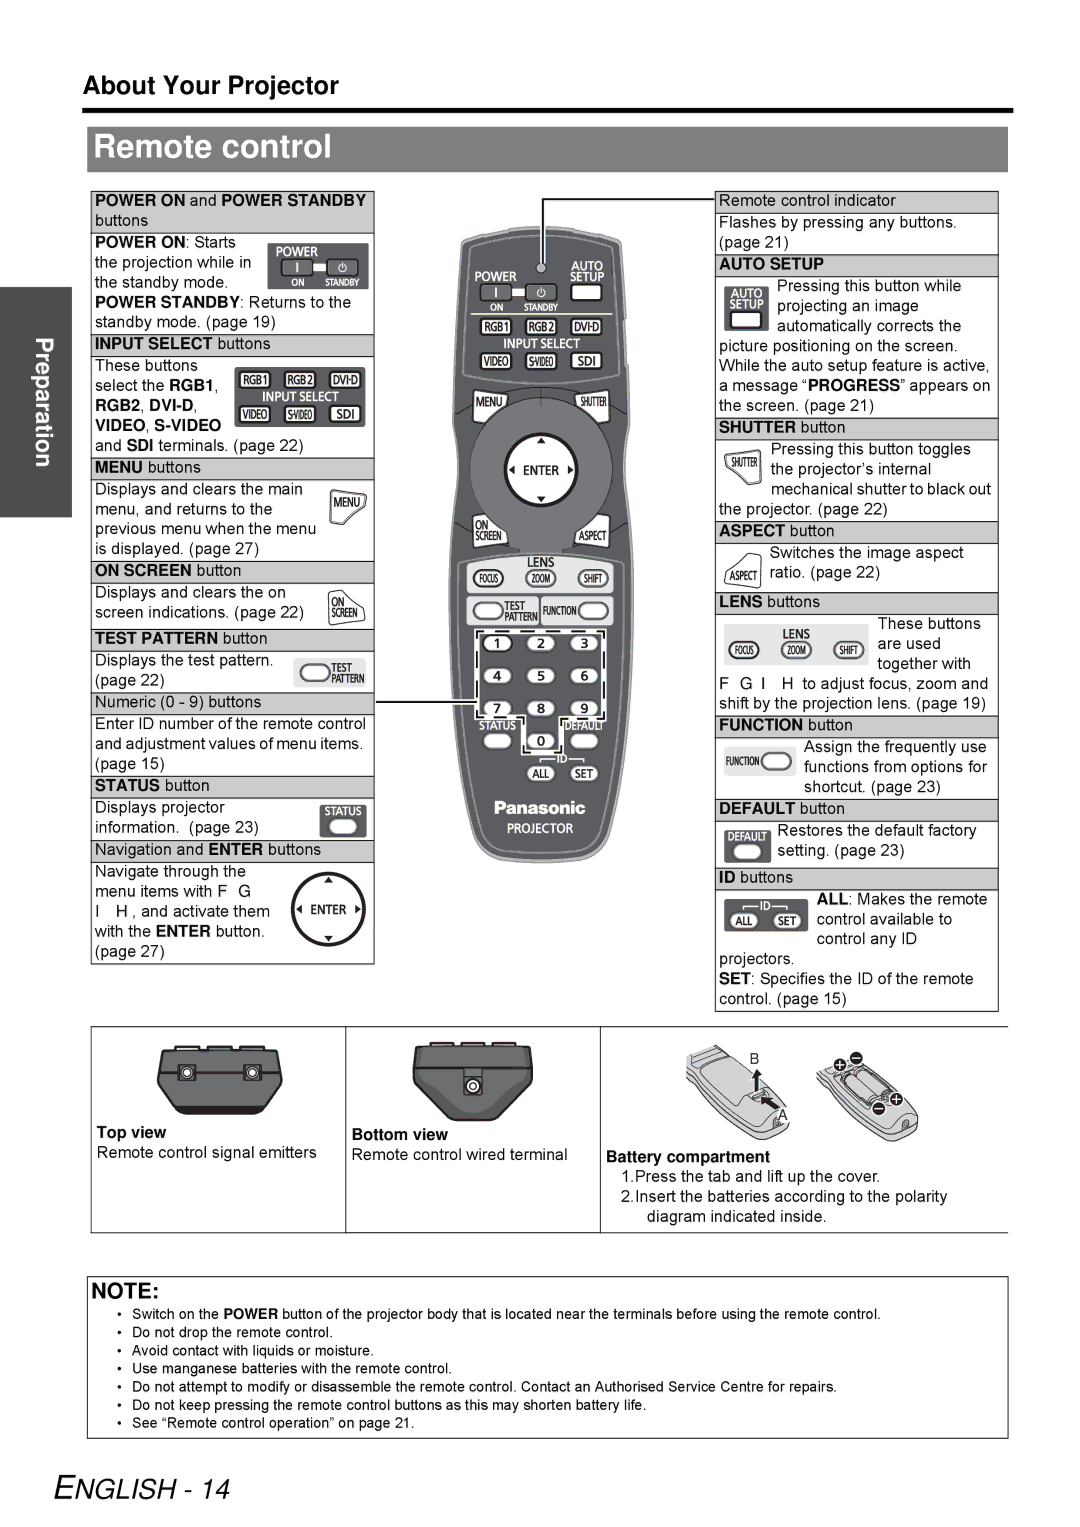
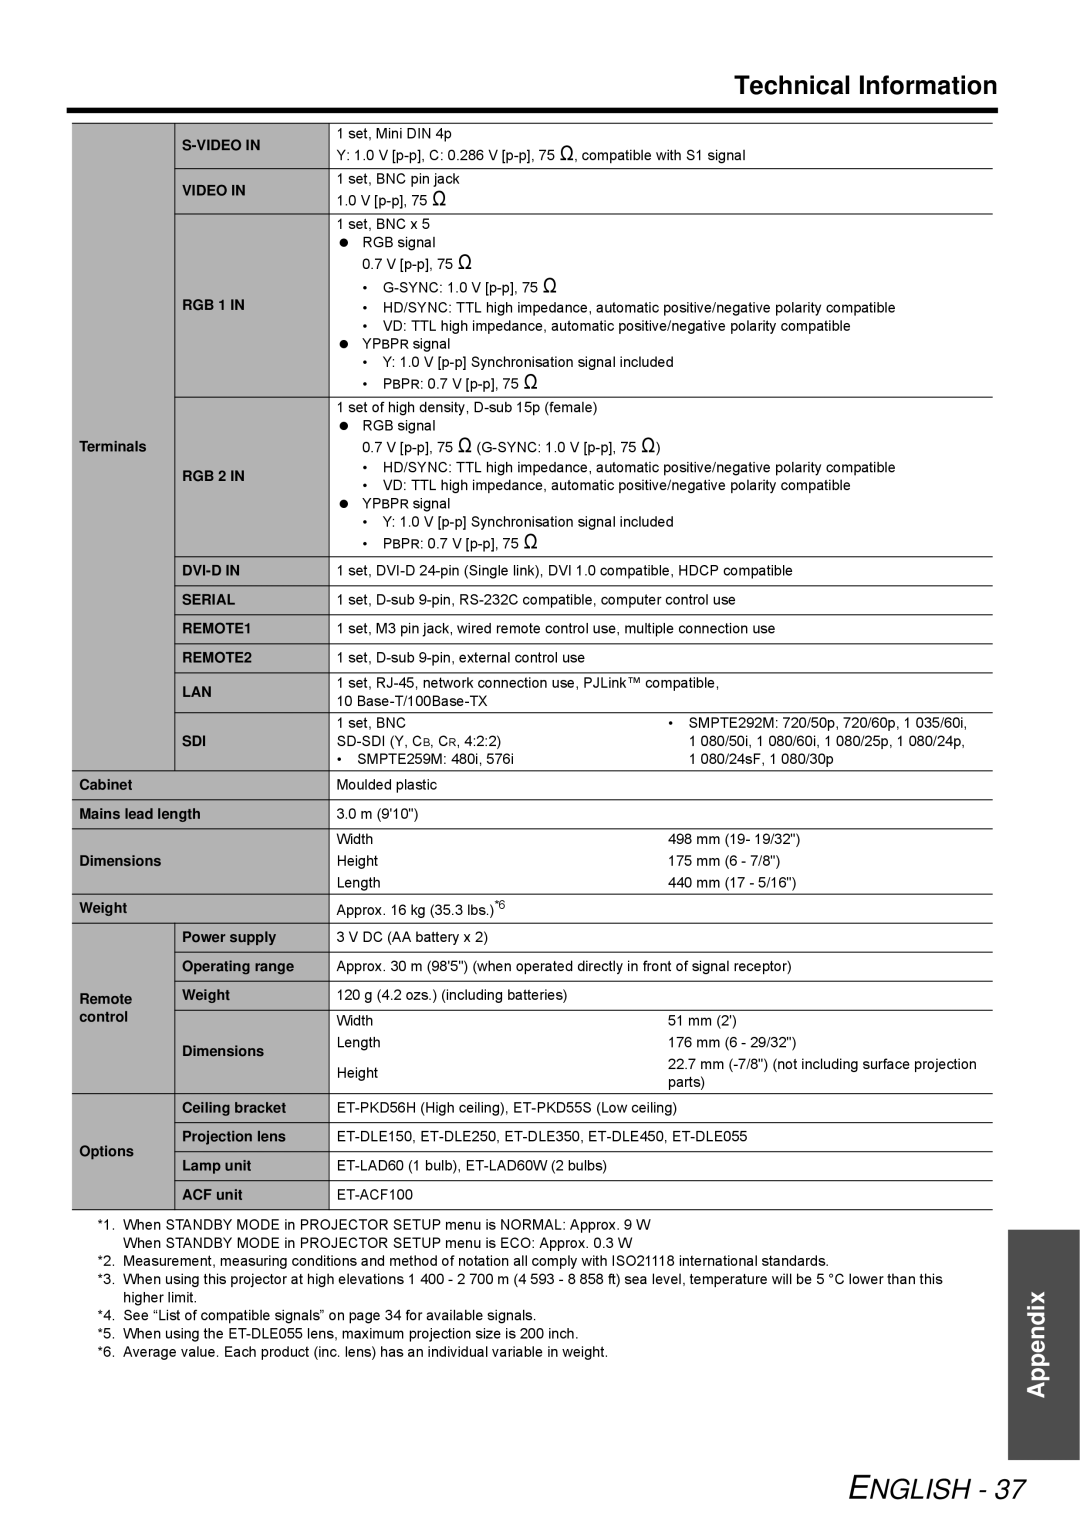
Projection method
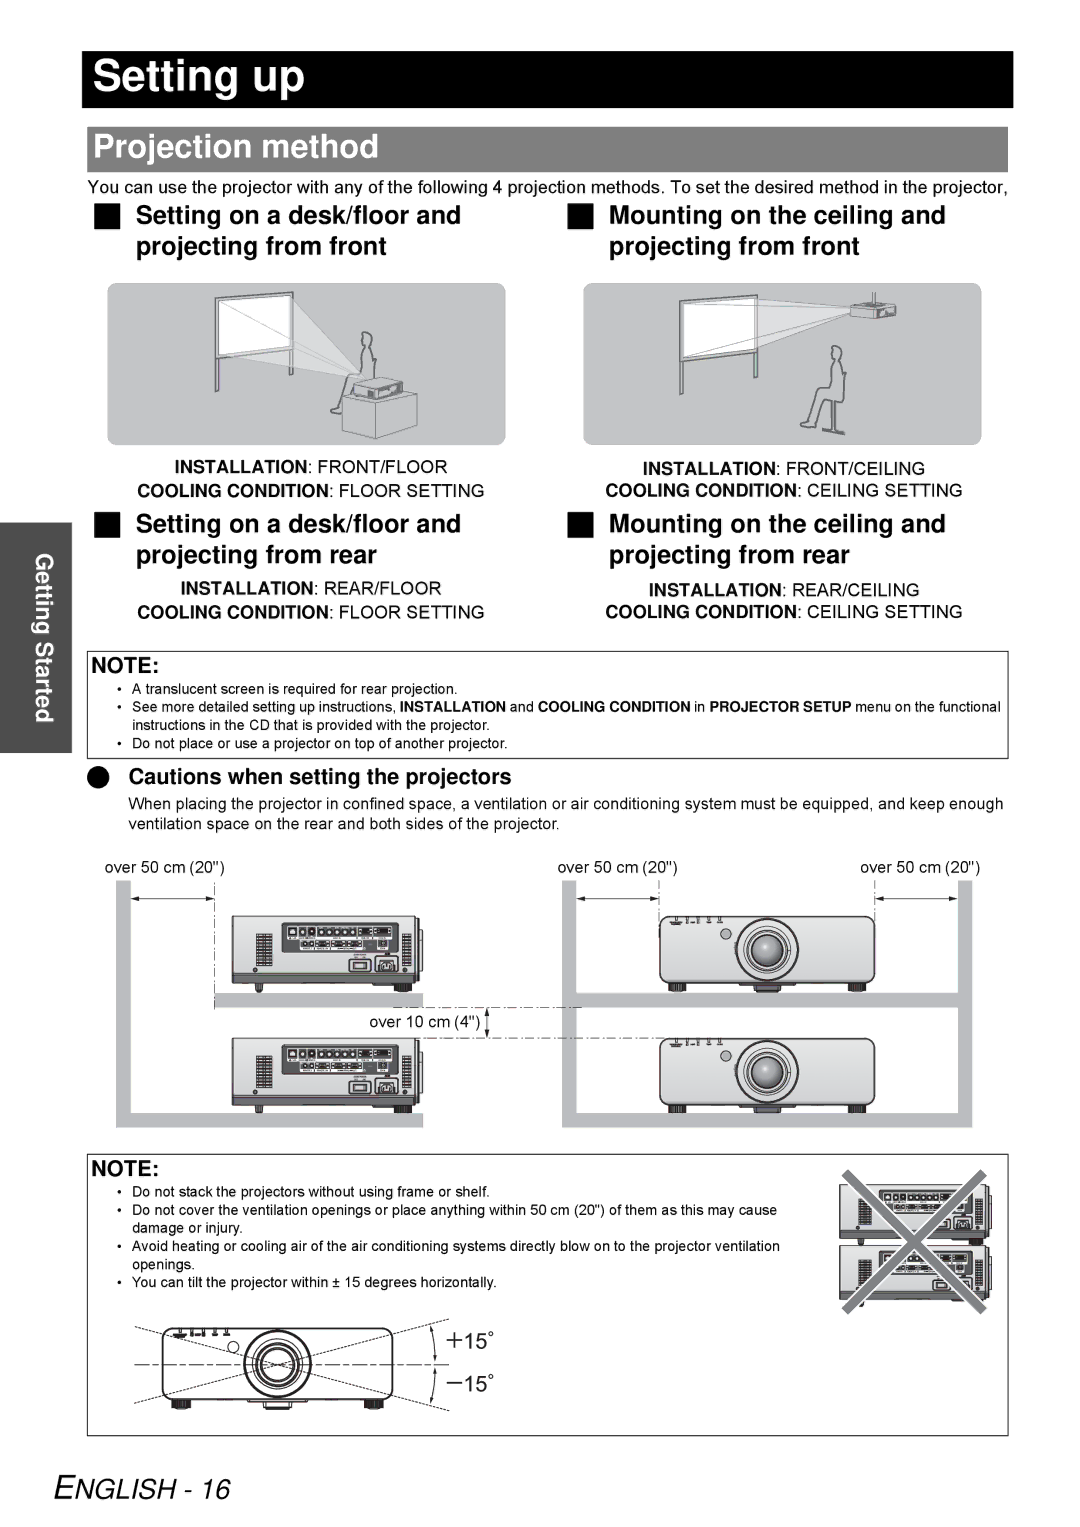
You can use the projector with any of the following 4 projection methods. To set the desired method in the projector,
Setting on a desk/floor and projecting from front
Mounting on the ceiling and projecting from front
Getting Started
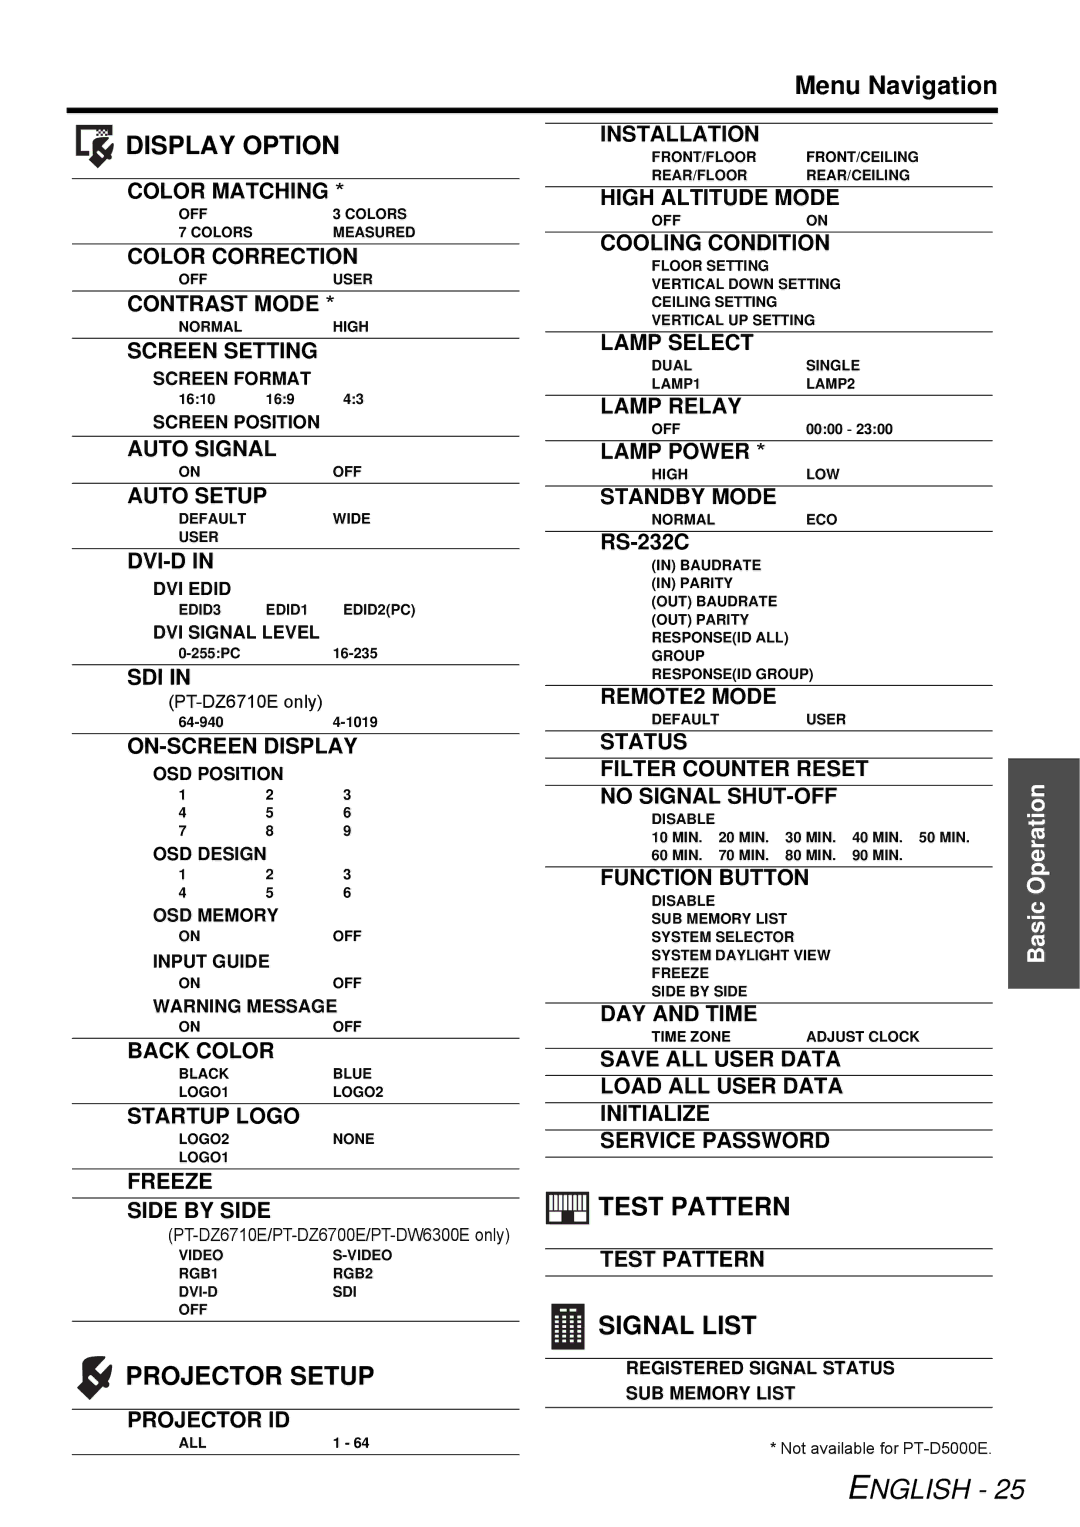
INSTALLATION: FRONT/FLOOR | INSTALLATION: FRONT/CEILING |
COOLING CONDITION: FLOOR SETTING | COOLING CONDITION: CEILING SETTING |
Setting on a desk/floor and | Mounting on the ceiling and |
projecting from rear | projecting from rear |
INSTALLATION: REAR/FLOOR | INSTALLATION: REAR/CEILING |
COOLING CONDITION: FLOOR SETTING | COOLING CONDITION: CEILING SETTING |
NOTE:
•A translucent screen is required for rear projection.
•See more detailed setting up instructions, INSTALLATION and COOLING CONDITION in PROJECTOR SETUP menu on the functional instructions in the CD that is provided with the projector.
•Do not place or use a projector on top of another projector.
Cautions when setting the projectors
When placing the projector in confined space, a ventilation or air conditioning system must be equipped, and keep enough ventilation space on the rear and both sides of the projector.
over 50 cm (20") | over 50 cm (20") |
| over 50 cm (20") |
| STANDBY(RED)/ | LAMP | TEMP FILTER |
| ON(GREEN) |
|
|
over 10 cm (4") 
STANDBY(RED)/ | LAMP | TEMP | FILTER |
ON(GREEN) |
|
|
|
NOTE:
•Do not stack the projectors without using frame or shelf.
•Do not cover the ventilation openings or place anything within 50 cm (20") of them as this may cause damage or injury.
•Avoid heating or cooling air of the air conditioning systems directly blow on to the projector ventilation openings.
•You can tilt the projector within ± 15 degrees horizontally.
