Samsung 225MD manual Put down the monitor carefully, Do not place the monitor face down

Page 5

zAny increase in the internal temperature may cause fire.

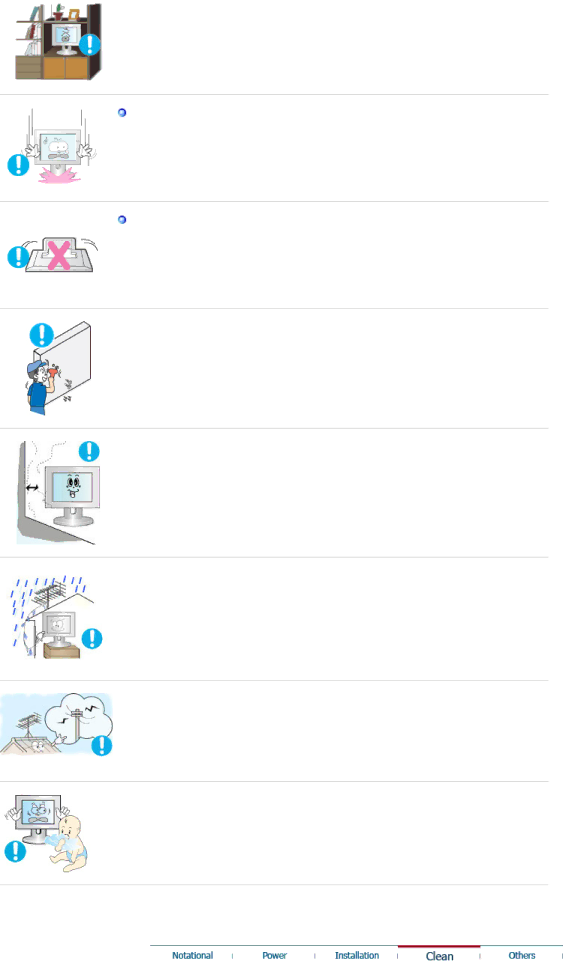
Put down the monitor carefully.

zFailing to do so may damage the monitor.

Do not place the monitor face down.

zThis may damage the TFT-LCD surface.

The installation of the bracket must be done by a qualified professional.

zInstalling the bracket by unqualified personnel may result in injury.

zAlways use the mounting device specified in the owner's manual.

When installing the product, make sure to keep it away from the wall (more than 10 cm / 4 inches) for ventilation purposes.

zPoor ventilation may cause an increase in the internal temperature of the product, resulting in a shortened component life and degraded performance.

To prevent rainwater from running along the outdoor antenna cable and into the house, ensure that the outdoor portion of the cable is hanging below the point of entry.

zIf the product is exposed to rainwater, it may cause electric shock or fire.

When using an outdoor antenna, ensure that there is sufficient distance between the antenna and any electric wires nearby so that they do not come into with each other if the antenna is knocked over by strong wind or any other accident.

zA knocked-over antenna may cause injury or electric shock.

Keep the plastic packaging (bag) out of children's reach.

zThe plastic packaging (bag) may cause suffocation if children play with it.

Image 5
Contents SyncMaster 225MD Notational PowerDo not disconnect the power cord while using the monitor Insert the power plug firmly so that it does not come looseDo not use a damaged or loose plug Use only a properly grounded plug and receptacleDo not drop the monitor when moving it InstallationKeep any heating devices away from the power cable Do not place the product on the floorKeep the plastic packaging bag out of childrens reach Put down the monitor carefullyDo not place the monitor face down Others CleanDo not spray water or detergent directly onto the monitor Do not remove the cover or backDo not cover the vents on the monitor cabinet Never insert anything metallic into the monitor openings Good Postures When Using the Monitor Page Unpacking FeaturesCable Sub Cable Stereo Cable Manual Quick Setup GuideWithout Stand Front Remote Control Sensor Power button Power indicator SpeakerTV/DTV PIPPower button Turns the monitor On/Off Power indicator PIP Available in PC/DVI ModeRemote Control Sensor Rear PowerDVI/PC in / HDMI/PC/DVI-D Audio HDMI/PC/DVI-D AudioService Extrgb / ServiceANT Hdmi in / Digital Audio OutopticalVideo / Video / R Audio L For using a locking device, contact where you purchase itCommon Interface Remote Control Color Button SourceTTX/MIX Dual PC / DVI Mode M/B MagicBrightConnecting to a Macintosh Connecting to a ComputerConnecting AV Devices Connecting to Other devicesWhen using an interior antenna terminal Connecting TVWhen using an outdoor antenna To connect the RF cable to the antenna input terminalIs weak signal causing poor reception? Connecting DVD/DTV Set Top BoxConnecting Hdmi Connecting and Using an Amplifier Connecting Using a DVI to Hdmi CableConnecting Headphone Connecting Common InterfaceAttaching a base Folding the baseInstalling the monitor driver Automatic Microsoft Windows Vista Operating System Installing the monitor driver ManualPage Microsoft Windows XP Operating System Page Page Microsoft Windows NT Operating System How to install Click Start , Setting , Control PanelLinux Operating System Description Play / Stop OSDPIP HdmiAdjusts the Contrast Direct button on the remote control is M/B button EntertainAdjusts the Brightness Adjusts the SharpnessAdjusts the screen location horizontally and vertically Available in PC Mode Only CoarseAvailable in PC / DVI Mode Only Contrast TV / DTV / Ext. / AV / S-Video / Component / Hdmi ModeZoom1 / Zoom2 Component / Hdmi mode Wide / 169 / Zoom1 / Zoom2Colour Tone Brightness Music 169 Zoom1 Zoom2Off Low Medium High Auto SRS CIS DTVName SortFine Tune LNATransparency 1 High Medium Low Opaque Available in Hdmi Mode Only Normal Low ResetGuide SetupChannel LanguageEditing Your Favourite Channels Updating the Channel List ManuallySpace for entering the number is a blank Selecting Channel List Displaying Programme InformationPage Guide Viewing All Channels and Favourite Channels Using the Scheduled ListSetting the Default Guide Page Setup Setting up the Parental LockSetting the Subtitle Mode Selecting the Time Zone Spain only Selecting the CI Common Interface Menu Viewing Common InterfaceResetting Preference Selecting the Preferred Language Audio, Subtitle or TeletextNot Optimum Mode Self-Test Feature CheckSelf-Test Feature Check Symptoms and Recommended Actions Maintenance and CleaningCheck List Display Adapter DriverMode Function normally Problems related to InstallationMode Shows noise signals TV signal is not receivedProblems related to Remote Control Problems related to AudioRemote control buttons do not respond Screen is blank and is blinkingPage General Signal CablePreset Timing Modes PowerSaverPreset Timing Modes Supported modes for each external input signalVideo Latin America Contact Samsung WorldwideCIS Terms VHF/UHF CatvDVD BtscEiaj For Better DisplayDVI Hdmi High Definition Multimedia InterfaceTrademark & Label Licence notice AuthorityWhat is Image retention ? WarrantyPower Off, Screen Saver, or Power Save Mode Suggestions for specific applications