JVC HD-52G456 manual Muting, Video Status, Natural Cinema

Page 62

Button Functions

Muting

The MUTING button instantly turns the volume down completely when you press it. Press MUTING and the volume level will instantly go to zero. To restore the volume to its previous level, press MUTING again.

Video Status

The VIDEO STATUS button gives you a choice of four TV picture display settings, including a display of your own preferences.

Standard - Resets the picture display to the factory settings.

Dynamic - Gives a vivid picture with better contrast when viewing in
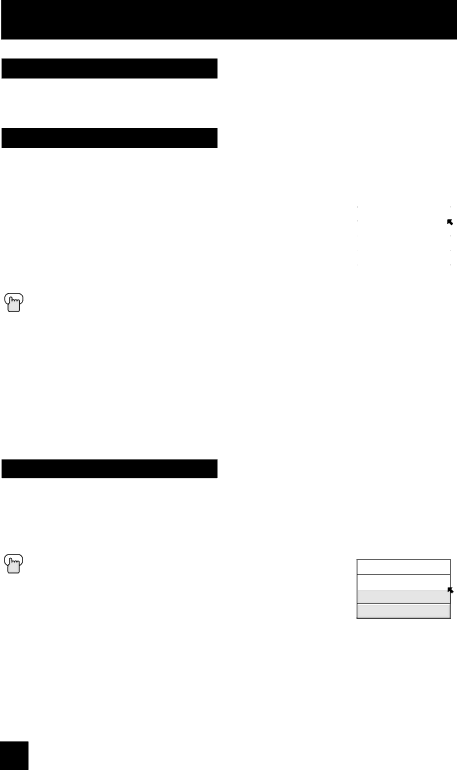
 

VIDEO STATUS

a brightly lit room.


STANDARD

Theater - Gives a rich, film-like look to video when viewing in a


DYNAMIC

dimly lit room.


THEATER

Game - Used for when you are playing video games connected to


GAME


your TV.


Press the VIDEO STATUS button


By every press of the VIDEO STATUS button, you change the mode.


Note:

You can also change the mode by pressing the π† buttons.

You can also access the FRONT CONTROL PANEL screen by using the MENU button on the side of the TV instead of the remote control. It appears between INITIAL SETUP and PICTURE ADJUST screen, and it has VIDEO STATUS and ASPECT menus. Choose VIDEO STATUS by pressing MENUon the side panel and choose a mode by using the CHANNEL +/- buttons ( OPERATE ® ).

Natural Cinema

Natural cinema corrects the problem of blurred edges which may occur when viewing a program originally shot on film (such as motion pictures) or animation. If you notice blurring at the edges of these programs, press NATURAL CINEMA and set it to AUTO. Natural Cinema helps correct conversion errors that occur when film, which is shot at 24 frames-per-second, is broadcast at the television rate of 30 frames-per-second.

Press the NATURAL CINEMA button

Notes: The natural cinema mode is automatically set to “AUTO” in the following cases:

Turning on or off

Changing the channel or input mode

Using multi-screen functions

NATURAL CINEMA

AUTO

ON

OFF

62

Image 62
Contents Projection Television Users Guide Important Safety Precautions Risk of Electric Shock Do not OpenImportant Safety Instructions 200 mm 150 mm Caring for the Cabinet Caring for the ScreenCooling the inside of the television and the lamp When the power is turned on, the warming up commencesOrder to use the television for a long time Lamp is a consumable itemScreen is made of plastic Television requires a lot of electrical powerILA element characteristics Do not replace the lamp immediately after useTable of Contents OSD Information Digital SetupDigital Button Functions AppendicesQuick Setup Unpacking your TV Component Cables Composite Cables Audio Cables Coaxial CablesVideo Cable Rear Panel Diagram HD-52G456 HD-55G466 HD-55G456 HD-61Z456Models HD-52G456 HD-55G466 HD-55G456 HD-61Z456 Front Panel DiagramSide Panel Diagram Quick Setup TV Remote Control Remote Control Getting StartedConnecting Your Devices Video Cable Component Cables Composite Cables Audio CablesVCR Connection Diagram #2 Connecting to a Camcorder Connecting to an External Amplifier Connecting to a Digital TV Receiver Connecting to an Hdmi Compatible Device Quick Setup Plug-In Menu Interactive Plug In MenuAuto Clock Set Stop The Quick Setup is complete Cable Box or Satellite Codes Setting the CATV, VCR and DVD CodesRemote Programming VCR Codes MGADVD Codes SMCVCR/DVD Search Codes Function Search CodesCable/Satellite Search Codes Function Using the Guide Onscreen MenusSelected Option Green Onscreen Menu SystemOnscreen Menu System Selected Option BlueTo Initial Setup Initial Setup Auto Tuner SetupChannel Summary Digital ChannelsContinue to follow these directions for all four spaces Channel Guard Message ChipUnrated Programs Directions to Block Unrated ProgramsUS V-Chip Ratings Setting US V-Chip Ratings Directions to set US V-Chip RatingsMovies Ratings Directions to set Movie Mpaa RatingsCanadian V-Chip Ratings Directions to set Canadian V-Chip RatingsSet Lock Code Auto Demo LanguageClosed Caption Analog SettingDigital Auto Setting Digital Manual Setting Auto Shut Off Noise MutingFront Panel Lock Video Input Label Position Adjustment Power IndicatorDigital-In Digital-In AudioAdjust the Picture Settings Picture AdjustPicture Settings Color TemperatureDynamic Gamma Digital Noise ClearColor Management Reset Smart PictureAdjust the Sound Settings Sound AdjustSound Settings Clock/Timers Set ClockOn/Off Timer Lamp Timer Reset Following message will appearTwin Button FunctionsMulti Screen Function Swap Index Freeze SelectTune PowerNumber Buttons 10Key Pad InputReturn +/TV SoundNatural Cinema MutingVideo Status Sleep Timer Sleep Timer MessageChannel + Volume +Display Delete the favorite channel FavoriteRegister the favorite channel Aspect Aspect RatiosMenu BackVCR Buttons TV/CATV Slide SwitchVCR/DVD Slide Switch DVD ButtonsDigital Setup Antenna LevelDigital Sound Software VersionSoftware Update Sub Channel Digital Button FunctionsDigital CH D/A Digital/Analog GuideNo Program Weak SignalOSD Information Troubleshooting Problems CheckFollowing are not malfunctions Appendix Changing the LampReplacement Lamp Kit Lamp MessageRemove the lamp cover How to Replace the LampUnplug the television Remove the lamp unitInstall the new lamp unit Power LED and Lamp LED blink rapidly simultaneously Power LED blinksPower LED and Lamp LED blink alternately Lamp LED blinksPage Page Specifications Specifications subject to change without noticePage Page Page Page JVC Company of America JVC CANADA, INC