JVC HD-52G456 manual Smart Picture, Reset

Page 53

Picture Adjust

Smart Picture

Smart Picture detects the APL (Average Picture Level) and adjusts the contrast suitable for what you are watching.


Press the MENU button

π†

To SMART PICTURE

è

To enter

π†

To select the mode "ON" or "OFF"


Press the MENU button when finished

SMART PICTURE

ON

OFF

Note:

• When you have "DYNAMIC" selected in the "VIDEO STATUS", Smart Picture is not selected.
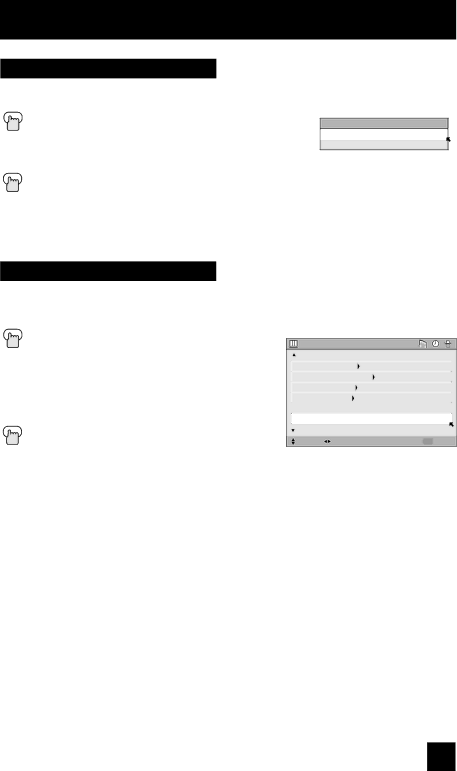
Reset

Reset resets all picture adjustments (tint, color, picture, bright, detail, color temperature, dig. noise clear, Color Management, Dynamic Gamma and Smart Picture) at once to the default settings.


Press the MENU button

π†

To RESET

è

To enter


The onscreen menu disappears for a moment,


and then the settings are reset to the default


setting for all the picture adjustments.


Press the MENU button when finished

PICTURE ADJUST


PREVIOUS

STANDARD


DIG. NOISE CLEAR

AUTO


COLOR MANAGEMENT

ON


DYNAMIC GAMMA

ON


SMART PICTURE

ON


RESET


NEXT PAGE

(2/2)


SELECT OPERATE

MENU EXIT


53

Image 53
Contents Projection Television Users Guide Risk of Electric Shock Do not Open Important Safety PrecautionsImportant Safety Instructions 200 mm 150 mm Caring for the Screen Caring for the CabinetOrder to use the television for a long time When the power is turned on, the warming up commencesCooling the inside of the television and the lamp Lamp is a consumable itemILA element characteristics Television requires a lot of electrical powerScreen is made of plastic Do not replace the lamp immediately after useTable of Contents Digital Button Functions Digital SetupOSD Information AppendicesQuick Setup Unpacking your TV Component Cables Composite Cables Audio Cables Coaxial CablesVideo Cable HD-52G456 HD-55G466 HD-55G456 HD-61Z456 Rear Panel DiagramModels HD-52G456 HD-55G466 HD-55G456 HD-61Z456 Front Panel DiagramSide Panel Diagram Quick Setup TV Remote Control Getting Started Remote ControlVideo Cable Component Cables Composite Cables Audio Cables Connecting Your DevicesVCR Connection Diagram #2 Connecting to a Camcorder Connecting to an External Amplifier Connecting to a Digital TV Receiver Connecting to an Hdmi Compatible Device Interactive Plug In Menu Quick Setup Plug-In MenuAuto Clock Set Stop The Quick Setup is complete Cable Box or Satellite Codes Setting the CATV, VCR and DVD CodesRemote Programming MGA VCR CodesSMC DVD CodesVCR/DVD Search Codes Function Search CodesCable/Satellite Search Codes Function Onscreen Menus Using the GuideOnscreen Menu System Onscreen Menu SystemSelected Option Green Selected Option BlueTo Initial Setup Auto Tuner Setup Initial SetupDigital Channels Channel SummaryContinue to follow these directions for all four spaces Chip Channel Guard MessageDirections to Block Unrated Programs Unrated ProgramsUS V-Chip Ratings Directions to set US V-Chip Ratings Setting US V-Chip RatingsDirections to set Movie Mpaa Ratings Movies RatingsDirections to set Canadian V-Chip Ratings Canadian V-Chip RatingsSet Lock Code Language Auto DemoClosed Caption Analog SettingDigital Auto Setting Digital Manual Setting Noise Muting Auto Shut OffFront Panel Lock Video Input Label Power Indicator Position AdjustmentDigital-In Audio Digital-InPicture Settings Picture AdjustAdjust the Picture Settings Color TemperatureDynamic Gamma Digital Noise ClearColor Management Smart Picture ResetAdjust the Sound Settings Sound AdjustSound Settings Set Clock Clock/TimersOn/Off Timer Following message will appear Lamp Timer ResetTwin Button FunctionsMulti Screen Function Freeze IndexSwap SelectNumber Buttons 10Key Pad PowerTune InputSound Return +/TVNatural Cinema MutingVideo Status Sleep Timer Message Sleep TimerChannel + Volume +Display Delete the favorite channel FavoriteRegister the favorite channel Aspect Ratios AspectBack MenuVCR/DVD Slide Switch TV/CATV Slide SwitchVCR Buttons DVD ButtonsAntenna Level Digital SetupSoftware Version Digital SoundSoftware Update Digital CH D/A Digital/Analog Digital Button FunctionsSub Channel GuideNo Program Weak SignalOSD Information Problems Check TroubleshootingFollowing are not malfunctions Changing the Lamp AppendixLamp Message Replacement Lamp KitUnplug the television How to Replace the LampRemove the lamp cover Remove the lamp unitInstall the new lamp unit Power LED and Lamp LED blink alternately Power LED blinksPower LED and Lamp LED blink rapidly simultaneously Lamp LED blinksPage Page Specifications subject to change without notice SpecificationsPage Page Page Page JVC Company of America JVC CANADA, INC