Stanley Black & Decker EP30250 user manual EP30 does not have a power switch

Page 9

EP30200 OPERATION

NOTE:

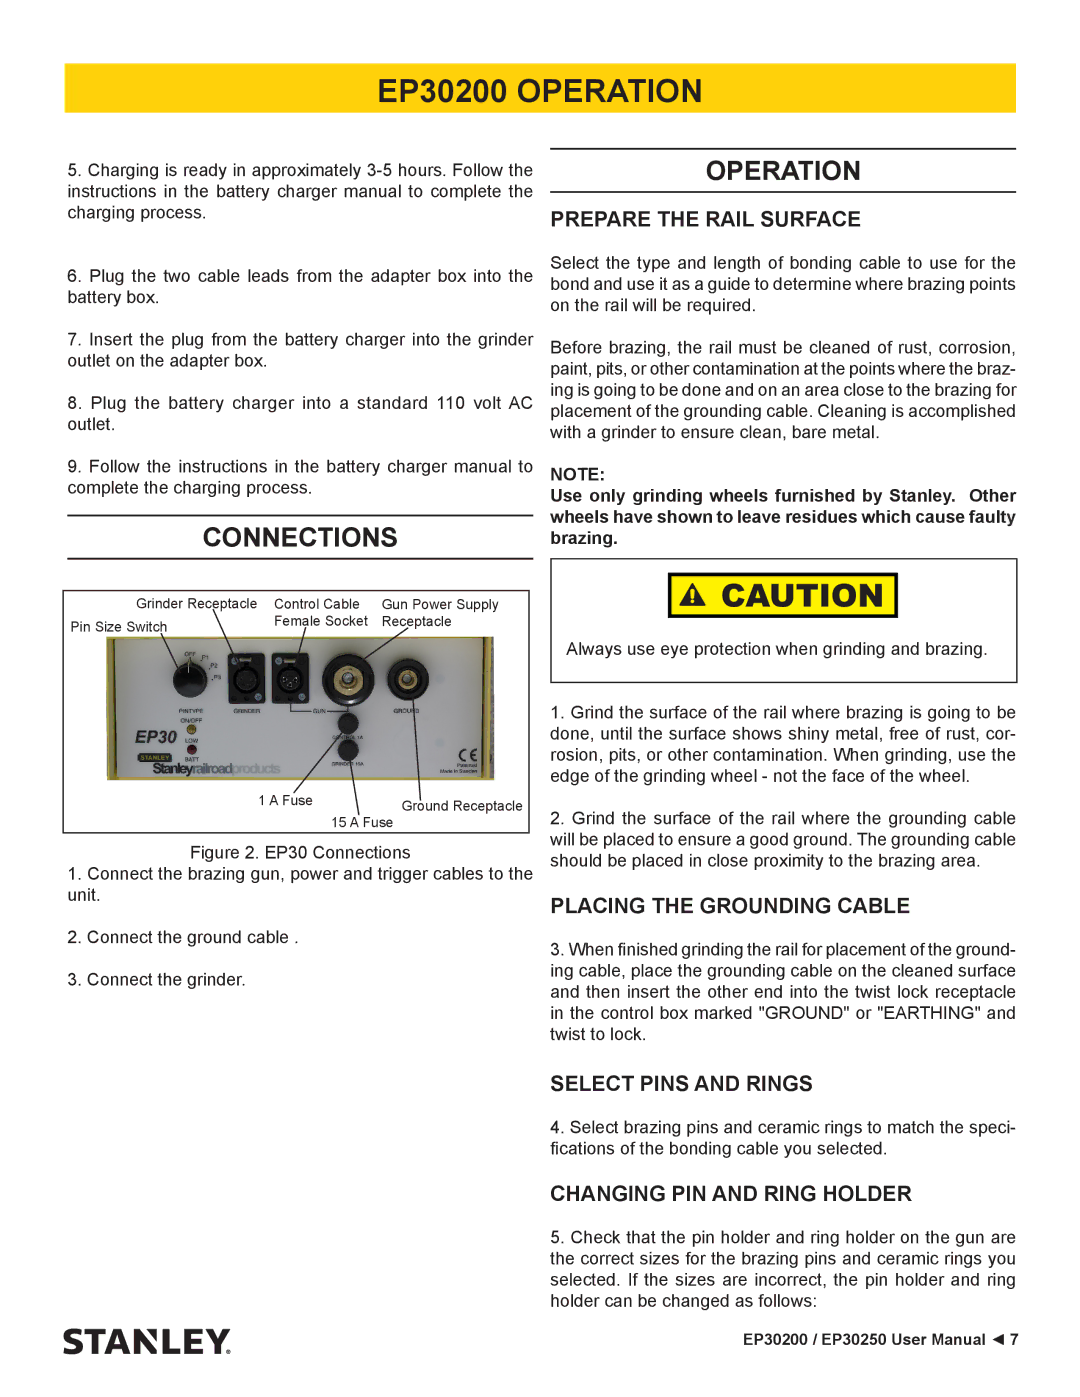
The EP30 does not have a power switch.

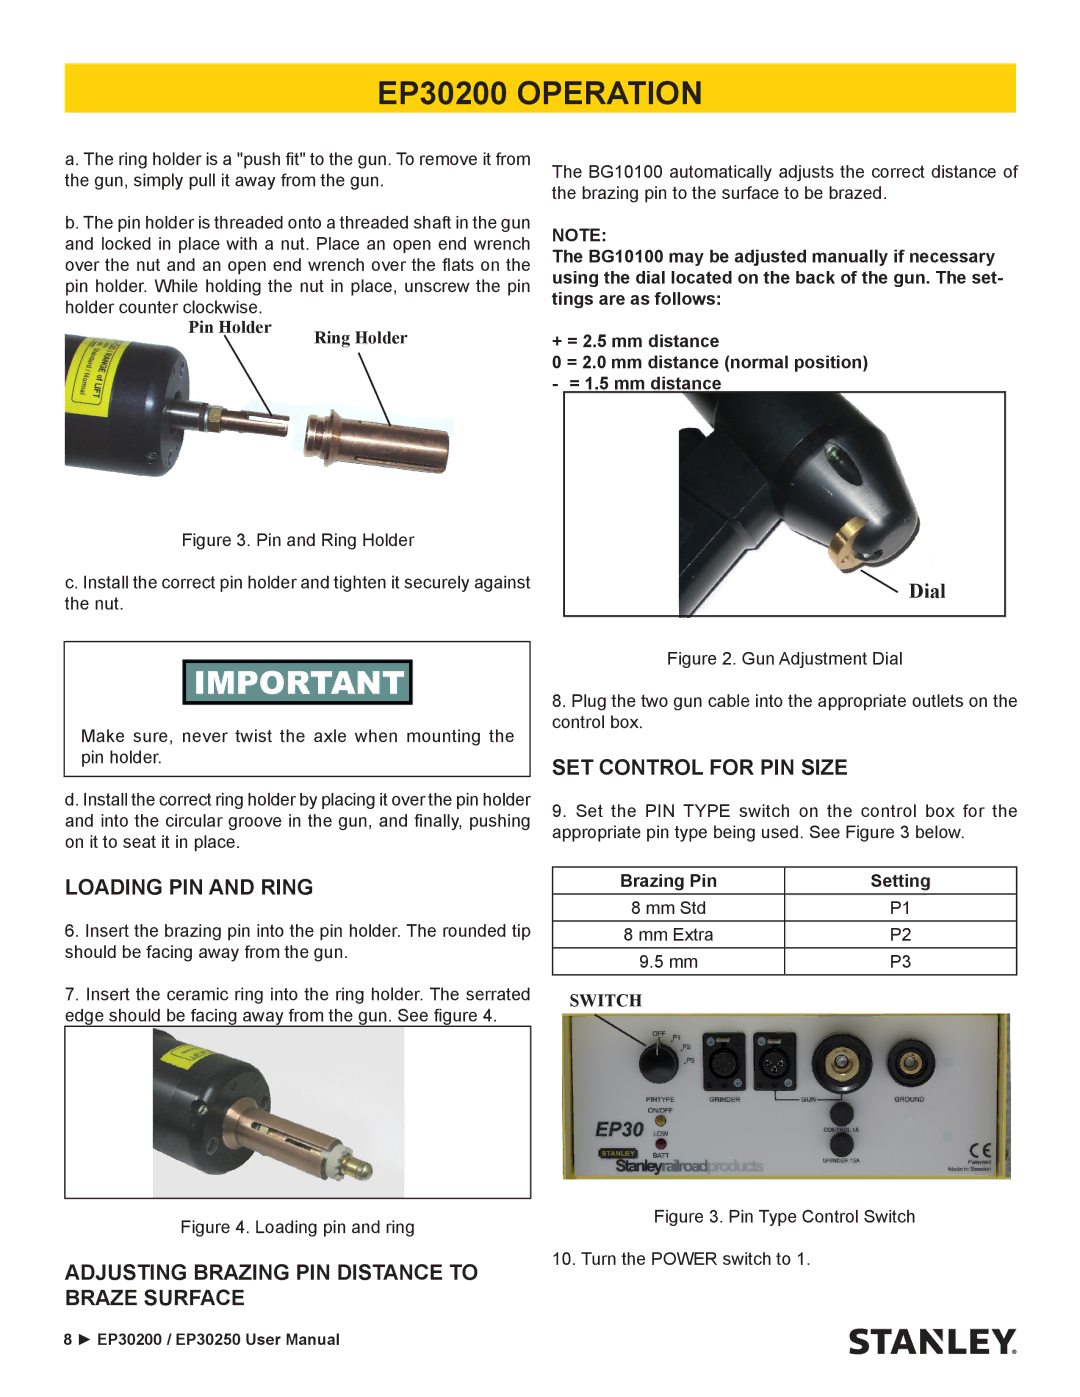
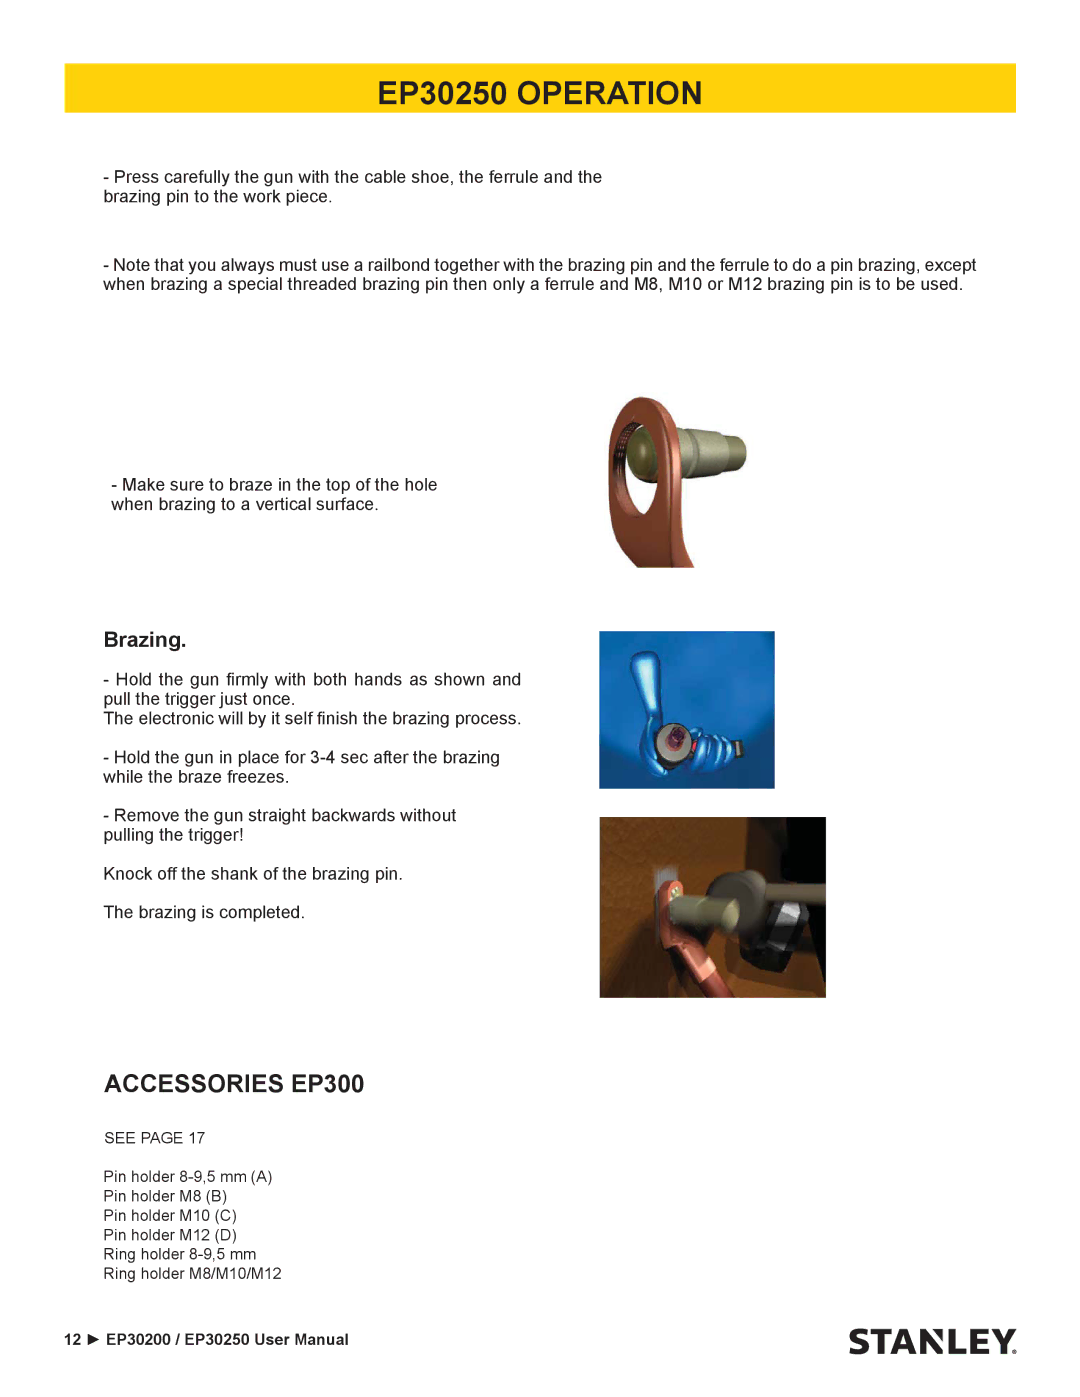
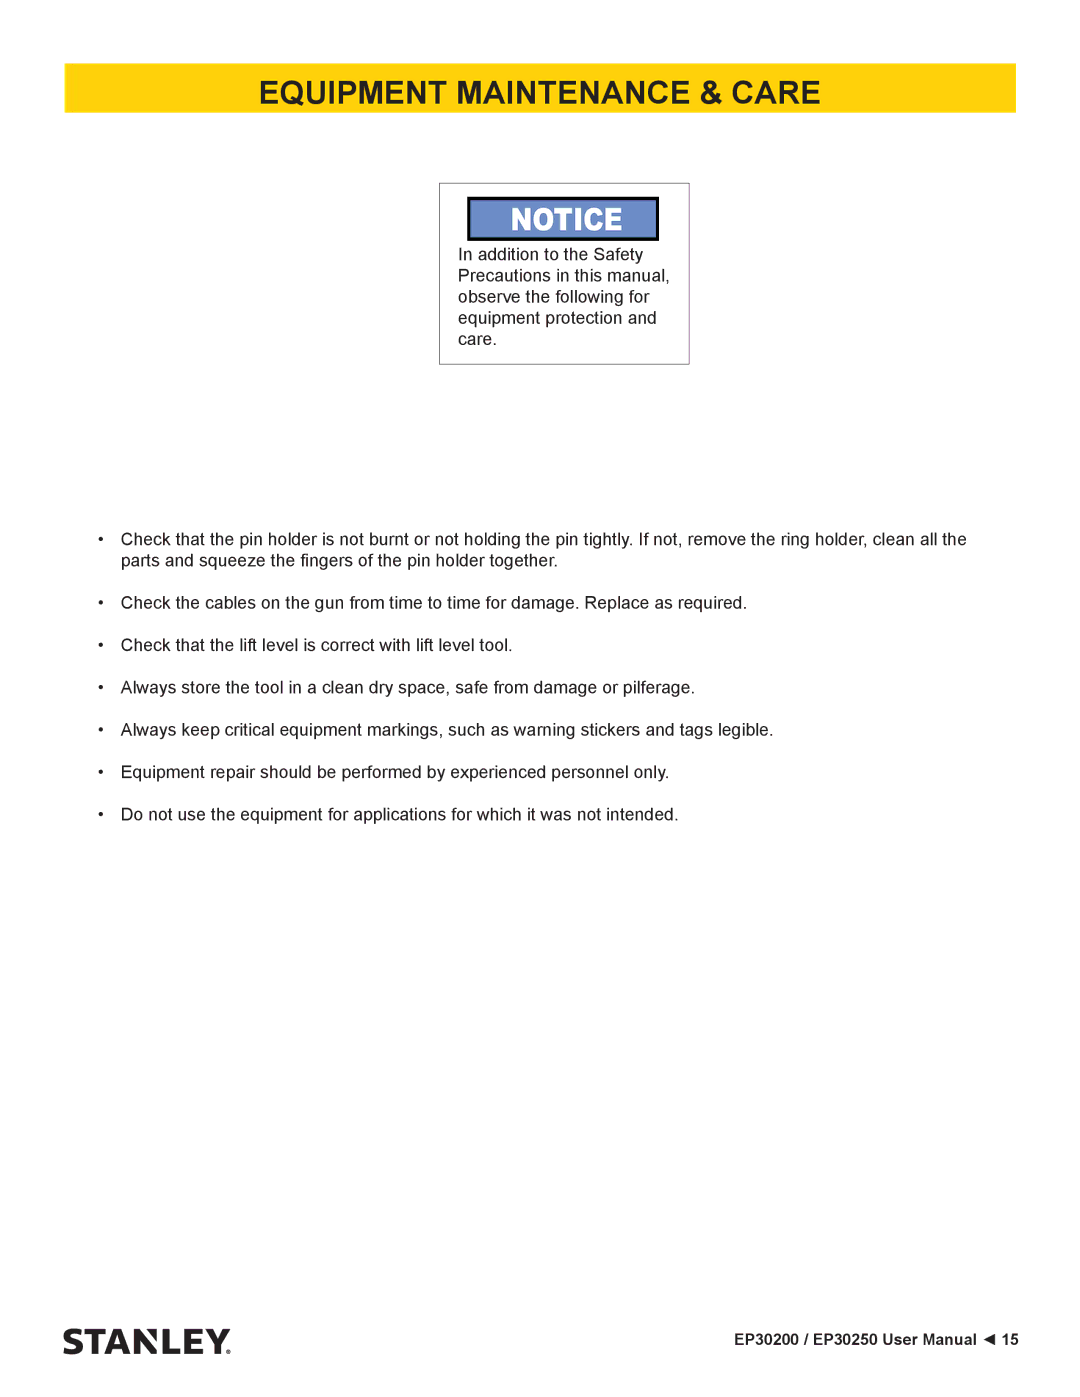
11.Position the terminal lug of the bonding cable against the cleaned surface of the rail. Position the gun against the cable lug so that the brazing pin is at the top edge of the cable lug hole. See Figure 4 below.

Figure 4. Gun position

IMPORTANT

Make sure the correct ferrule and brazing pin are used. The pin braze must be made in the top of the hole when brazing to a vertical surface.

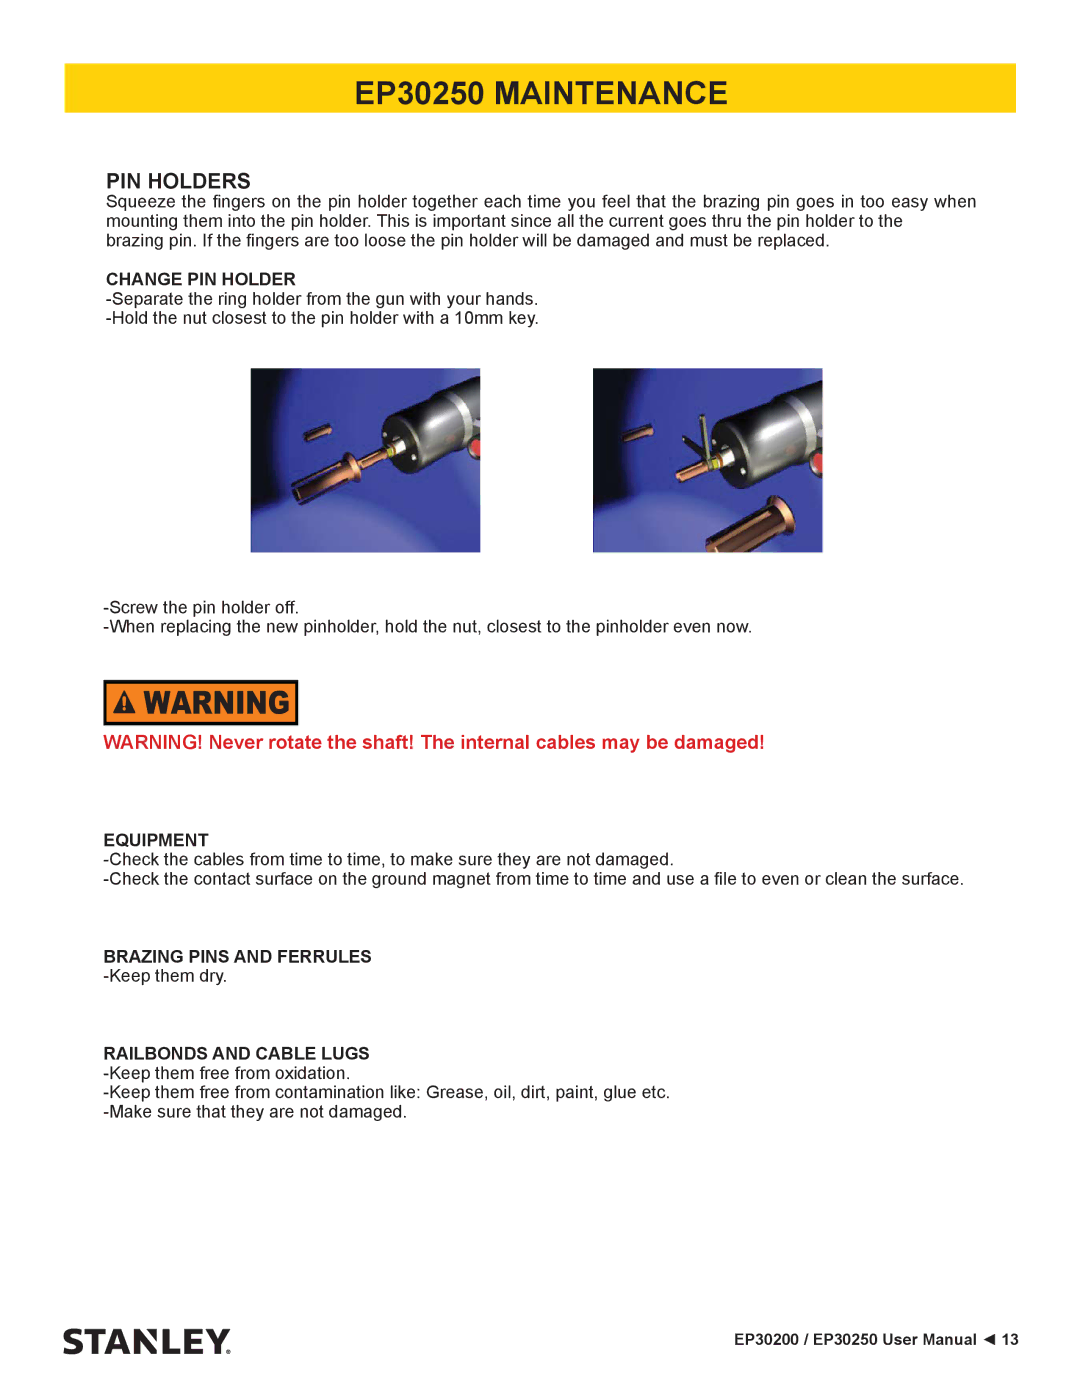
12.Hold the gun firmly with both hands and pull the trigger once. The electronics will finish the braze automatically.

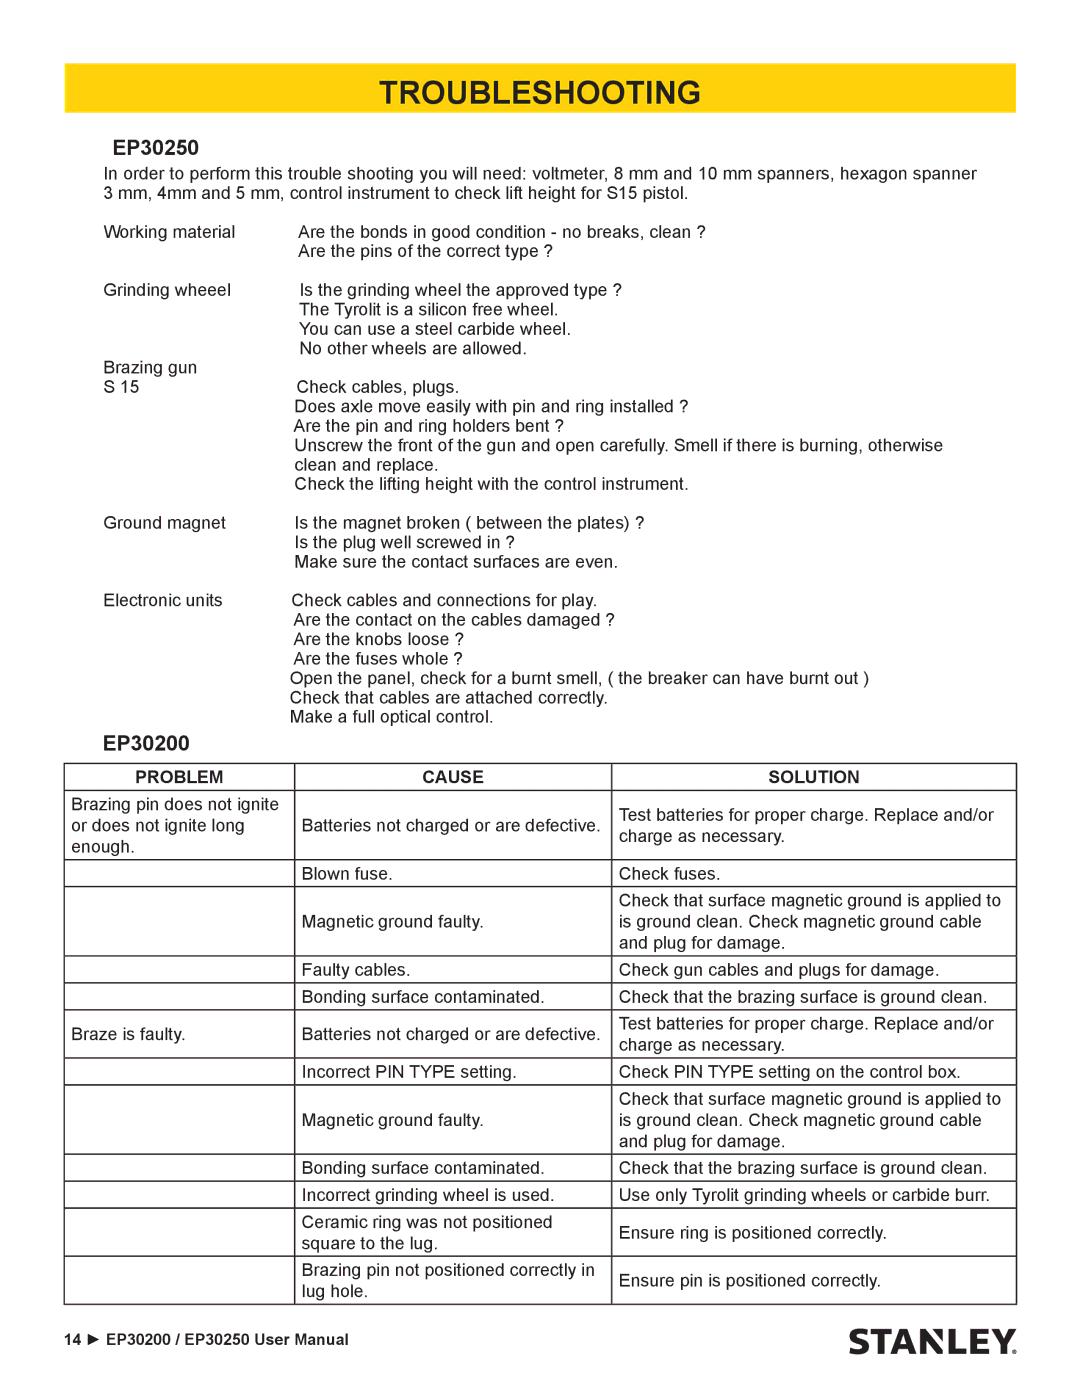
13.Hold the gun in place for 3-4 seconds after the brazing is complete to allow for cooling. Then remove the gun straight backwards without pulling trigger.

14.After the braze has cooled, knock the shank off the braz- ing pin using a hammer.

15.Use a new ceramic ring for each new pin braze.

NOTE:

A red light indicates low batteries on the unit. Charge as soon as possible.

EP30200 / EP30250 User Manual ◄ 9
Image 9
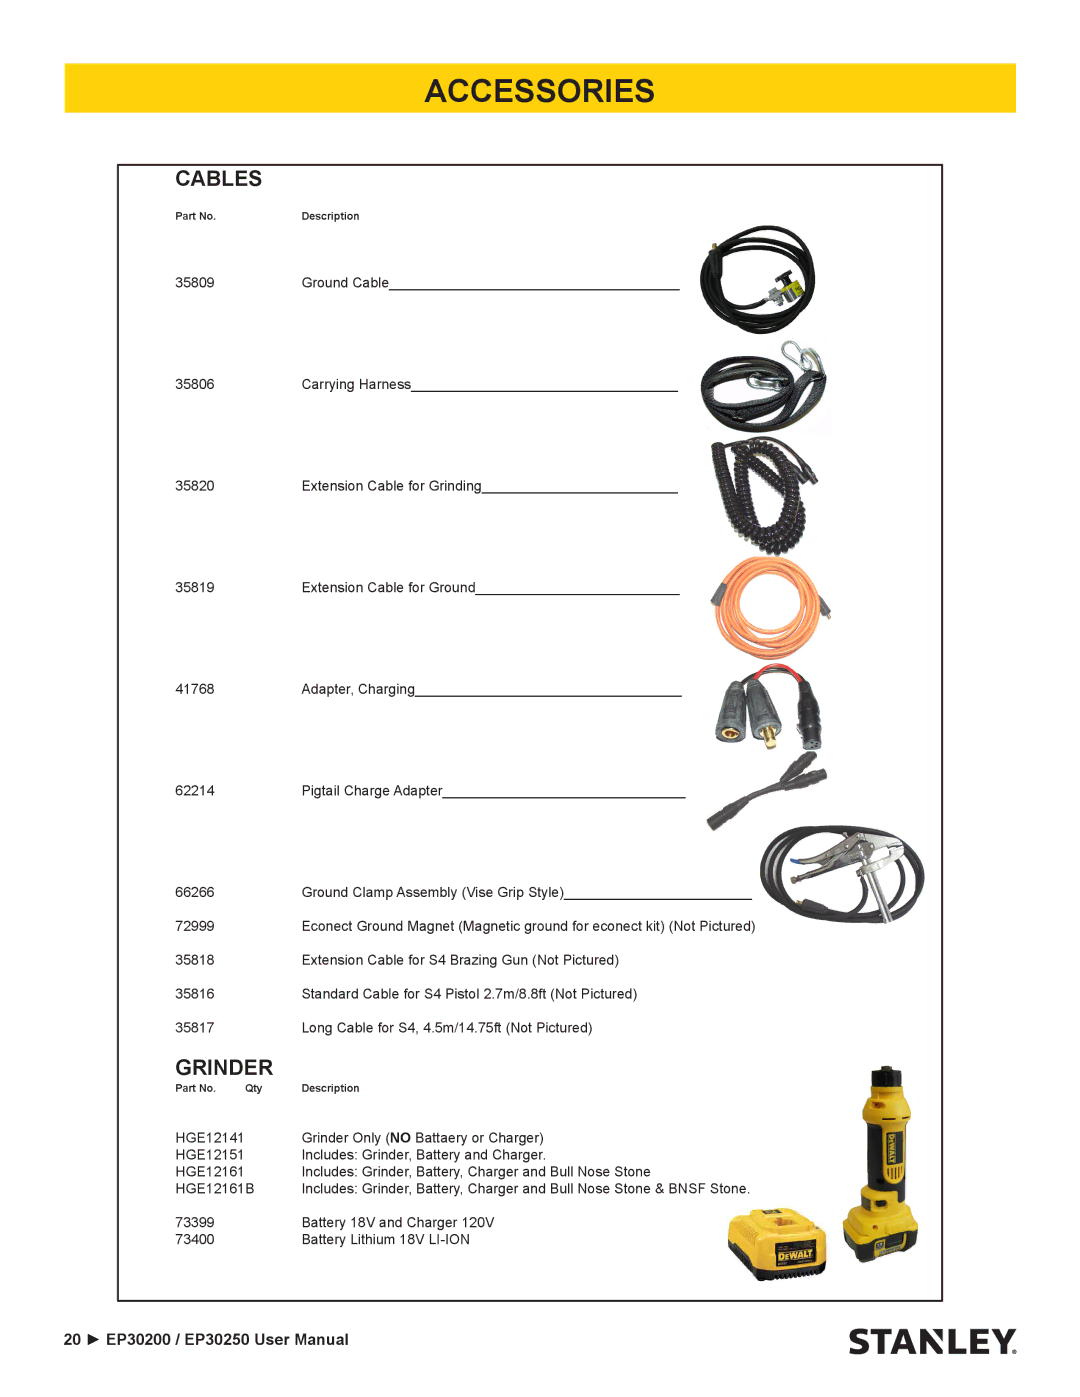
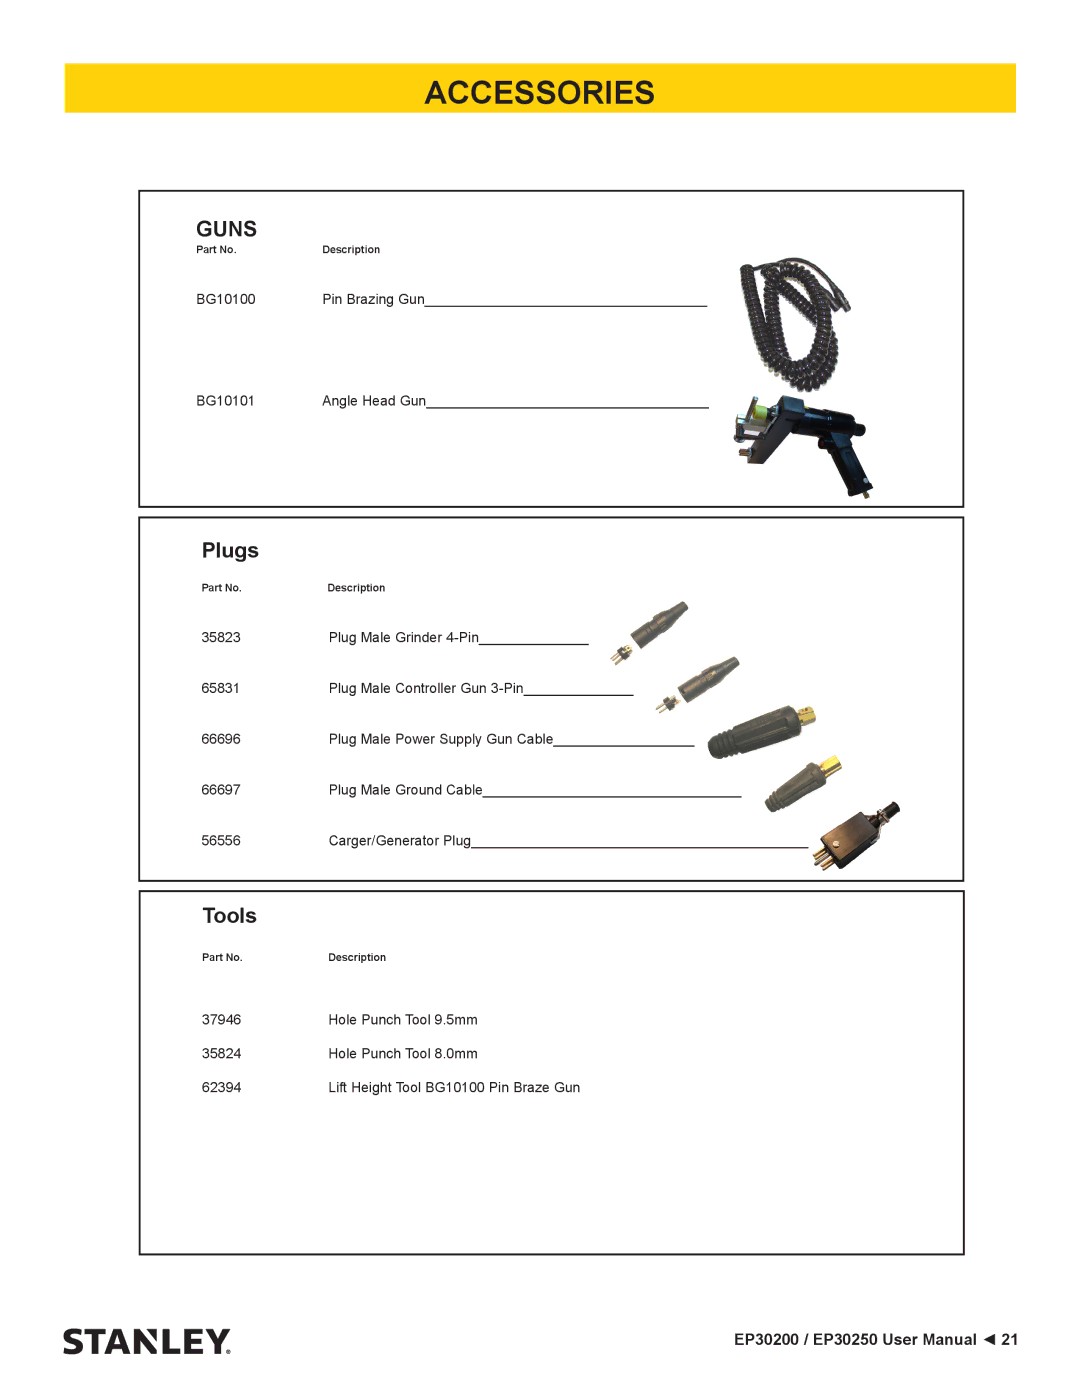
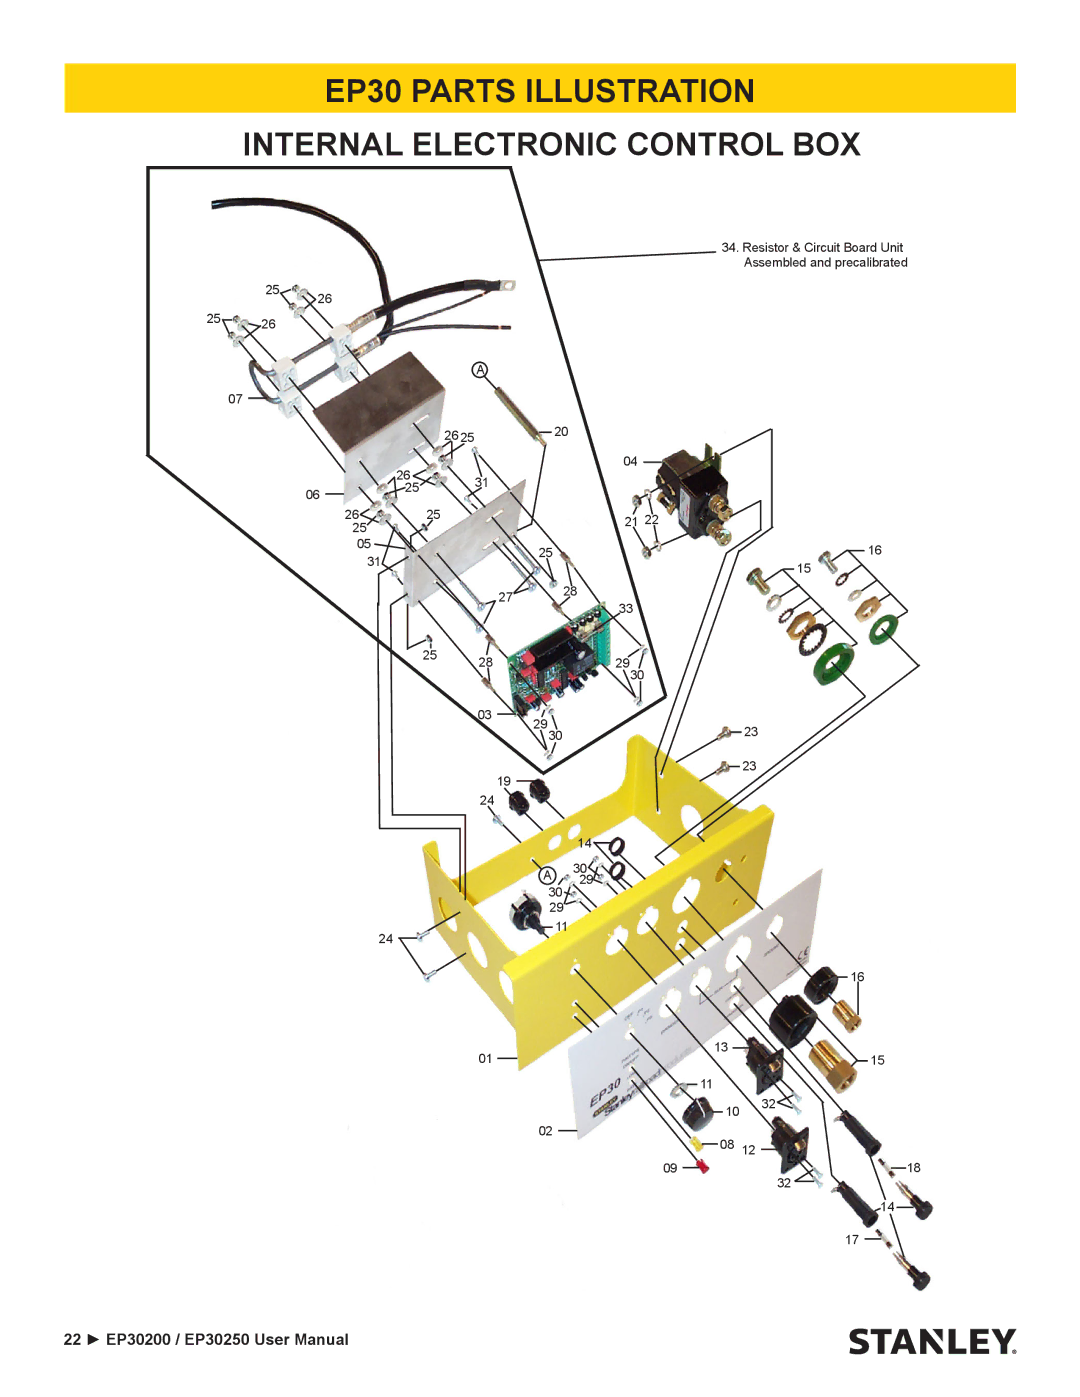
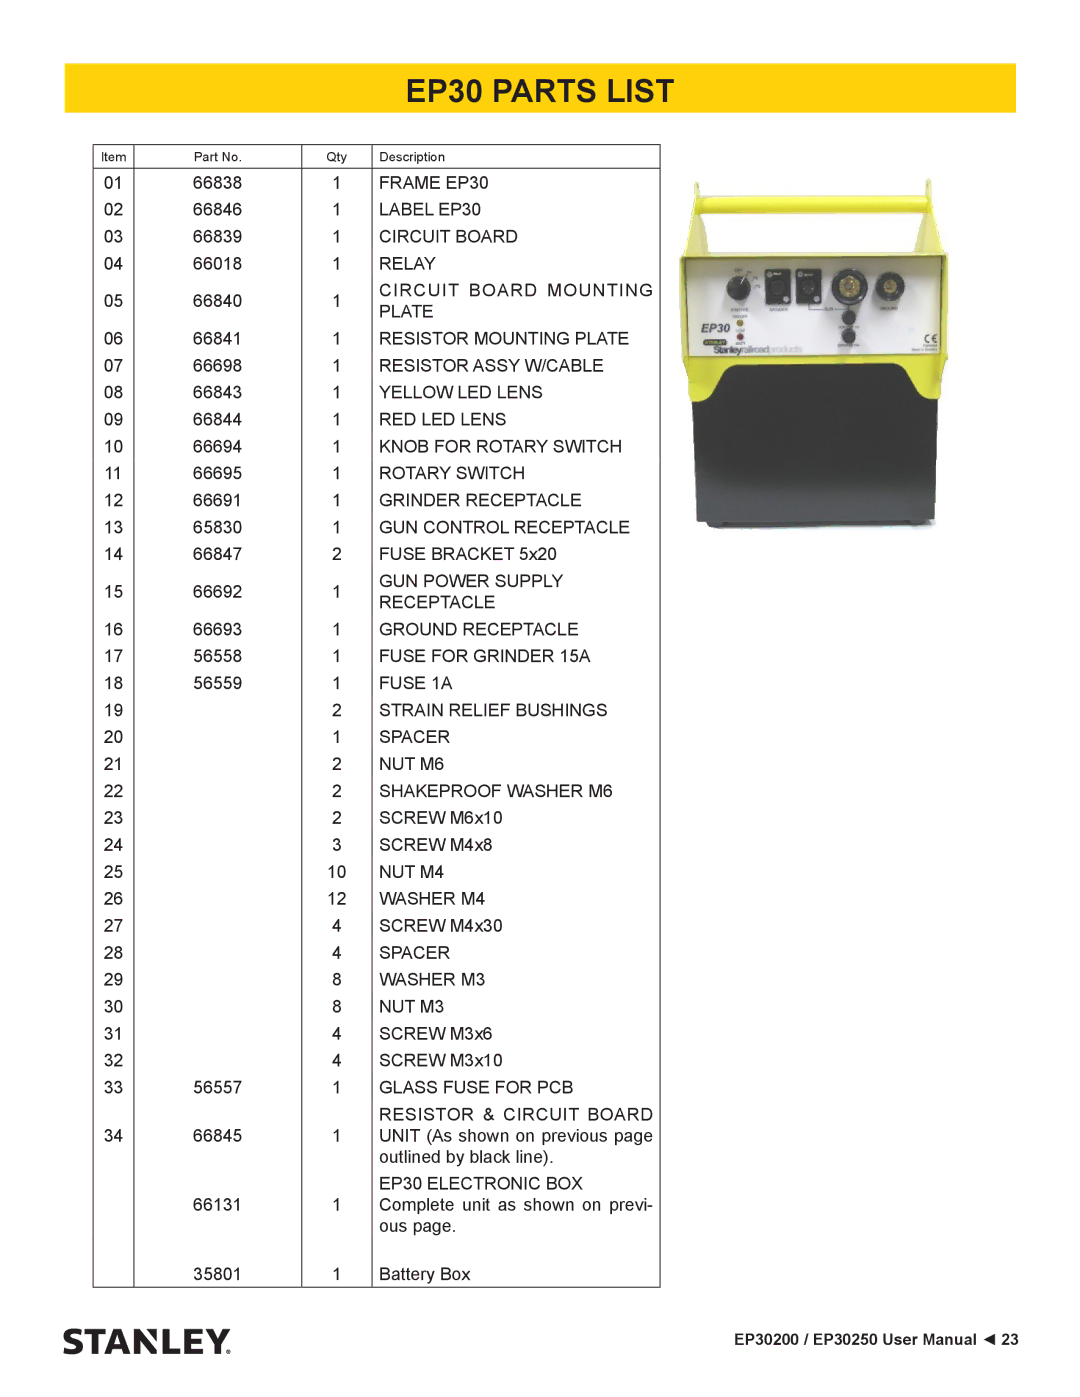
Contents EP30 Weisbeck, Andy Declaration of ConformityTable of Contents Local Safety Regulations Safety SymbolsSafety Precautions EP30200 Operation Initial Setup and Battery ChargingPrepare the Rail Surface Select Pins and RingsPlacing the Grounding Cable Changing PIN and Ring HolderAdjusting Brazing PIN Distance to Braze Surface Loading PIN and RingSET Control for PIN Size EP30 does not have a power switch EP30250 Operation Check that all parts were receivedConnect Brazing instruction Brazing Accessories EP300PIN Holders EP30250 MaintenanceTroubleshooting EP30250EP30200 Equipment Maintenance & Care Accessories SpecificationsCeramic Rings Brazing Pins & Ceramic Rings Standard Brazing PinsPIN & Ring Holders Cable Lugs for Pin Brazing to railBonding Cable with Lugs for Pin Brazing ConnectorsFuses, Chargers, & Batteries Grinder AbrasivesGrinder CablesGuns PlugsTools EP30 Parts Illustration Internal Electronic Control BOX EP30 Parts List