Listening to FM and AM (MW) Broadcasts Continued 
Tuning in to a Station
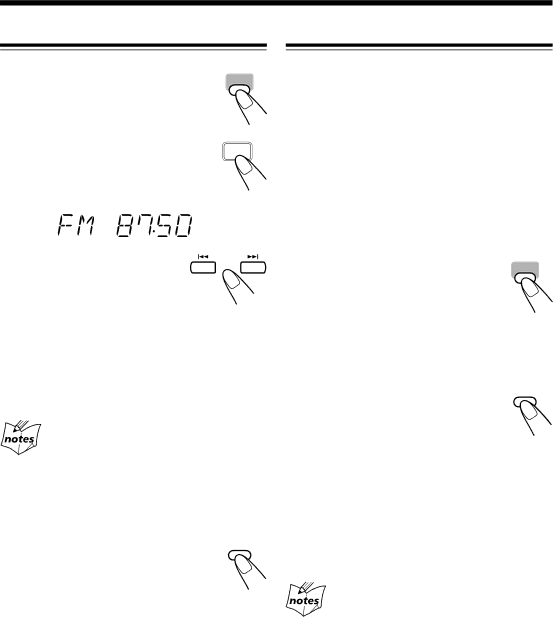
1 Press TUNER (or BAND | TUNER | |
TUNER on the unit) to select |
| |
the band. |
| |
The unit automatically turns on and |
| |
tunes in to the previously received | BAND | |
TUNER | ||
|
•Each time you press the button, the band alternates between FM and AM (MW).
2 Press and hold ¢ or
4for more than 1 second.
The unit starts searching for
stations and stops when a station of sufficient signal strength is tuned in.
•If a program is broadcast in stereo, the STEREO indicator lights up.
To stop searching, press ¢ or 4.
When you press ¢ or 4 briefly and repeatedly
The frequency changes step by step.
To change the FM reception mode |
|
On the remote control ONLY: |
|
When an FM stereo broadcast is hard to | FM MODE |
| |
receive or noisy, press FM MODE so that |
|
the MONO indicator lights up on the |
|
display. Reception will improve. |
|
To restore the stereo effect, press FM MODE again so that the MONO indicator goes off. In stereo mode, you can hear stereo sound when a stereo program is broadcast.
Presetting Stations
You can preset 30 FM and 15 AM (MW) stations—
using either automatic presetting or manual presetting. In some cases, test frequencies have been already memorized for the tuner since the factory examined the tuner preset function before shipment. This is not a malfunction.
To preset stations automatically—Automatic presetting
You need to preset stations separately for the FM and AM (MW) bands.
On the remote control ONLY:
1 Press TUNER to select the | TUNER |
band. |
|
The unit automatically turns on and tunes in to the previously received
•Each time you press the button, the band alternates between FM and AM (MW).
2 Press and hold AUTO | PRESET |
| AUTO |
PRESET for more than 2 |
|
seconds. |
|
Local stations with strong signals are
searched for and stored in memory automatically. When automatic presetting is over, the station stored in preset number 1 is tuned in.
•Storing new stations erase the previously stored one.
3Repeat steps 1 and 2 to store stations for the other band.
When you cannot automatically store stations you want
Stations with weak signals cannot be detected with automatic presetting. To store such stations, use manual presetting.
12