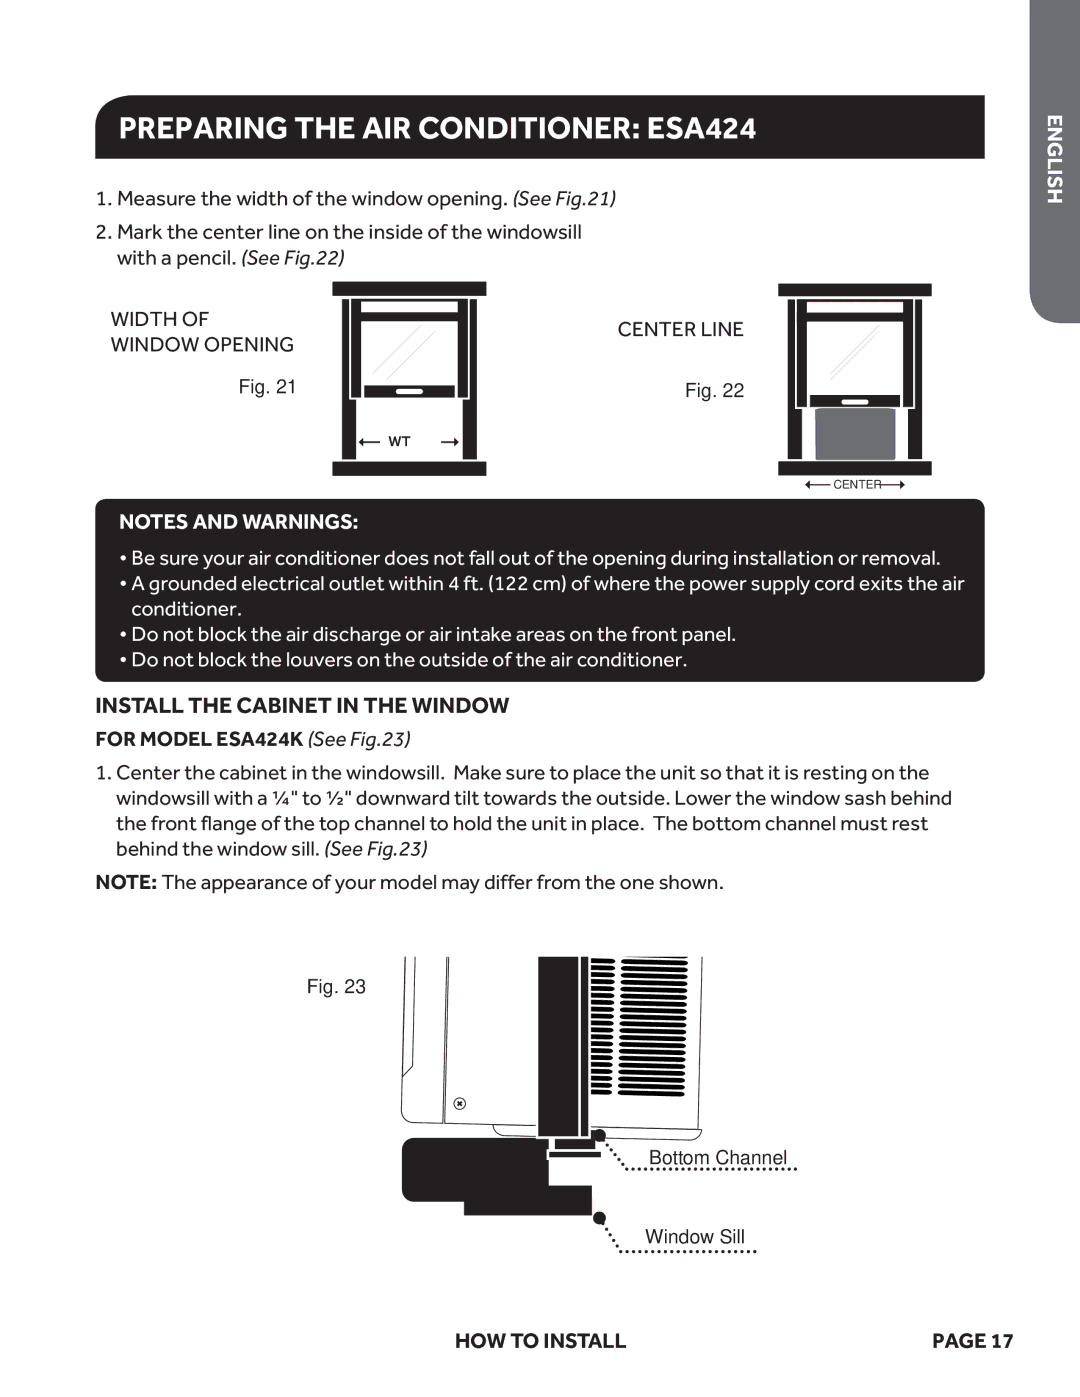
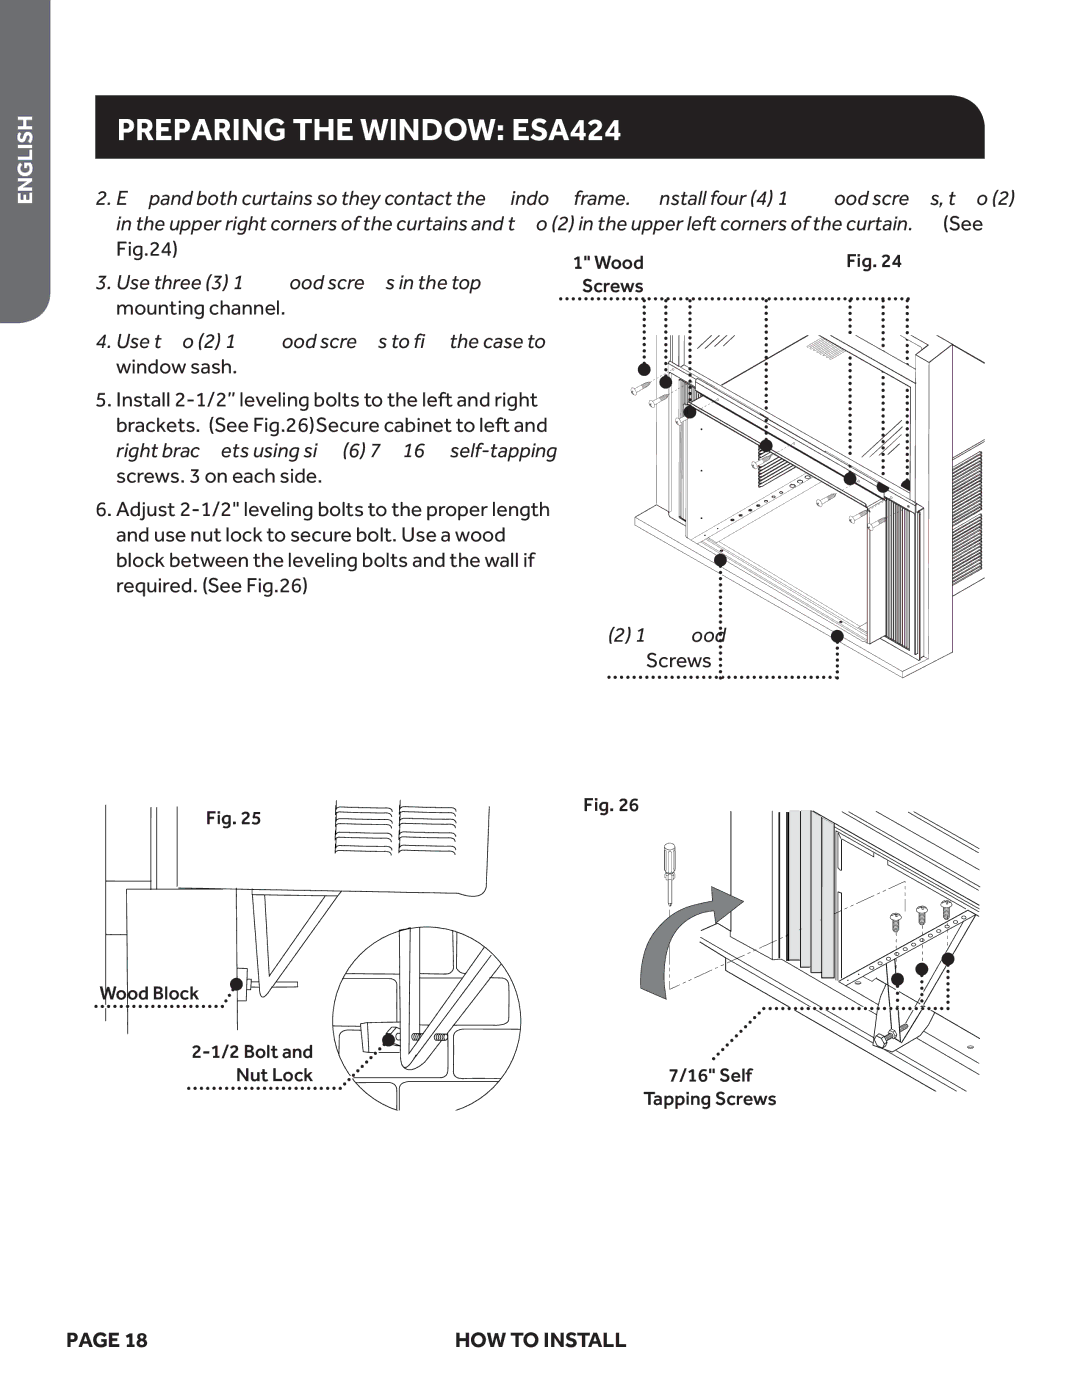
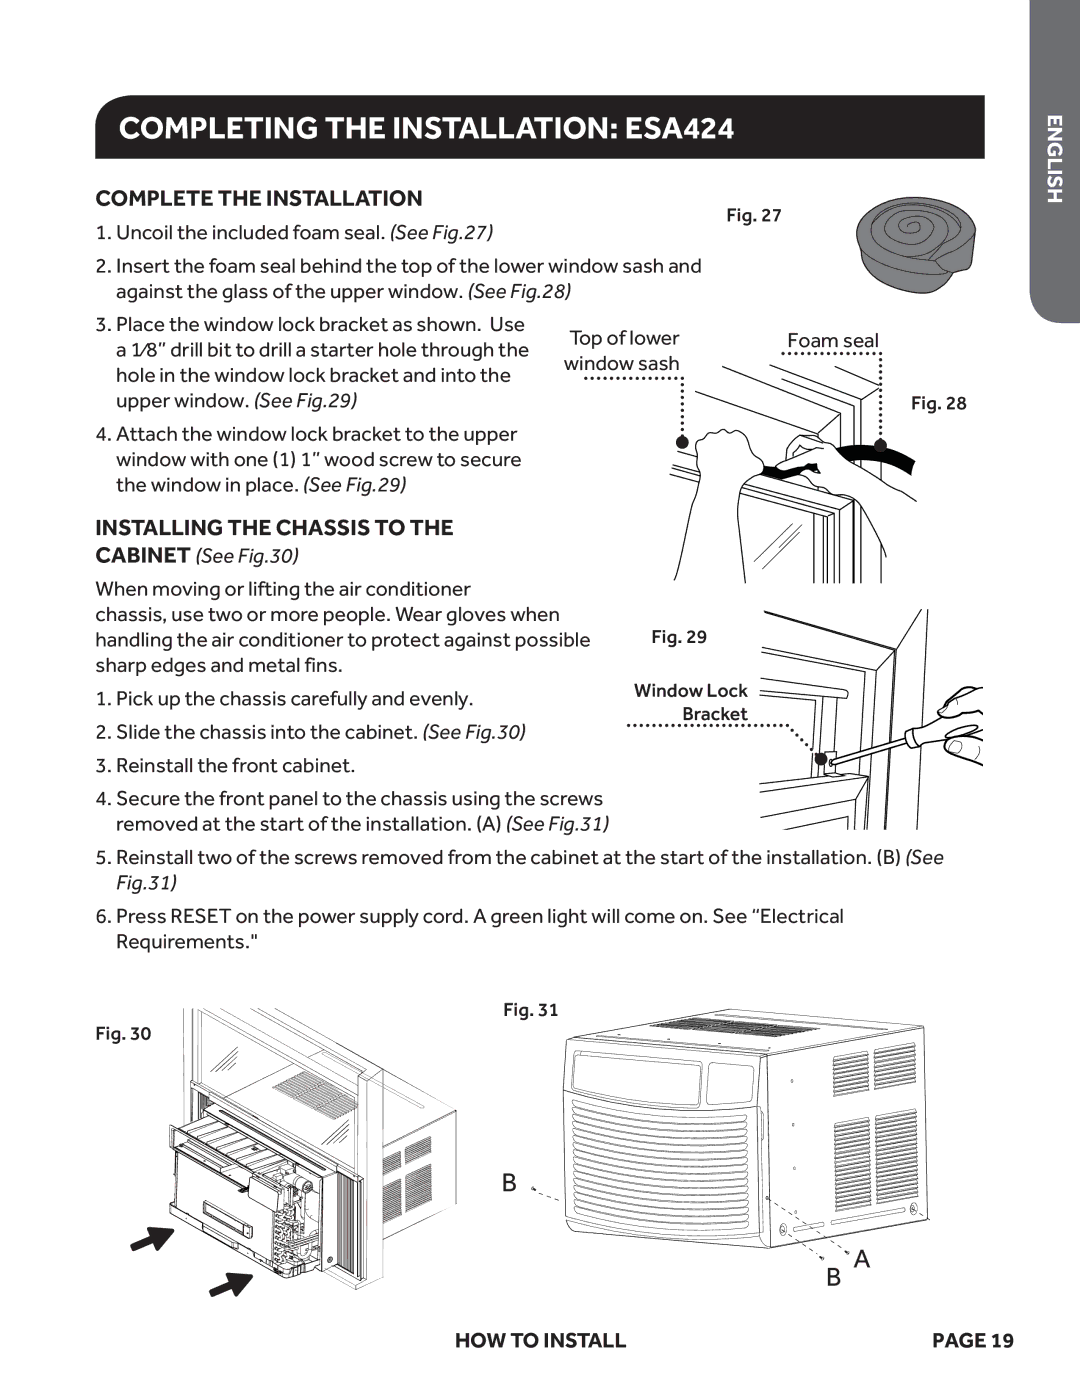
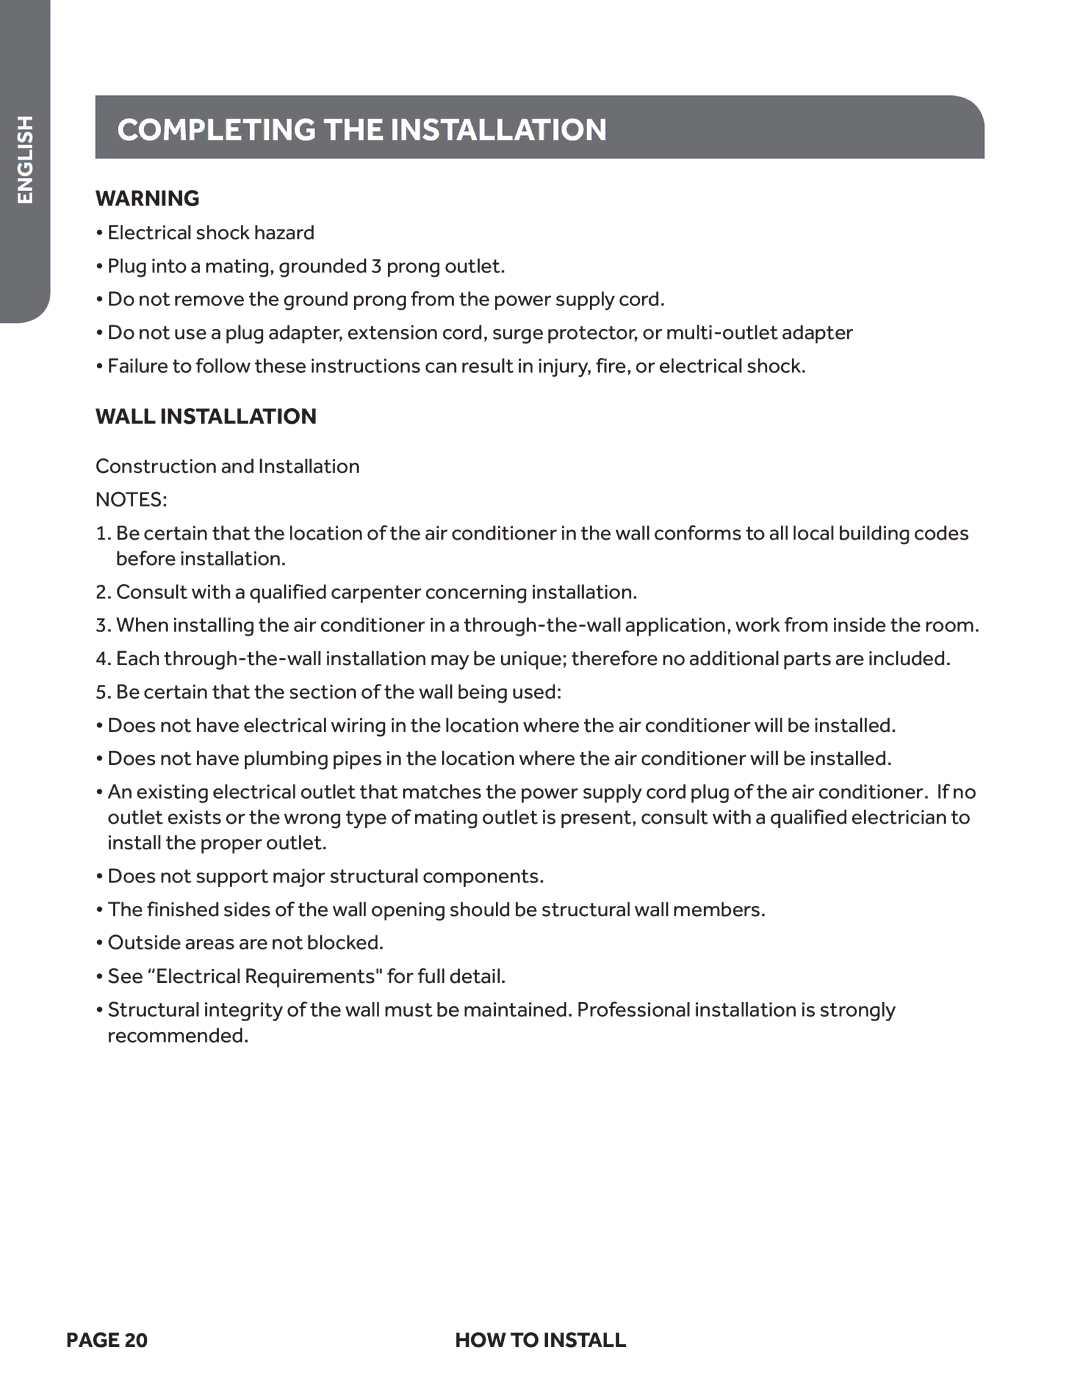
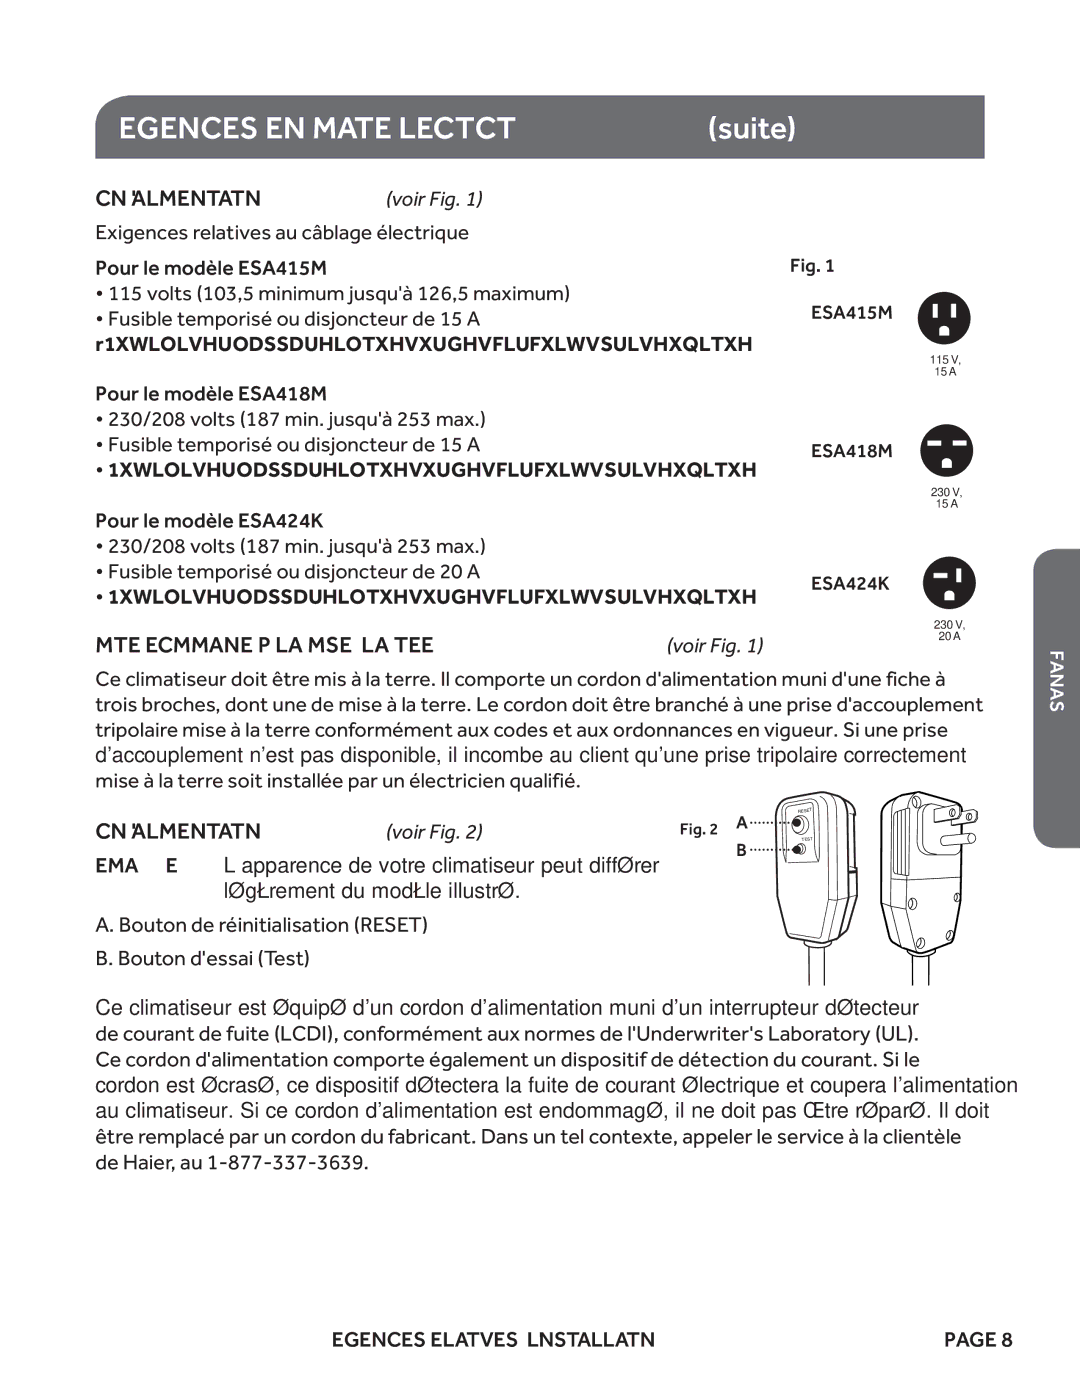
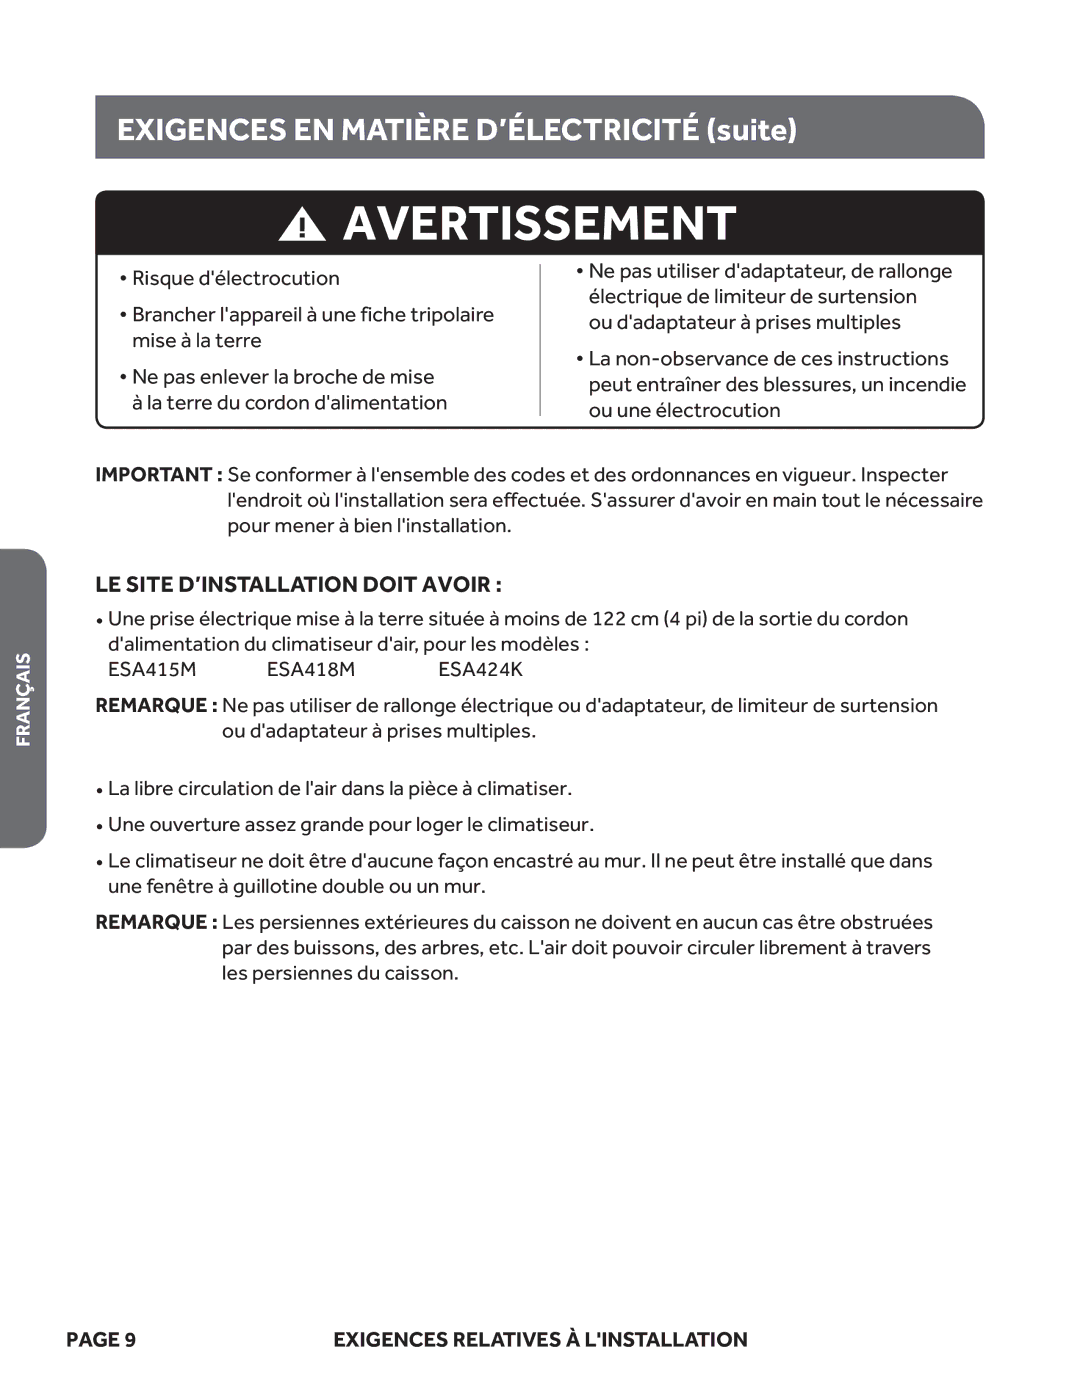
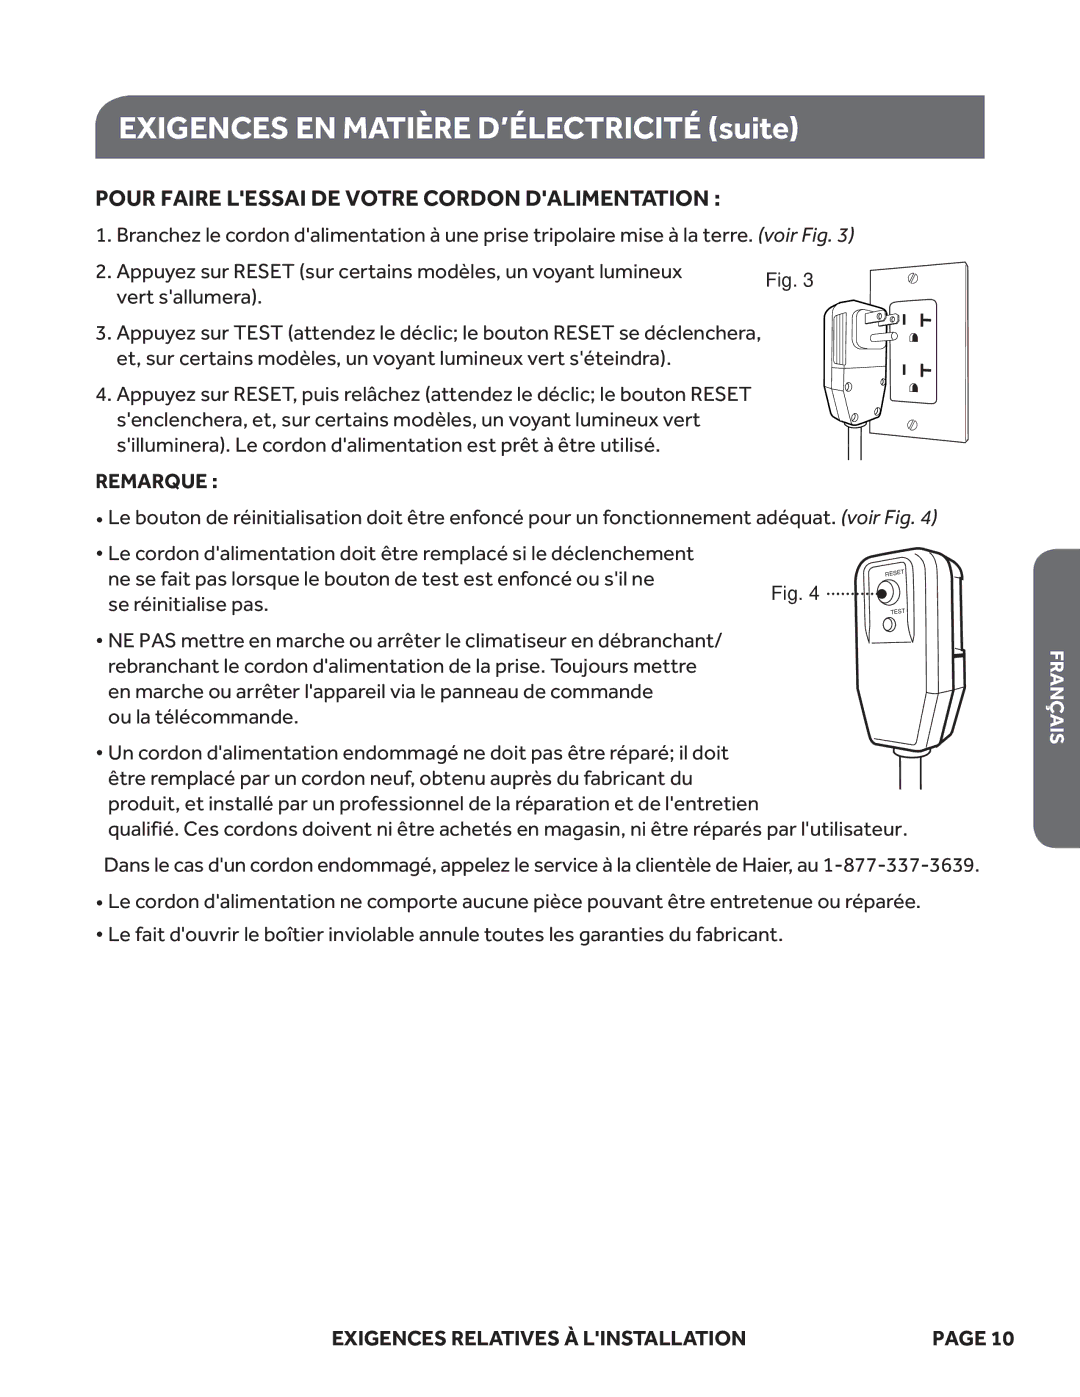
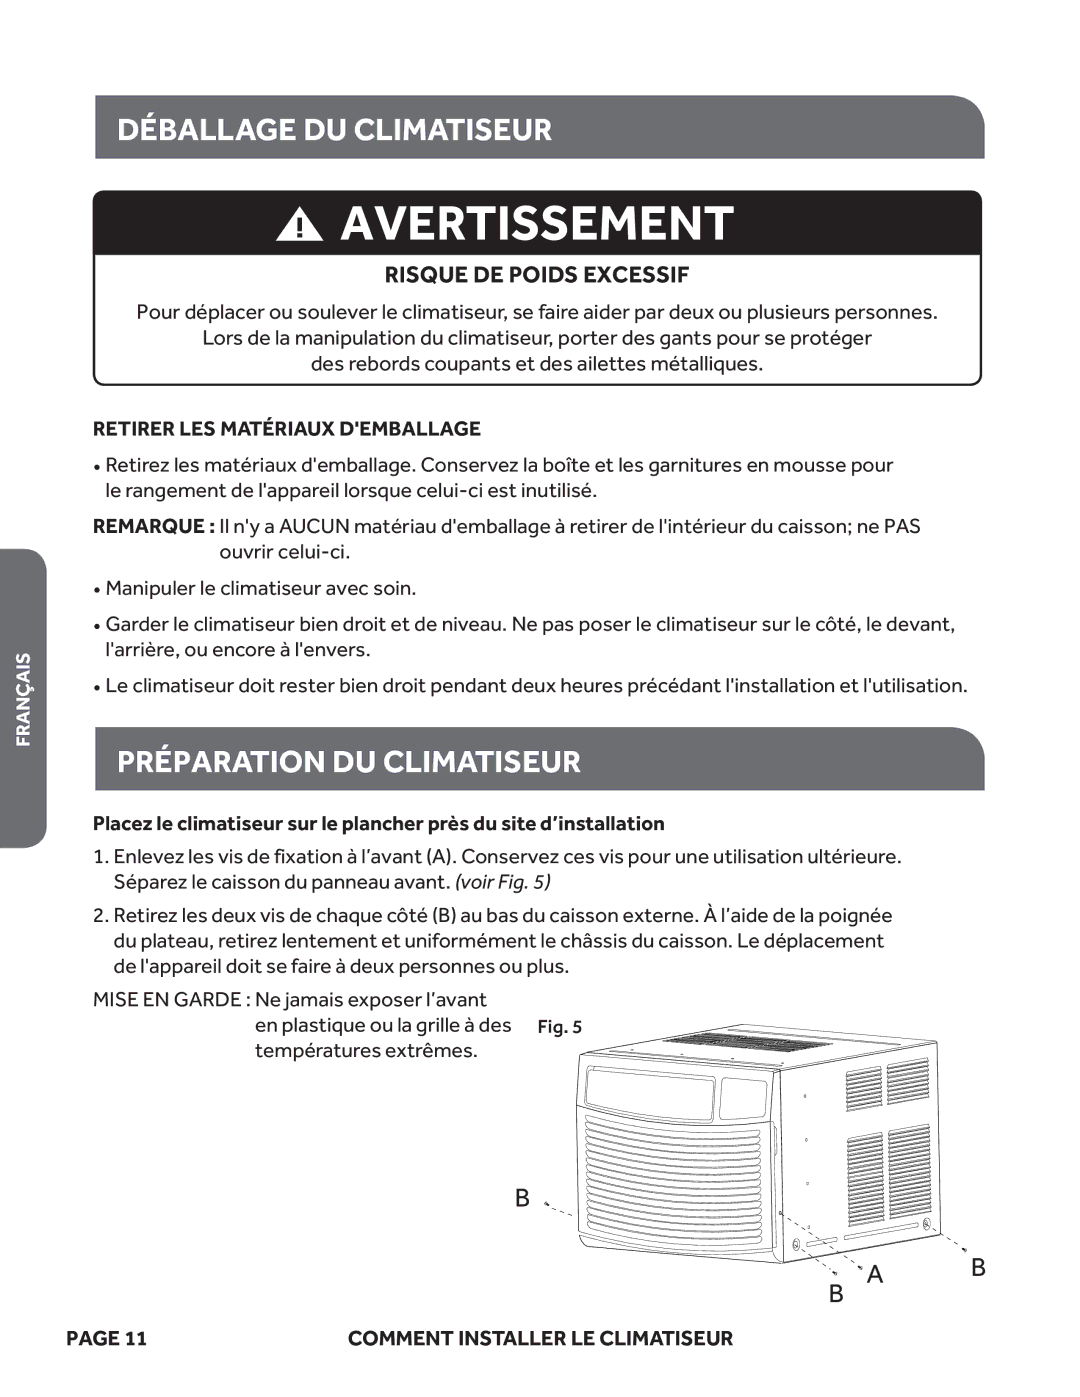
Haier ESA418M, ESA424K, ESA415M user manual Using the Remote Control, Filter Reset, Power

Page 28

USING THE REMOTE CONTROL

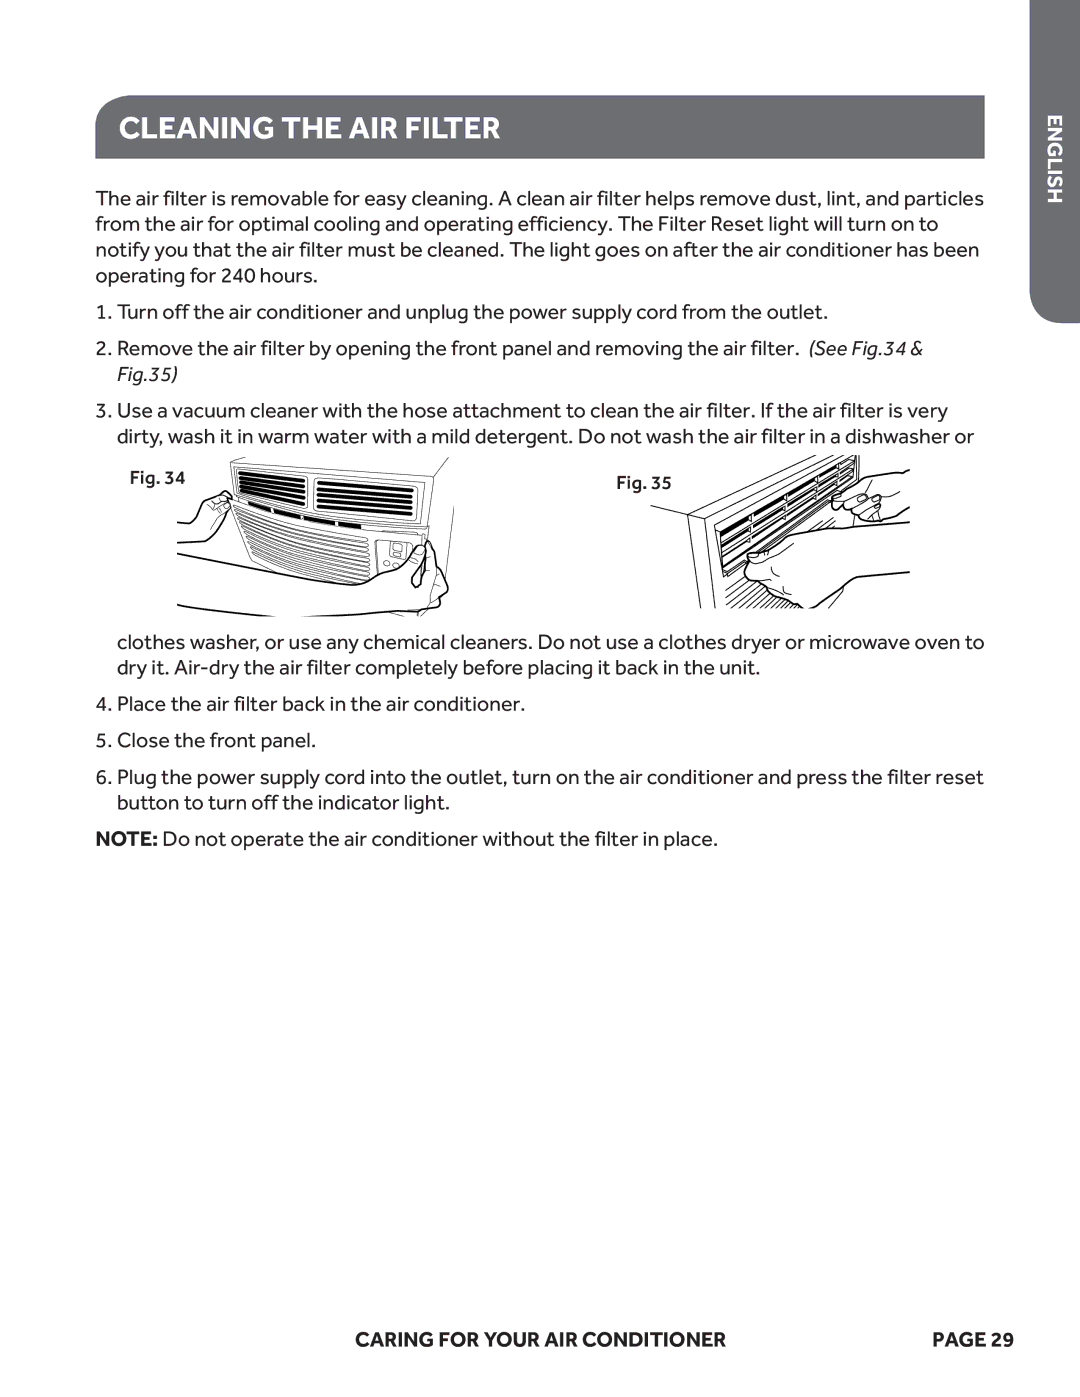
ENGLISH

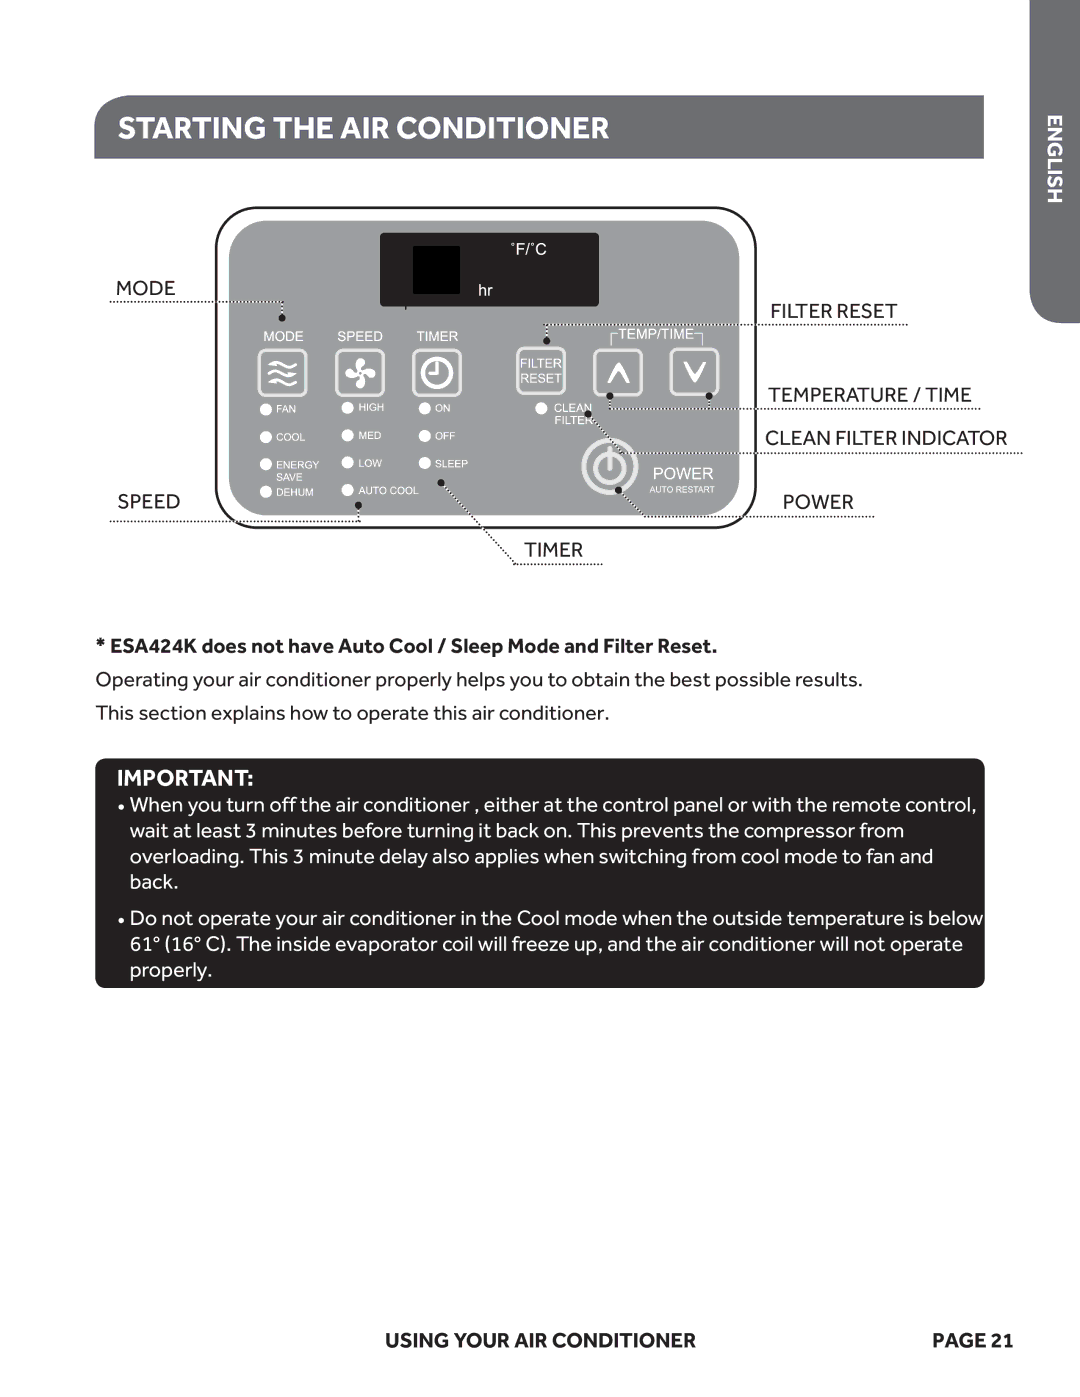
FILTER RESET

This feature automatically notifies you that the air filter must be cleaned. The indicator light will come on after 240 hours of operation. Clean the air filter (refer to Care and Cleaning), place it back in the front panel, and press the Filter Reset button. The light will turn off.

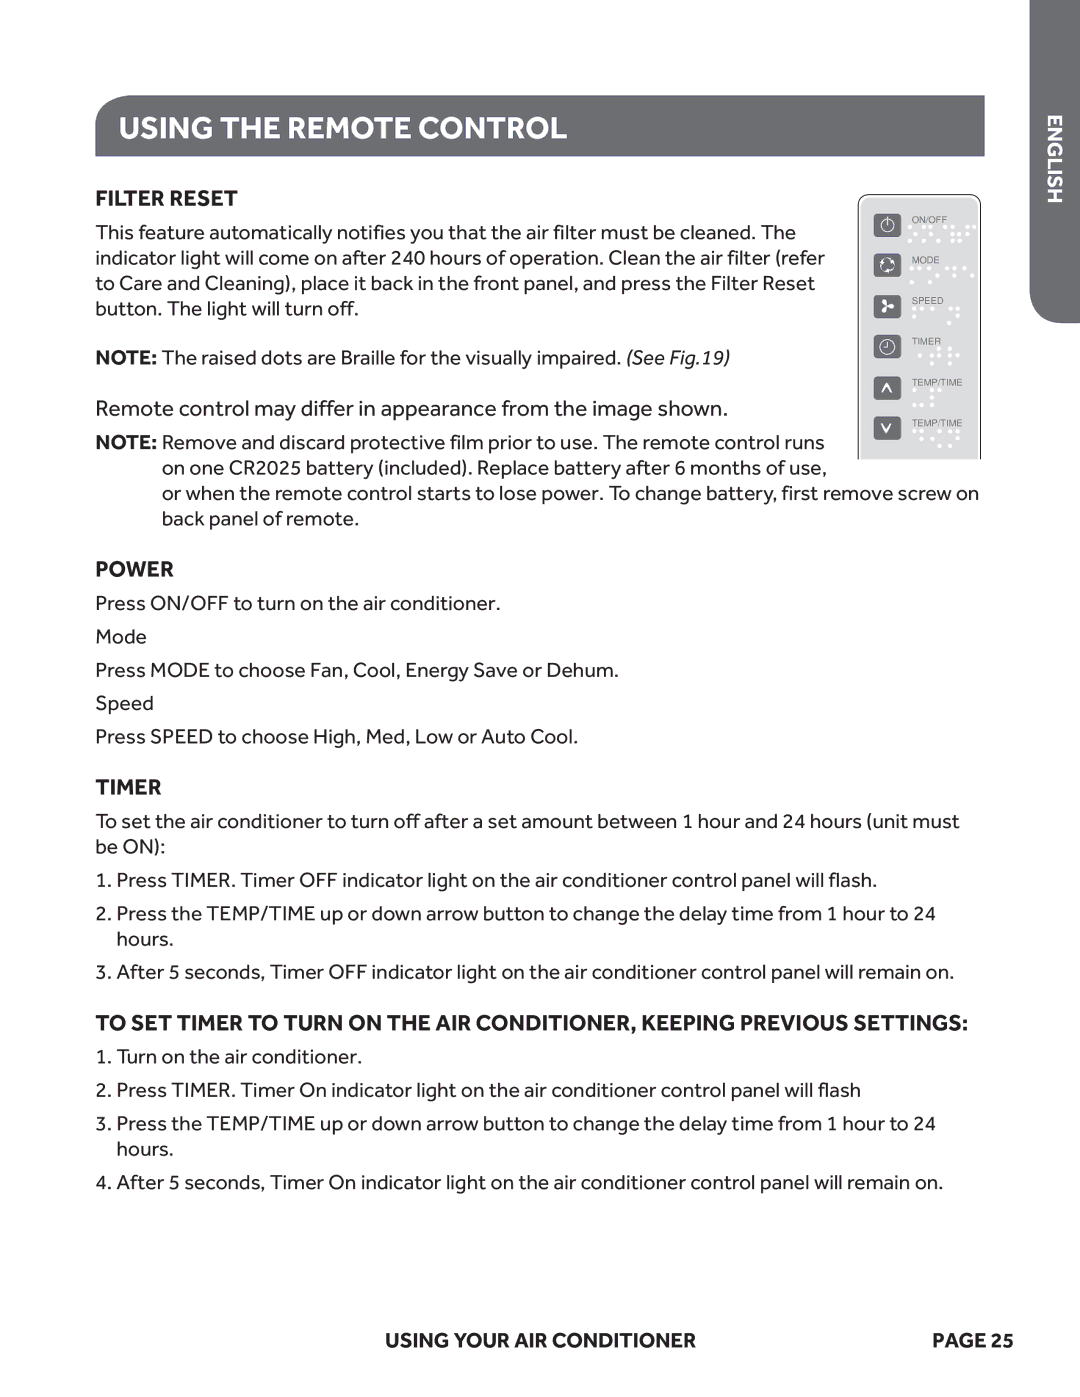
NOTE: The raised dots are Braille for the visually impaired. (See Fig.19)

Remote control may differ in appearance from the image shown.

ON/OFF

MODE

SPEED

TIMER

TEMP/TIME

TEMP/TIME

NOTE: Remove and discard protective film prior to use. The remote control runs on one CR2025 battery (included). Replace battery after 6 months of use,

or when the remote control starts to lose power. To change battery, first remove screw on back panel of remote.

POWER

Press ON/OFF to turn on the air conditioner.

Mode

Press MODE to choose Fan, Cool, Energy Save or Dehum.

Speed

Press SPEED to choose High, Med, Low or Auto Cool.

TIMER

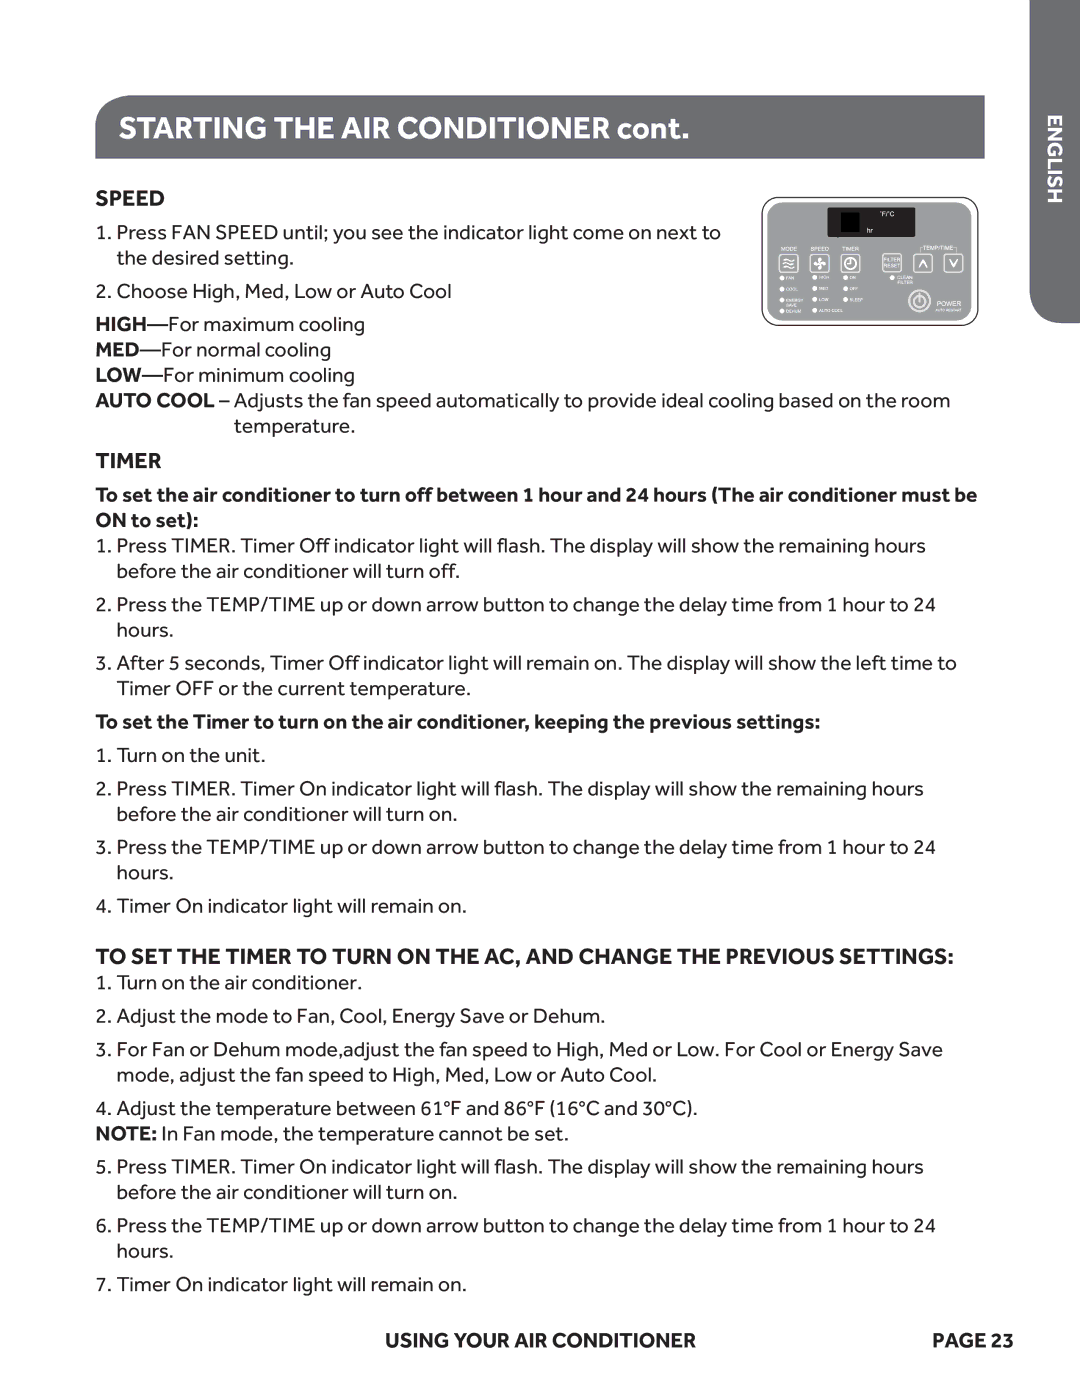
To set the air conditioner to turn off after a set amount between 1 hour and 24 hours (unit must be ON):

1.Press TIMER. Timer OFF indicator light on the air conditioner control panel will flash.

2.Press the TEMP/TIME up or down arrow button to change the delay time from 1 hour to 24 hours.

3.After 5 seconds, Timer OFF indicator light on the air conditioner control panel will remain on.

TO SET TIMER TO TURN ON THE AIR CONDITIONER, KEEPING PREVIOUS SETTINGS:

1.Turn on the air conditioner.

2.Press TIMER. Timer On indicator light on the air conditioner control panel will flash

3.Press the TEMP/TIME up or down arrow button to change the delay time from 1 hour to 24 hours.

4.After 5 seconds, Timer On indicator light on the air conditioner control panel will remain on.

USING YOUR AIR CONDITIONER

PAGE 25

Image 28 Contents
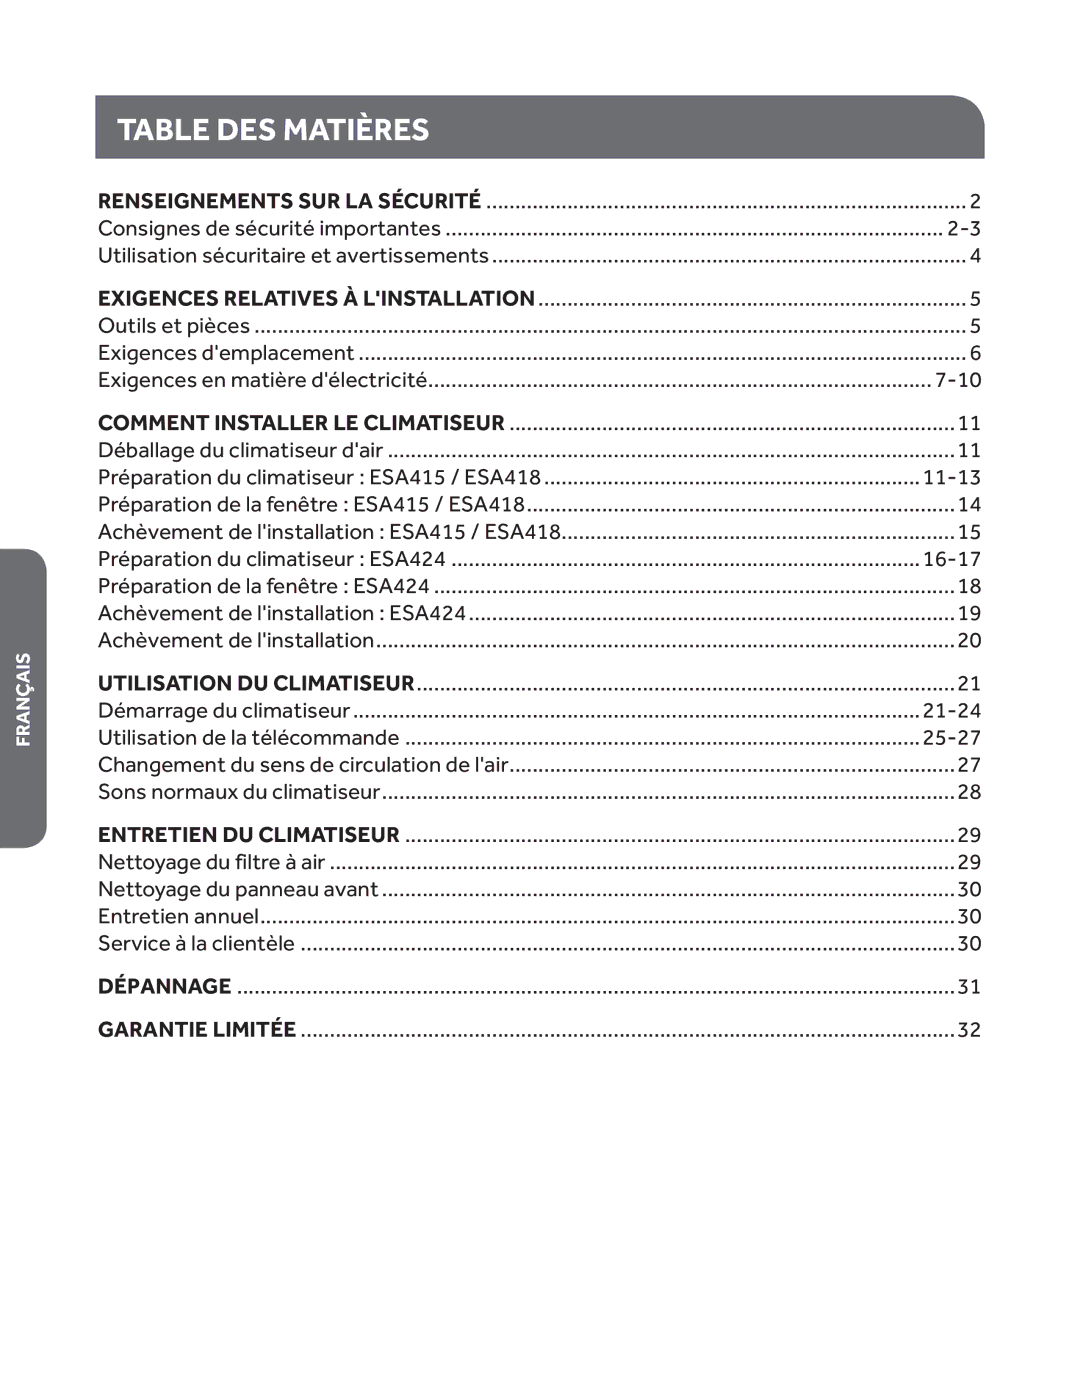
Aire acondicionado Page Product Registration Table of Contents Important Safety Precautions Safety Information Operational Safety & Warnings Installation Requirements Tools and PartsWindow Installation Location RequirementsElectrical Safety and Warnings Electrical RequirementsElectrical Requirements Power Supply Cord SeeRecommended Grounding Method See Location should Provide ESA415M ESA418M ESA424KTo Test Your Power Supply Cord SeeHOW to Install Unpacking the AIR ConditionerPreparing the AIR Conditioner Remove Packaging MaterialsPreparing the AIR Conditioner cont. ESA415 / ESA418 For Models ESA415M ESA418MInstall the Cabinet in the Window See Window OpeningPreparing the Window ESA415 / ESA418 Complete the Installation Completing the Installation ESA415 / ESA418Installing the Chassis to the Cabinet See Preparing the AIR Conditioner ESA424 For Model ESA424Install the Cabinet in the Window For Model ESA424K SeePreparing the Window ESA424 Completing the Installation ESA424 Installing the Chassis toCompleting the Installation Wall Installation Using Your AIR Conditioner Starting the AIR ConditionerStarting the AIR Conditioner ModeTimer SpeedTo Clear Timer Program To View or Change the Remaining Time in Hours Timer OFFTimer on SleepFilter Reset Using the Remote ControlPower To Clear Timer Delay Program Using the Remote ControlTo see or Change the Remaining Time in Hours Timer OFF Changing the AIR Direction Normal Sounds of AN AIR Conditioner Normal SoundsCleaning the AIR Filter Caring for Your AIR ConditionerCleaning the Front Panel Annual MaintenanceCustomer Service AIR ConditionerTroubleshooting Possible Cause RemedyLimited Warranty ONE Year Limited WarrantyEnregistrement DU Produit Table DES Matières Entretien DU ClimatiseurAvertissement Renseignements SUR LA SécuritéConservez CES Instructions Utilisation Sécuritaire ET Avertissements Outils ET Pièces Outils RequisExigences Relatives À L’EMPLACEMENT Installation À LA FenêtreExigences Relatives À Linstallation AvertissementExigences Concernant Lalimentation Électrique Sécurité Électrique ET AvertissementsExigences EN Matière D’ÉLECTRICITÉ suite Méthode Recommandée Pour LA Mise À LA Terre voir FigCordon Dalimentation voir Fig LE Site D’INSTALLATION Doit Avoir Pour Faire Lessai DE Votre Cordon Dalimentation RemarquePréparation DU Climatiseur Déballage DU ClimatiseurRetirer LES Matériaux Demballage Préparation DU Climatiseur suite ESA415 / ESA418 Comment Installer LE ClimatiseurPour LES Modèles ESA415M ESA418M Installation DU Caisson À LA Fenêtre voir Fig Remarques ET AvertissementsPréparation DE LA Fenêtre ESA415 / ESA418 Voir FigAchèvement DE Linstallation Achèvement DE Linstallation ESA415 / ESA418Installation DU Châssis À LA Fenêtre Préparation DU Climatiseur ESA424 Pour LE Modèle ESA424Installation DU Caisson À LA Fenêtre Pour LE Modèle ESA424K voir FigPréparation DE LA Fenêtre ESA424 Achèvement DE Linstallation ESA424 Achèvement DE Linstallation Installation AU MURAvertissement RemarquesDémarrage DU Climatiseur Dehum Démarrage DU Climatiseur suiteUtilisation DU Climatiseur Vitesse MinuteriePour Effacer LES Réglages Programmés DE LA Minuterie Minuterie DE Mise EN MarcheVeille TEMP./DURÉERéinitialisation DU Filtre Utilisation DE LA TélécommandeAlimentation Utilisation DE LA Télécommande suite Pour Effacer LES Réglages Programmés DU Mode MinuterieChangement DU Sens DE Circulation DE Lair Prise d’airSons Normaux DU Climatiseur Sons NormauxNettoyer LE Filtre À AIR Service À LA Clientèle Nettoyage DU Panneau AvantEntretien Annuel ClimatiseurProblème Possible Causes Possibles Solution DépannageGarantie Limitée DépannageRegistro DEL Producto Índice Cómo Cuidar SU Aire AcondicionadoAdvertencia PáginaGuarde Estas Instrucciones Información DE SeguridadSeguridad DE Funcionamiento Y Advertencias Herramientas Y Partes Requisitos DE InstalaciónInstalación DE LA Ventana Requisitos DE UbicaciónAdvertencia Requisitos Eléctricos Seguridad Eléctrica Y AdvertenciasCable DE Suministro Eléctrico Vea la Fig Requisitos Eléctricos continuaciónMétodo Recomendado DE Conexión a Tierra Vea la Fig LA Ubicación Debe Contar CON LO Siguiente Para Probar EL Cable DE Suministro Eléctrico NotaCómo Desempacar EL Aire Acondicionado Preparación DEL Aire AcondicionadoCómo Quitar LOS Materiales DEL Empaque Cómo InstalarPara LOS Modelos ESA415M ESA418M Instalación DEL Gabinete EN LA Ventana Vea la Fig Notas Y AdvertenciasPreparación DE LA Ventana ESA415 / ESA418 Vea la FigFinalización DE LA Instalación Finalización DE LA Instalación ESA415 / ESA418Instalación DEL Bastidor EN EL Gabinete Preparación DEL Aire Acondicionado ESA424 Para EL Modelo ESA424Instalación DEL Gabinete EN LA Ventana Para EL Modelo ESA424K Vea la FigPreparación DE LA Ventana ESA424 Tornillos de madera de 1 pulgFinalización DE LA Instalación ESA424 Instalación DEL BastidorAdvertencia Finalización DE LA InstalaciónInstalación DE LA Pared Encendido DEL Aire Acondicionado Cómo Usar SU Aire AcondicionadoEncendido DEL Aire Acondicionado continuación ModoSpeed velocidad Para Borrar EL Programa DEL Temporizador Para VER O Cambiar EL Tiempo Restante EN HorasPower suministro Filter Reset restablecimiento del filtroUSO DEL Control Remoto USO DEL Control Remoto continuación Para Borrar EL Programa DE DemoraCambio DE LA Dirección DEL Aire Sonidos Normales DE UN Aire Acondicionado Sonidos NormalesLimpieza DEL Filtro DE Aire Cómo Cuidar SU Aire AcondicionadoLimpieza DEL Panel Frontal Mantenimiento AnualServicio AL Cliente Aire AcondicionadoSolución DE Problemas Posible Problema Posible Causa SoluciónGarantía Limitada UN AÑO DE Garantía LimitadaPage Page Haier America
Related manuals
Manual 44 pages 16.27 Kb