C:INSTALLING THE OPERATOR 
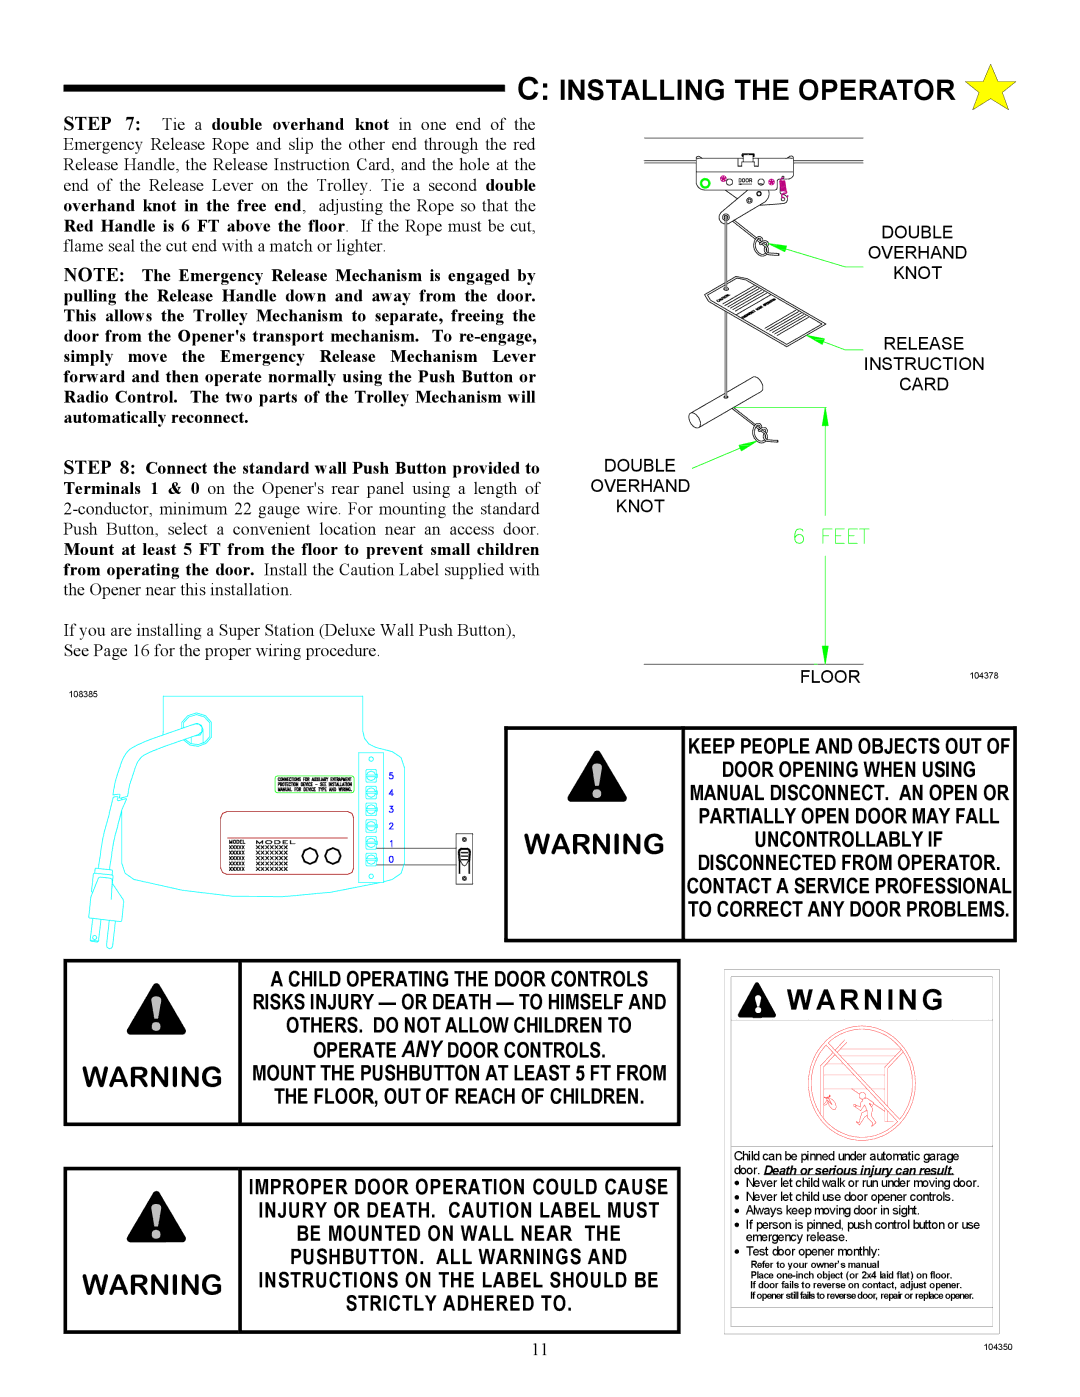
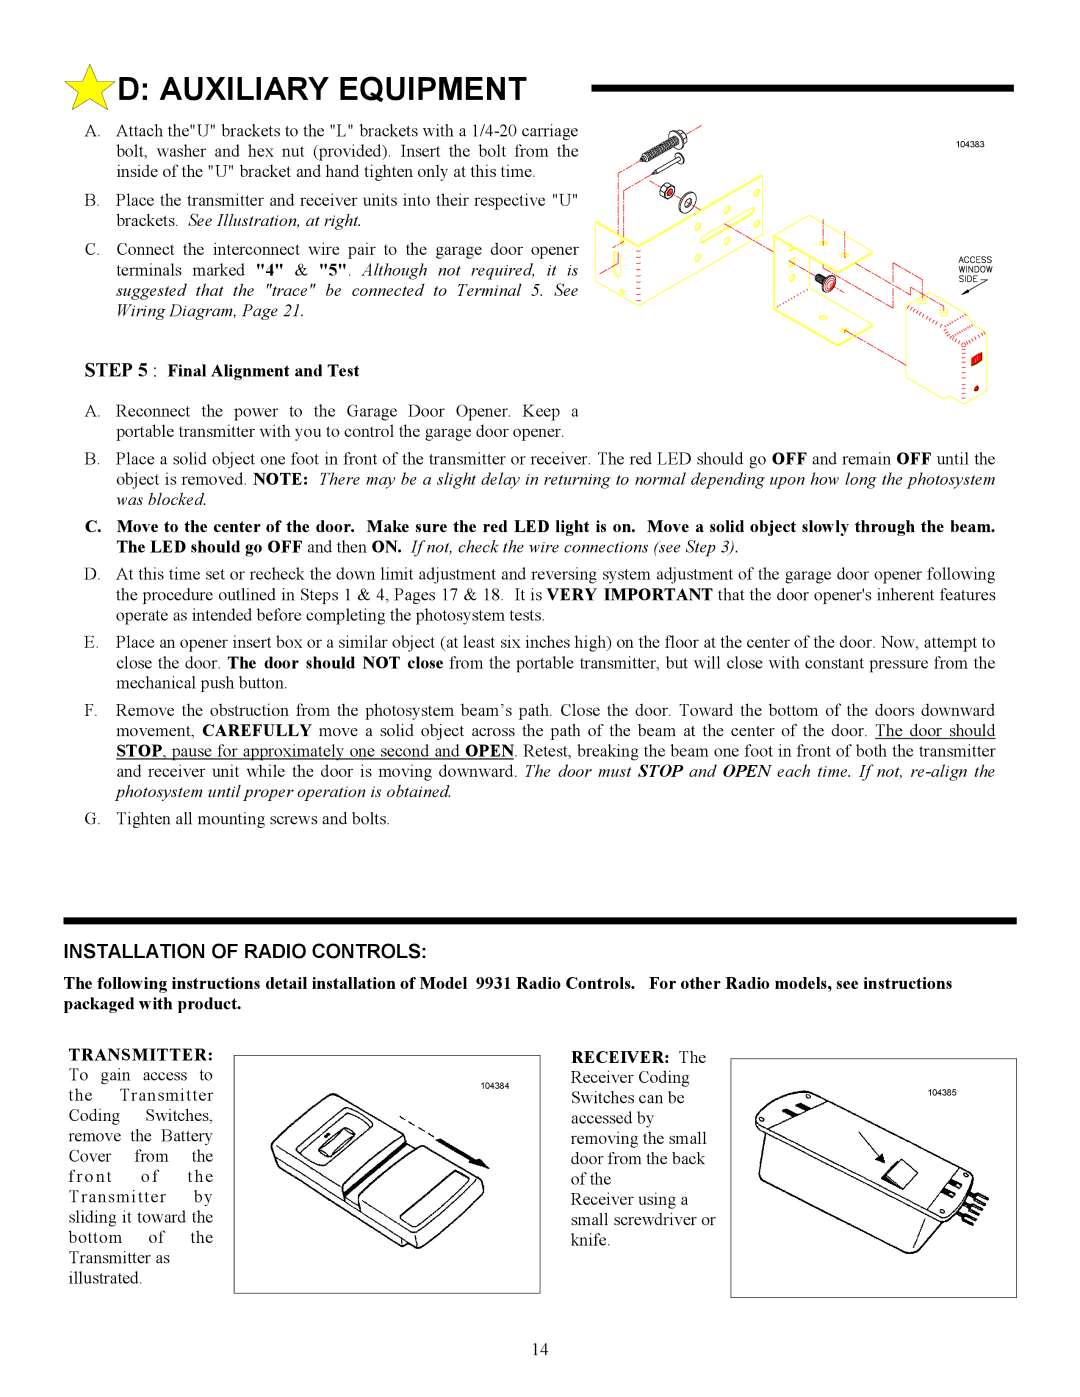
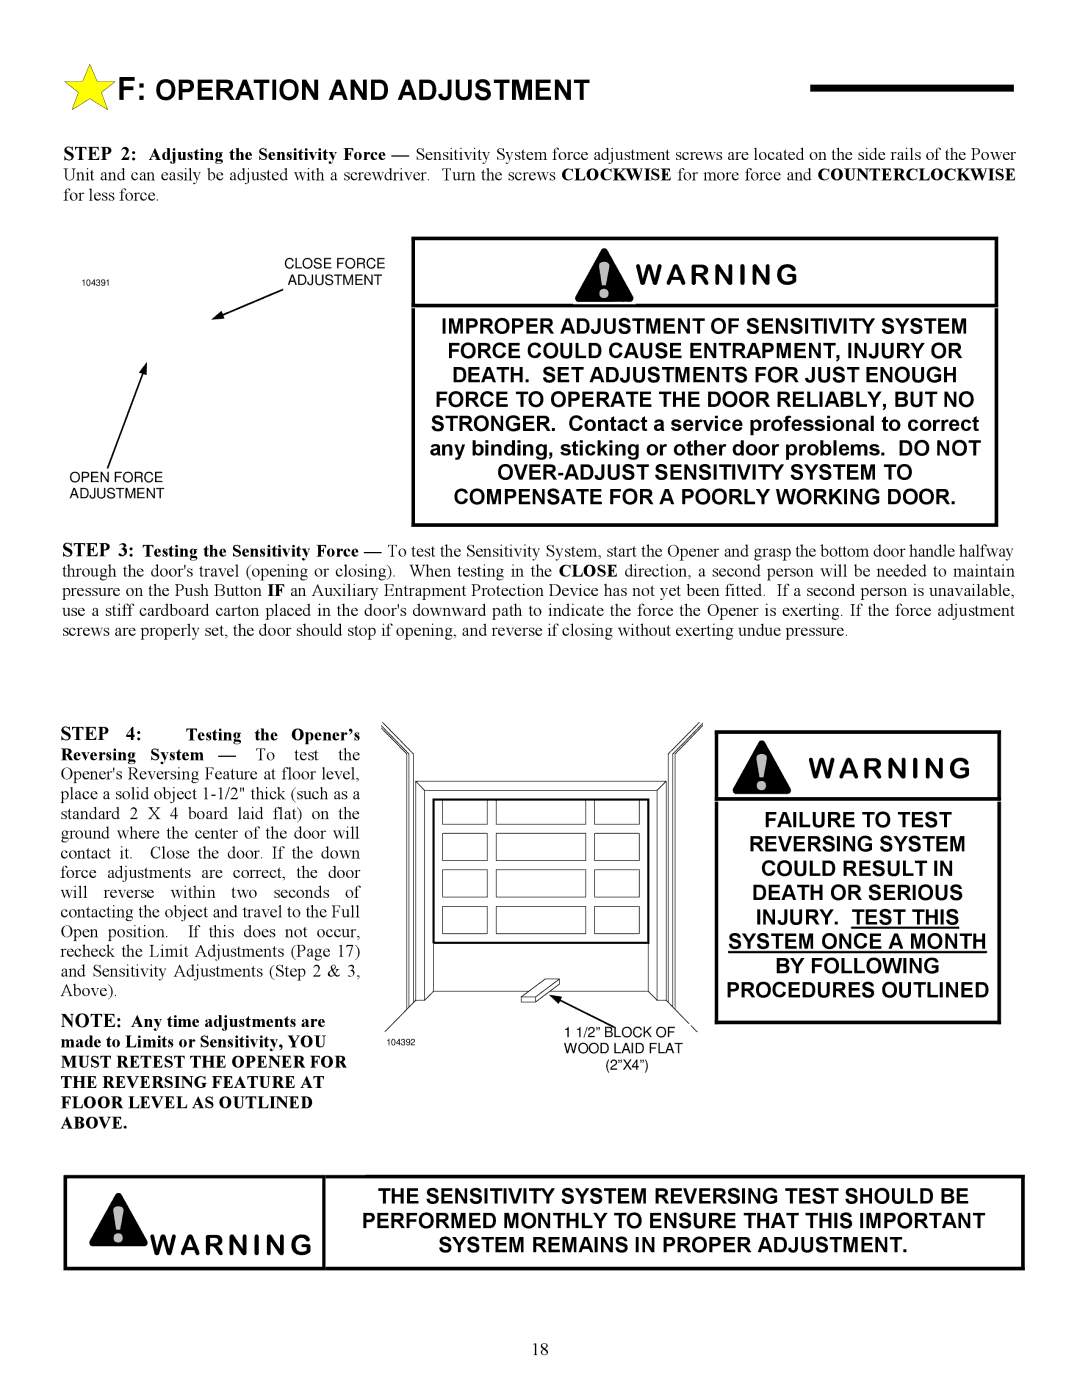
STEP 7: | Tie a double overhand knot in one end of the |
| |
Emergency Release Rope and slip the other end through the red |
| ||
Release Handle, the Release Instruction Card, and the hole at the |
| ||
end of the Release Lever on the Trolley. Tie a second double |
| ||
overhand knot in the free end, adjusting the Rope so that the |
| ||
Red Handle is 6 FT above the floor. If the Rope must be cut, | DOUBLE | ||
flame seal the cut end with a match or lighter. | |||
OVERHAND | |||
|
| ||
NOTE: The Emergency Release Mechanism is engaged by | KNOT | ||
pulling the Release Handle down and away from the door. |
| ||
This allows the Trolley Mechanism to separate, freeing the |
| ||
door from the Opener's transport mechanism. To | RELEASE | ||
simply move the Emergency Release Mechanism Lever | |||
INSTRUCTION | |||
forward and then operate normally using the Push Button or | |||
CARD | |||
Radio Control. The two parts of the Trolley Mechanism will | |||
| |||
automatically reconnect. |
| ||
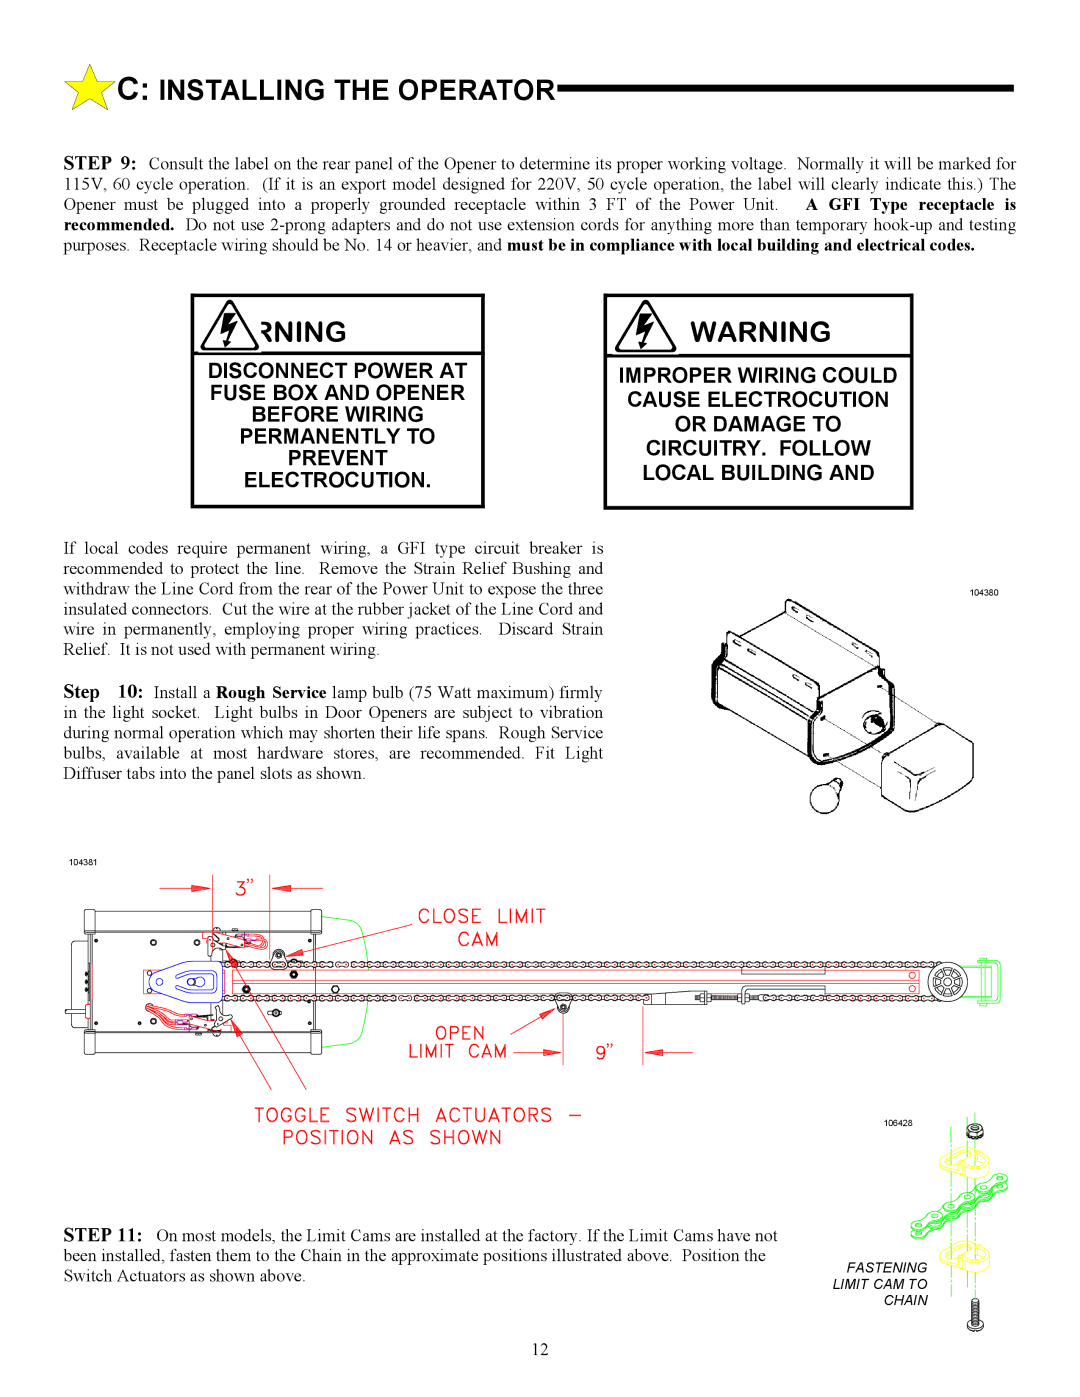
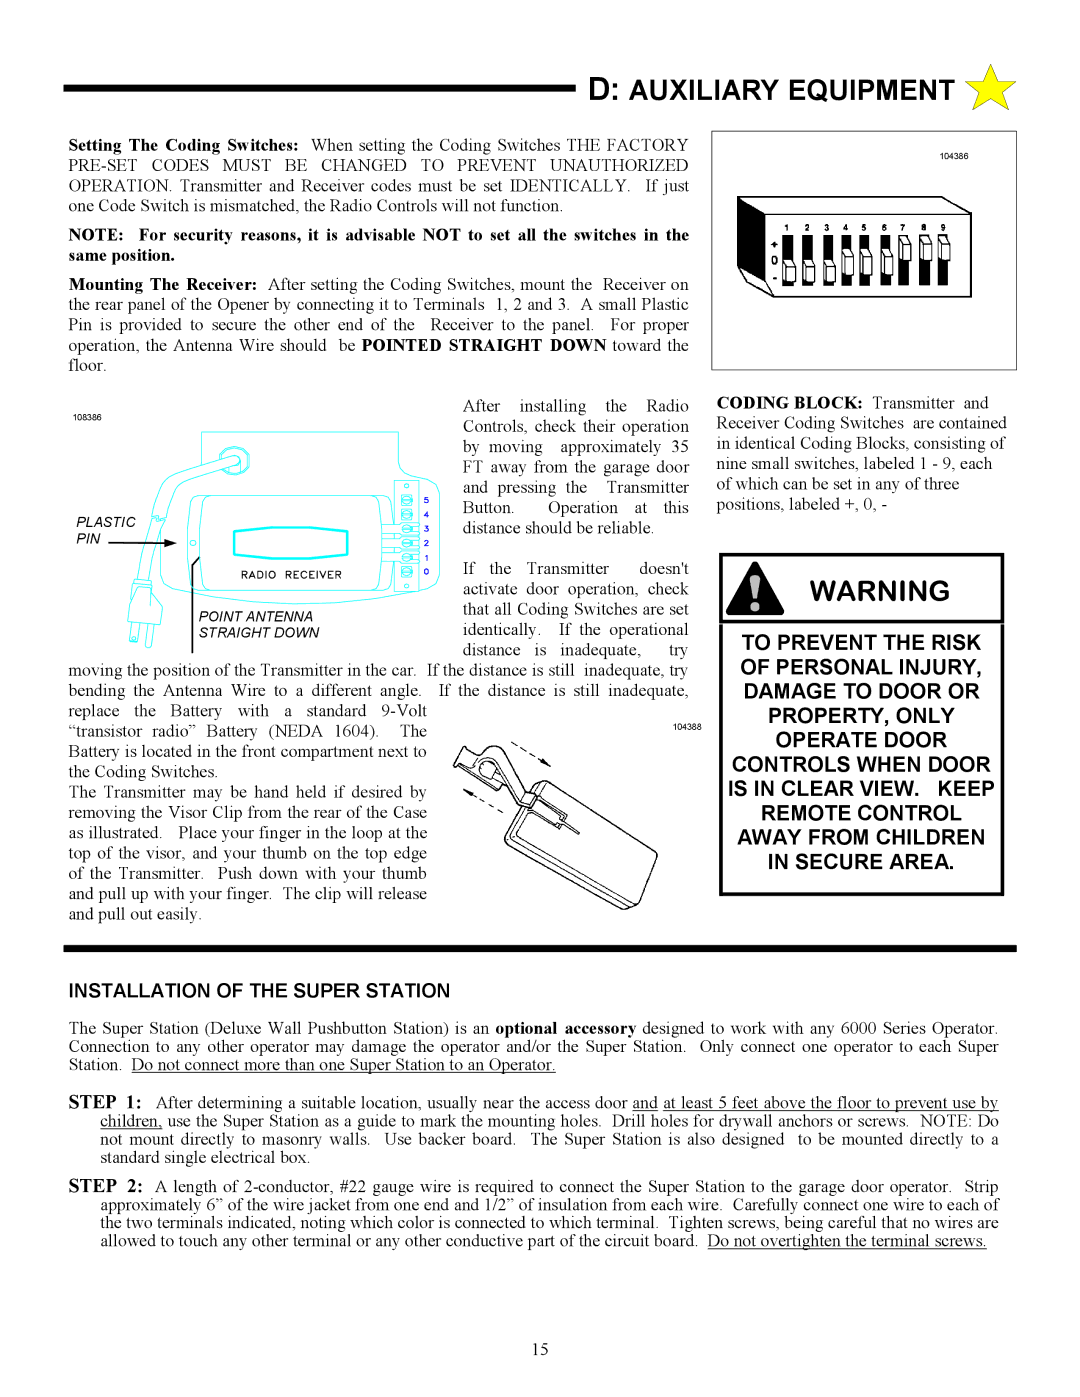
STEP 8: Connect the standard wall Push Button provided to | DOUBLE | ||
Terminals 1 & 0 on the Opener's rear panel using a length of | OVERHAND | ||
KNOT | |||
Push Button, | select a convenient location near an access door. |
| |
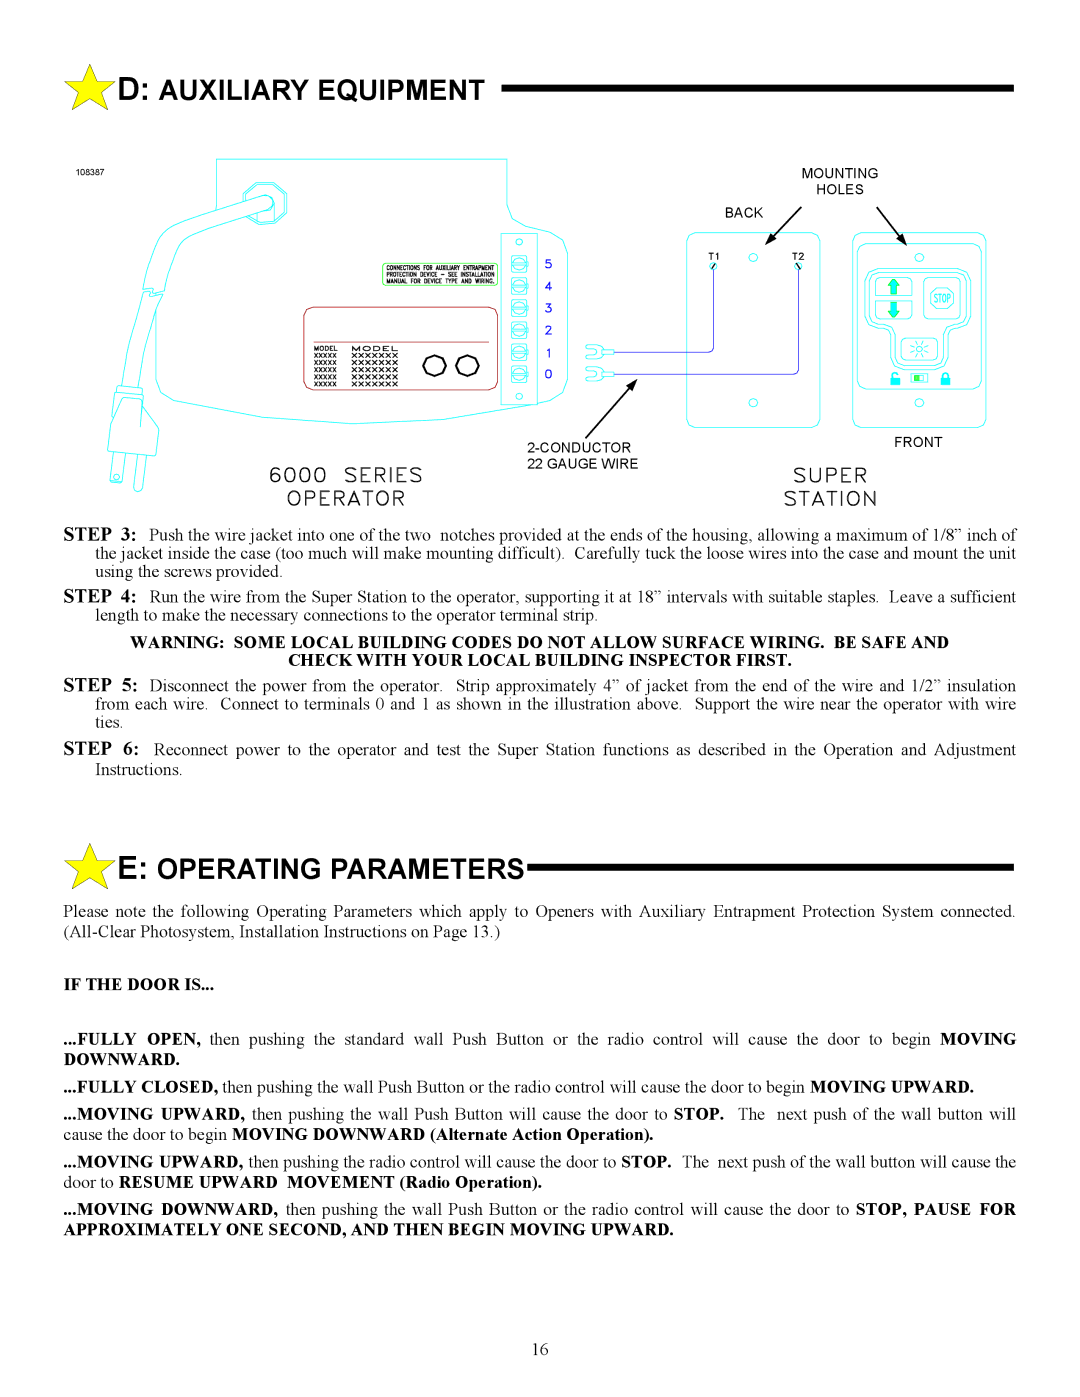
Mount at least 5 FT from the floor to prevent small children from operating the door. Install the Caution Label supplied with the Opener near this installation.
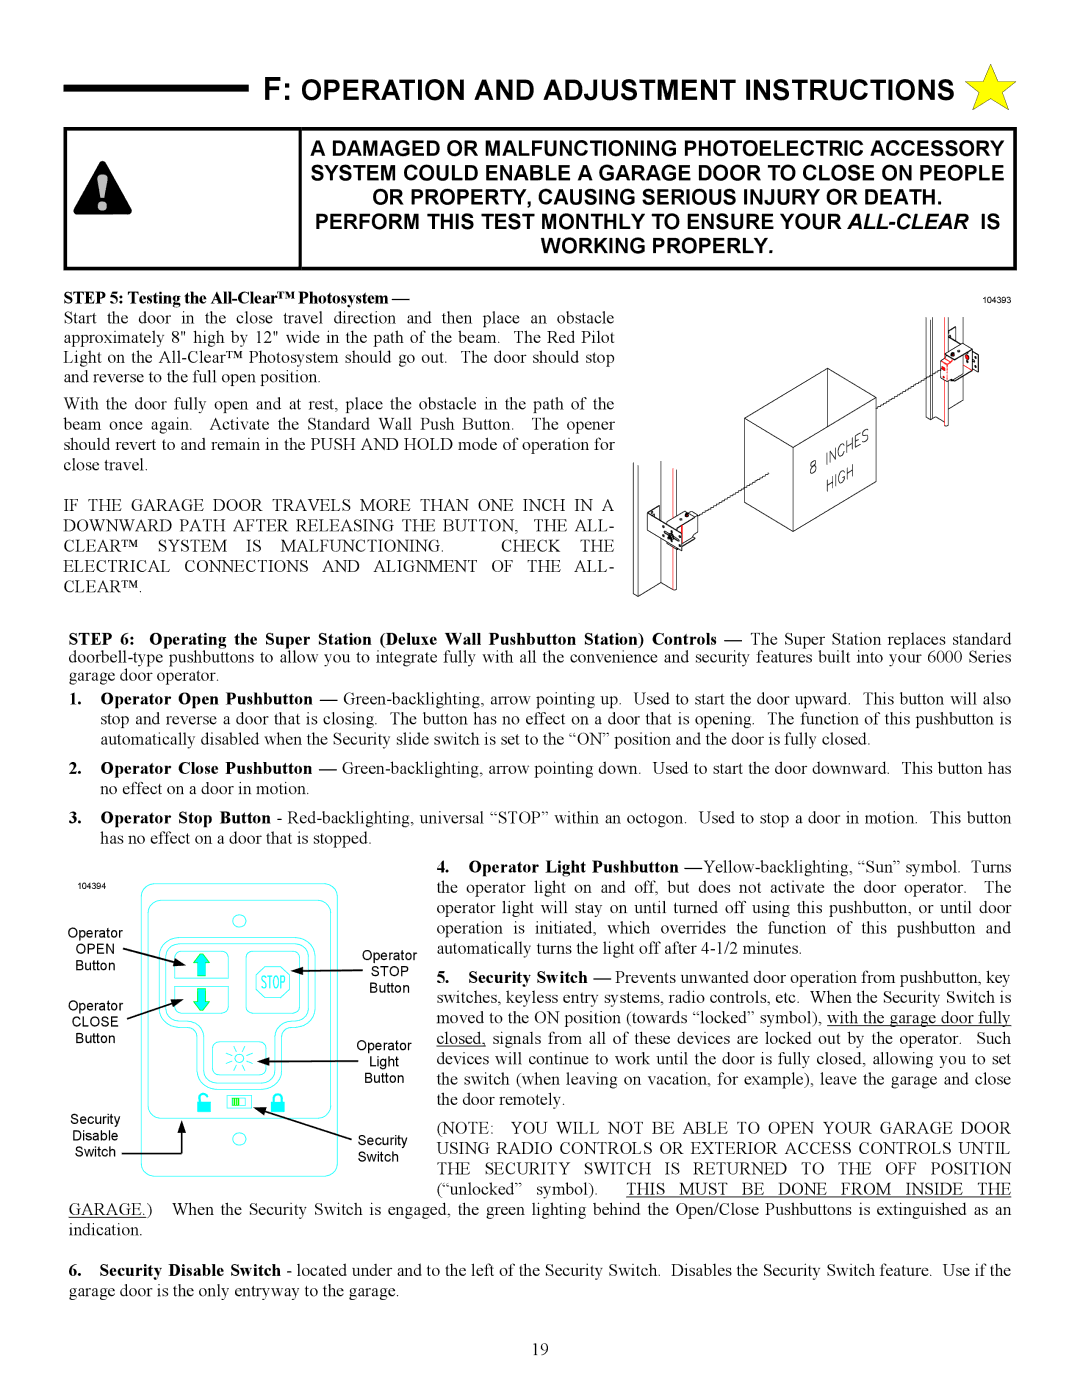
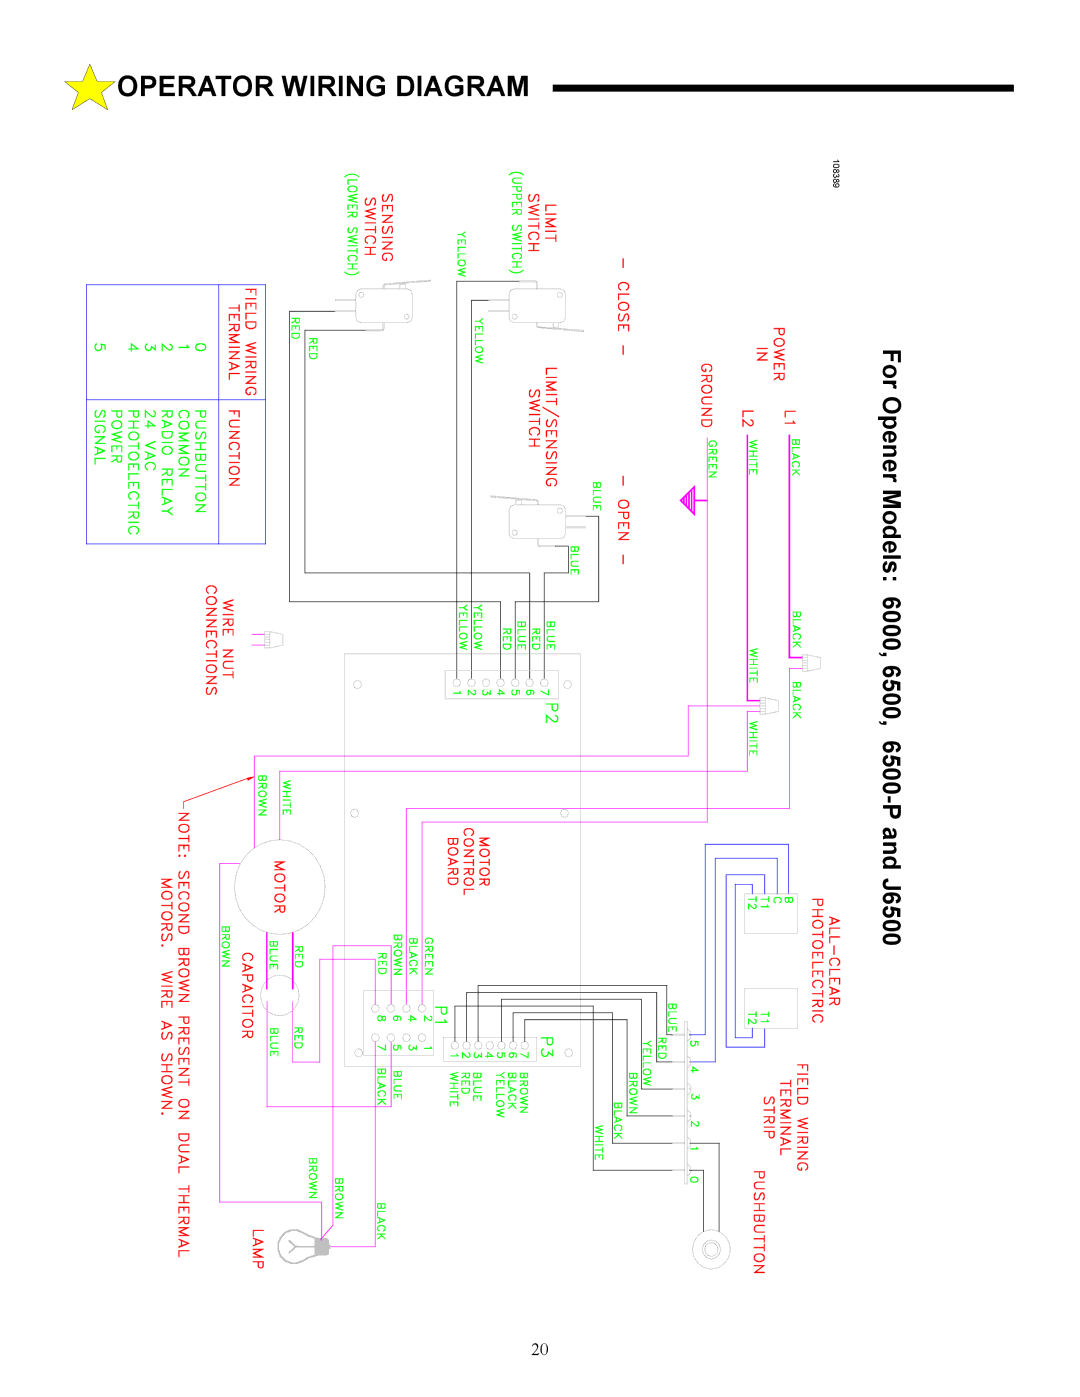
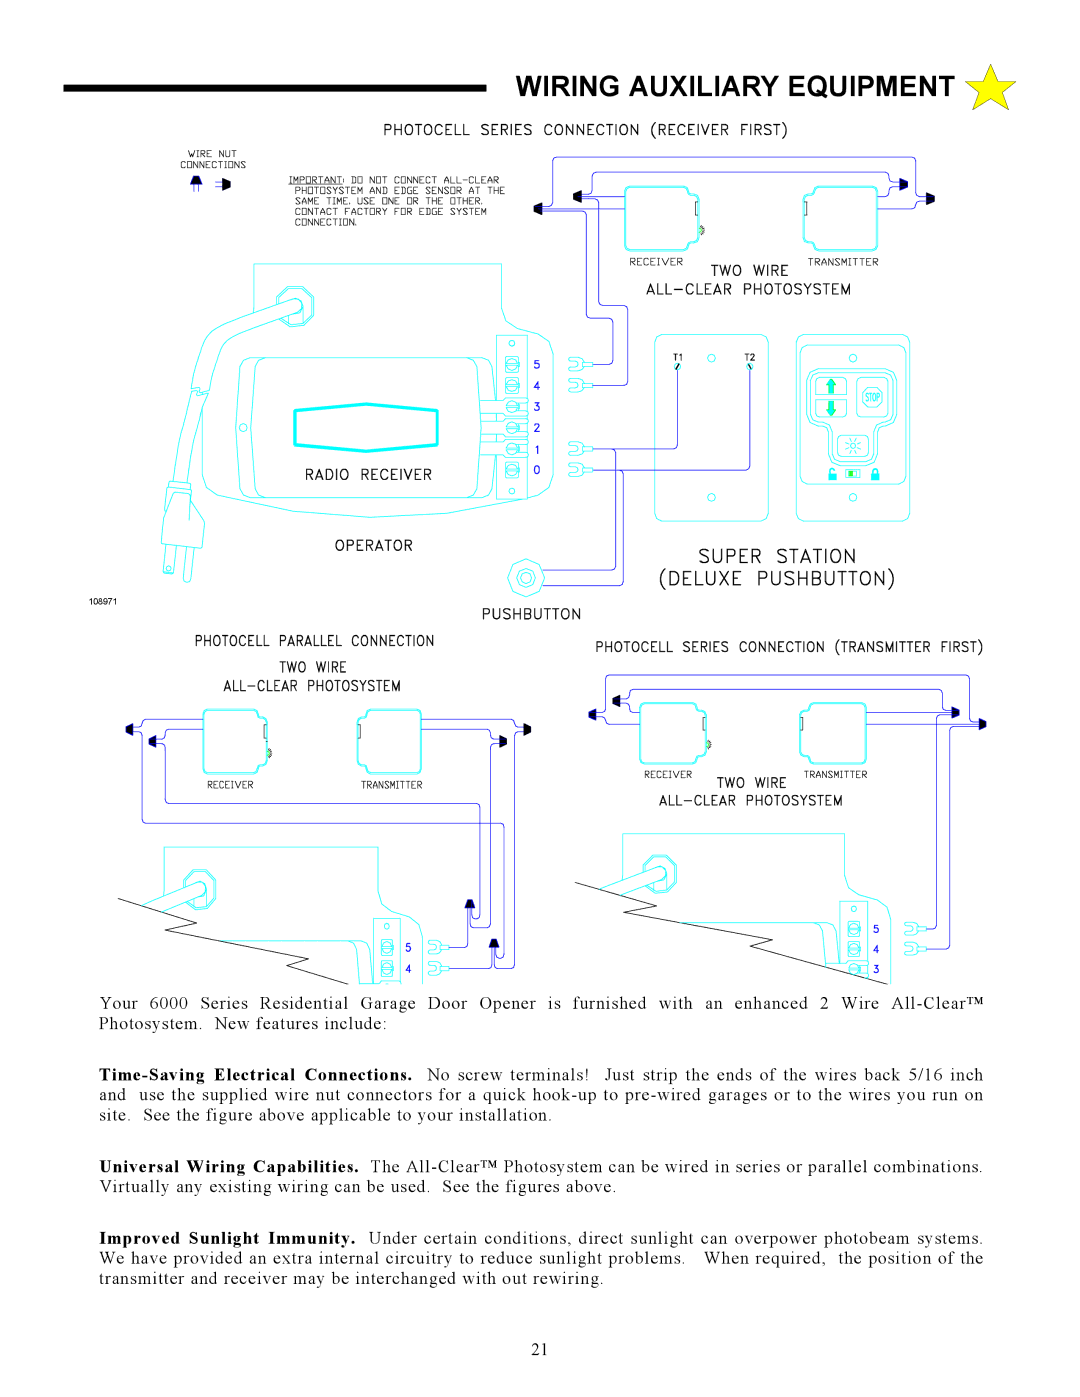
If you are installing a Super Station (Deluxe Wall Push Button),
See Page 16 for the proper wiring procedure.
FLOOR104378
108385
WARNING
KEEP PEOPLE AND OBJECTS OUT OF
DOOR OPENING WHEN USING
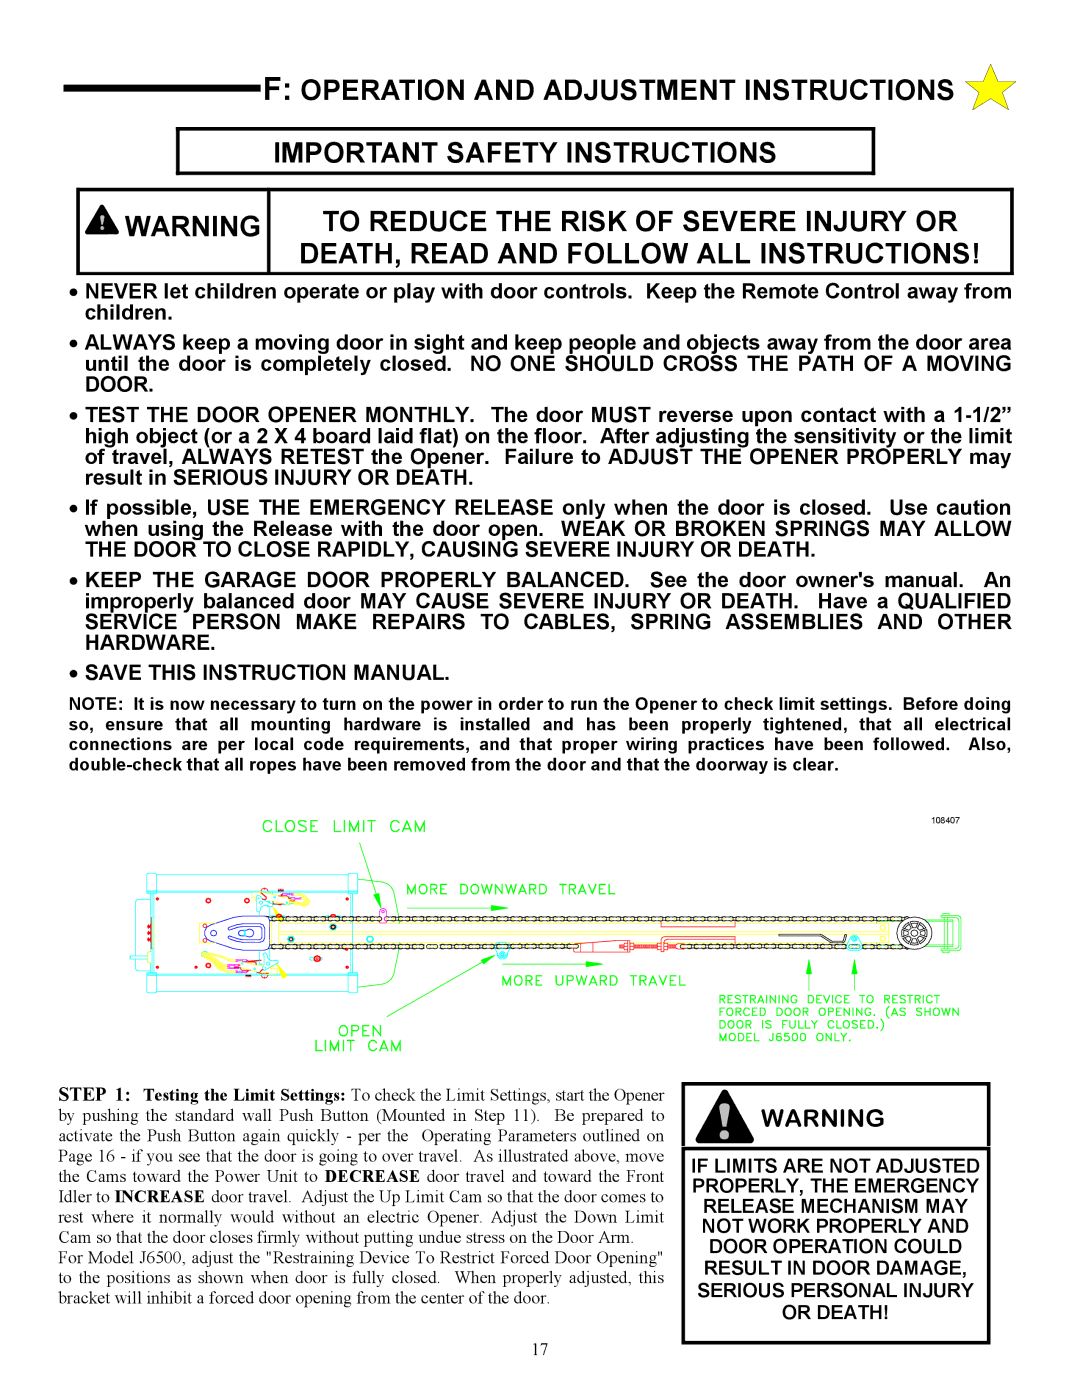
MANUAL DISCONNECT. AN OPEN OR PARTIALLY OPEN DOOR MAY FALL UNCONTROLLABLY IF DISCONNECTED FROM OPERATOR. CONTACT A SERVICE PROFESSIONAL TO CORRECT ANY DOOR PROBLEMS.
WARNING
A CHILD OPERATING THE DOOR CONTROLS RISKS INJURY — OR DEATH — TO HIMSELF AND OTHERS. DO NOT ALLOW CHILDREN TO OPERATE ANY DOOR CONTROLS.
MOUNT THE PUSHBUTTON AT LEAST 5 FT FROM
THE FLOOR, OUT OF REACH OF CHILDREN.
! | WARNING |
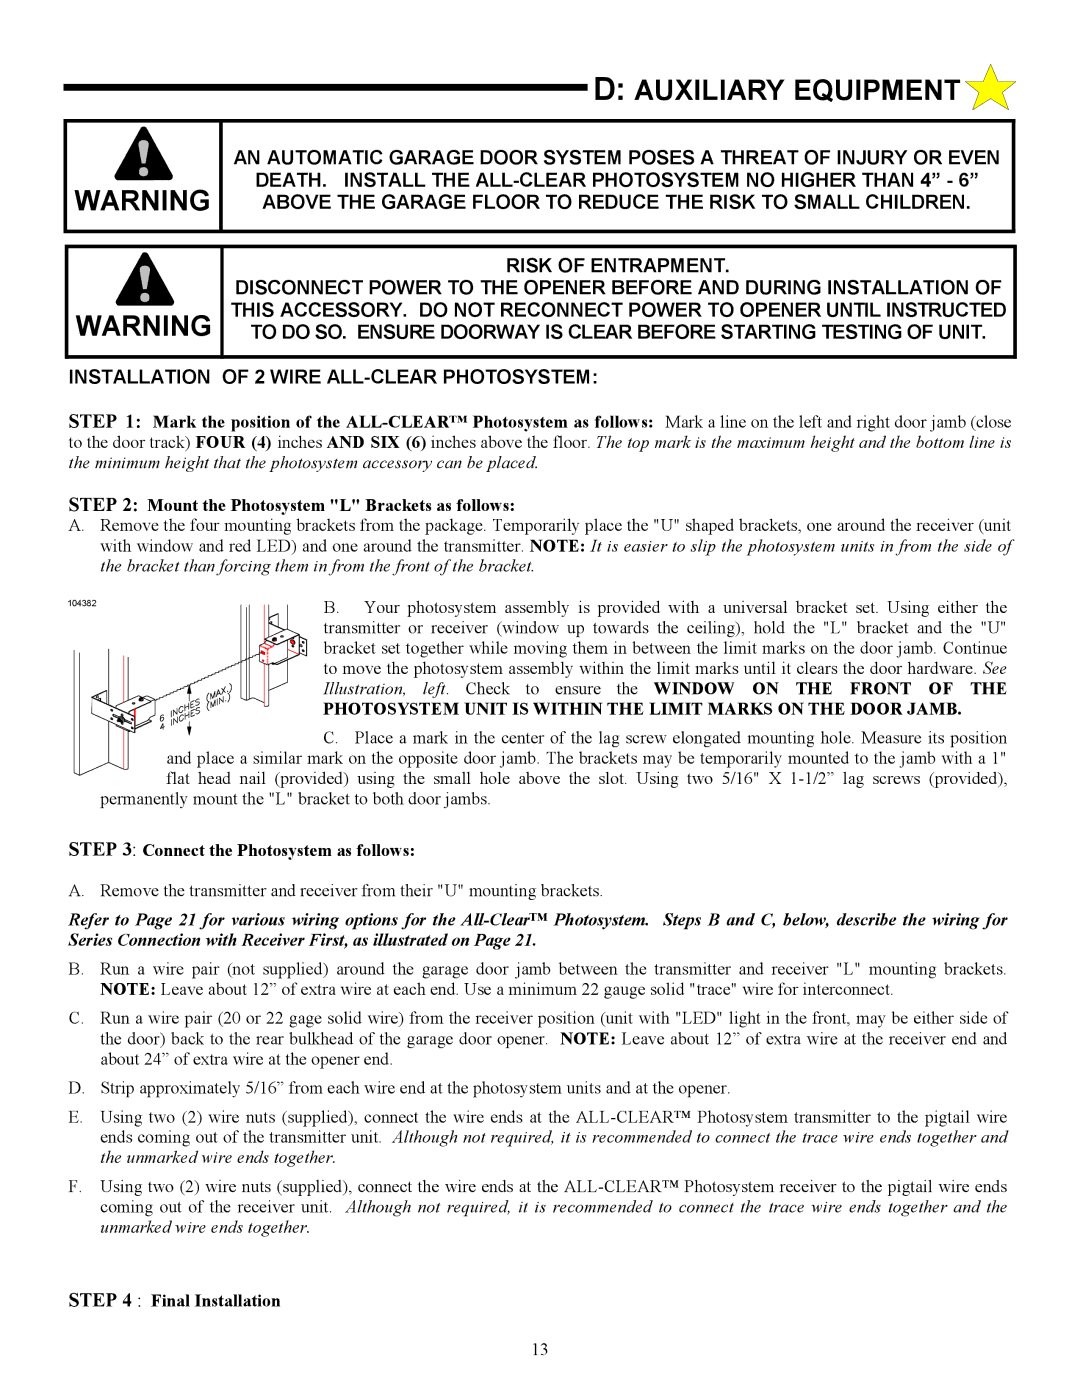
Child can be pinned under automatic garage door. Death or serious injury can result.
WARNING
IMPROPER DOOR OPERATION COULD CAUSE INJURY OR DEATH. CAUTION LABEL MUST BE MOUNTED ON WALL NEAR THE PUSHBUTTON. ALL WARNINGS AND INSTRUCTIONS ON THE LABEL SHOULD BE STRICTLY ADHERED TO.
•Never let child walk or run under moving door.
•Never let child use door opener controls.
•Always keep moving door in sight.
•If person is pinned, push control button or use emergency release.
•Test door opener monthly:
Refer to your owner’s manual
Place
If opener stillfailsto reversedoor, repair or replace opener.
11 | 104350 |
|
