SEG196 specifications
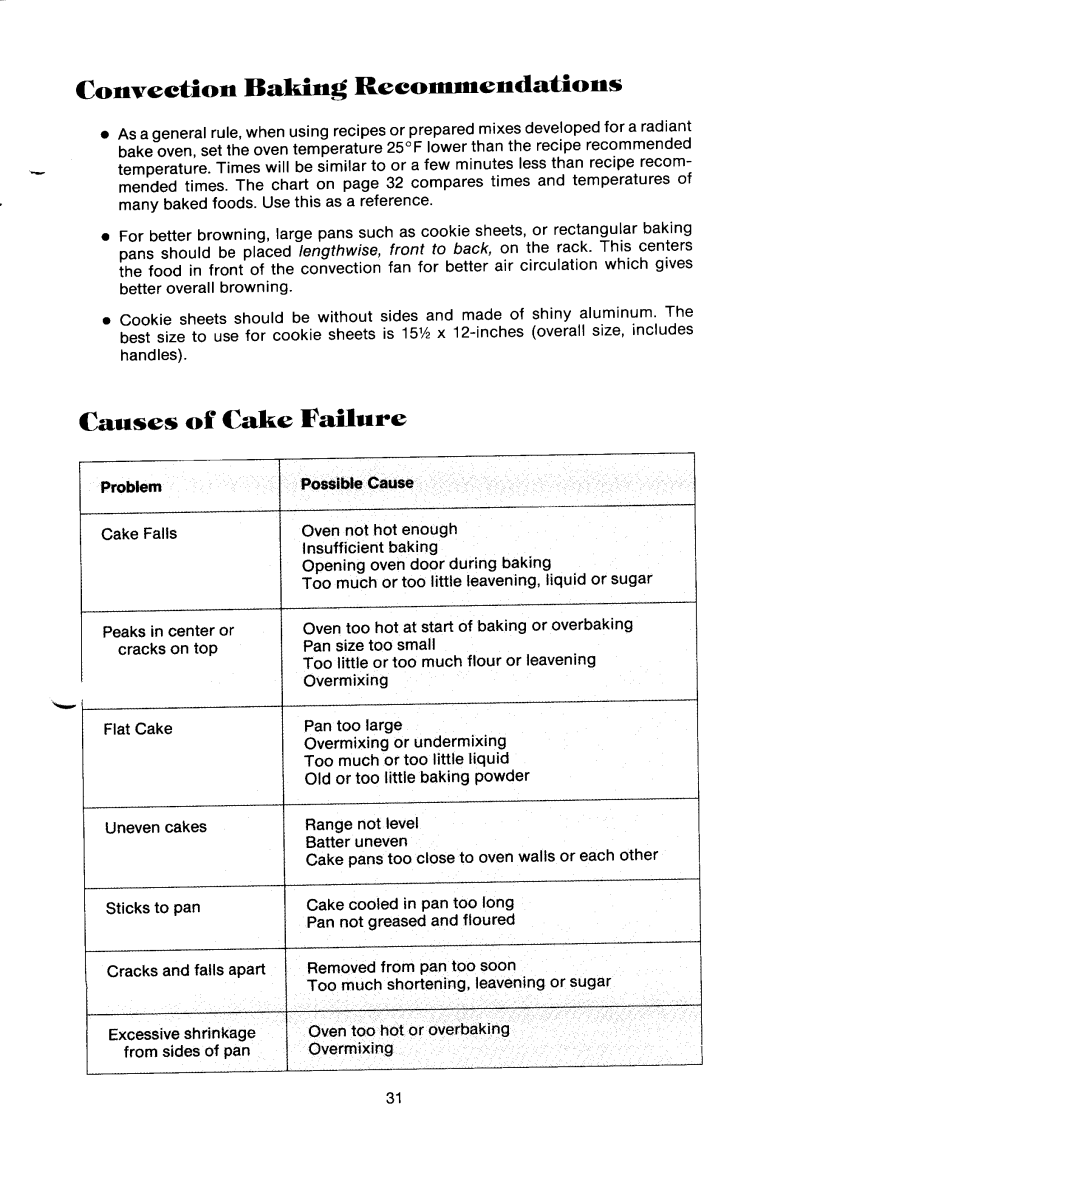
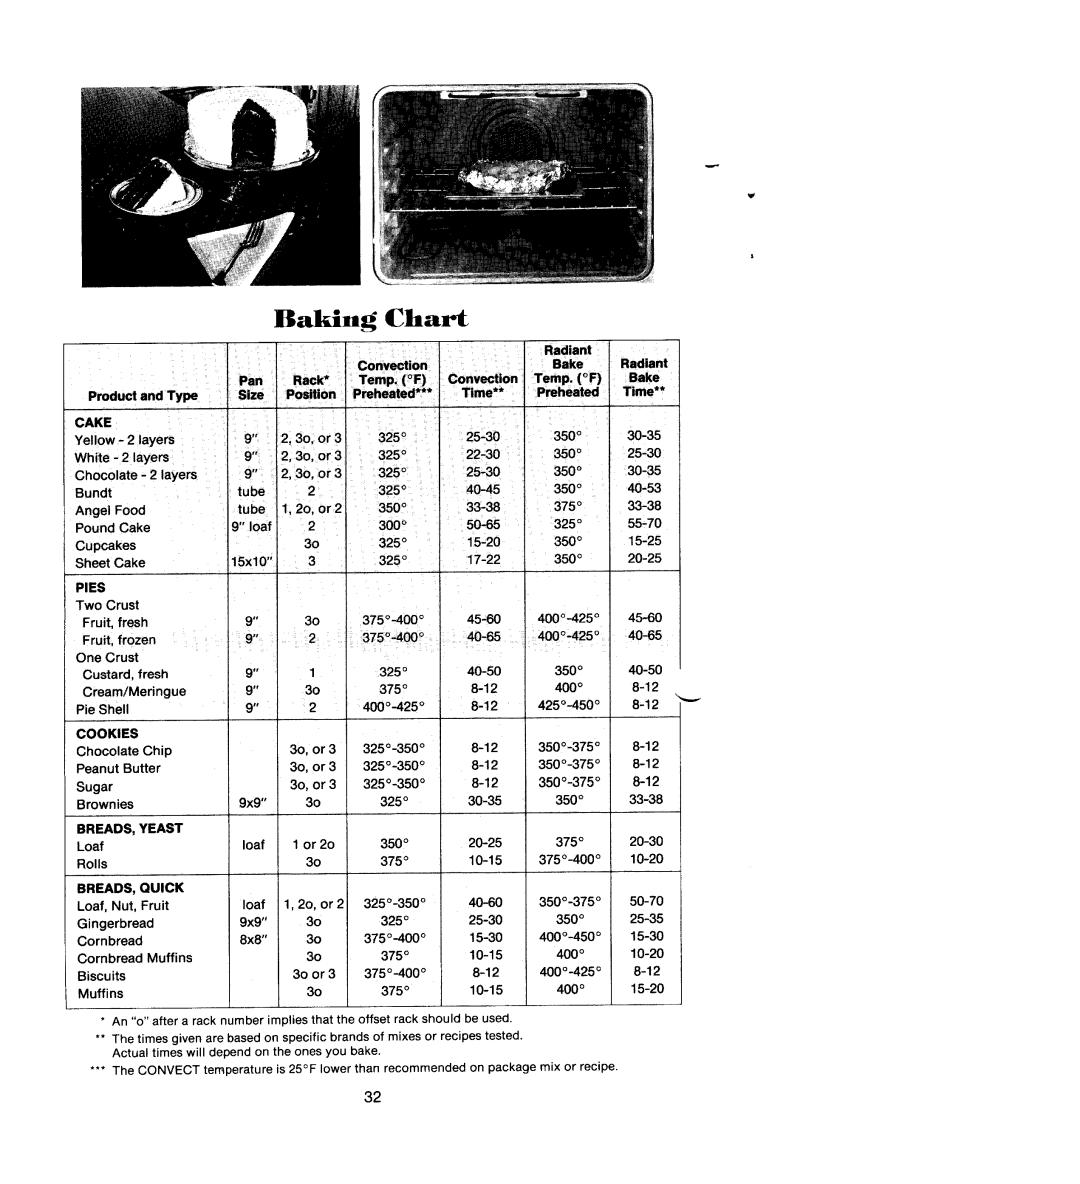
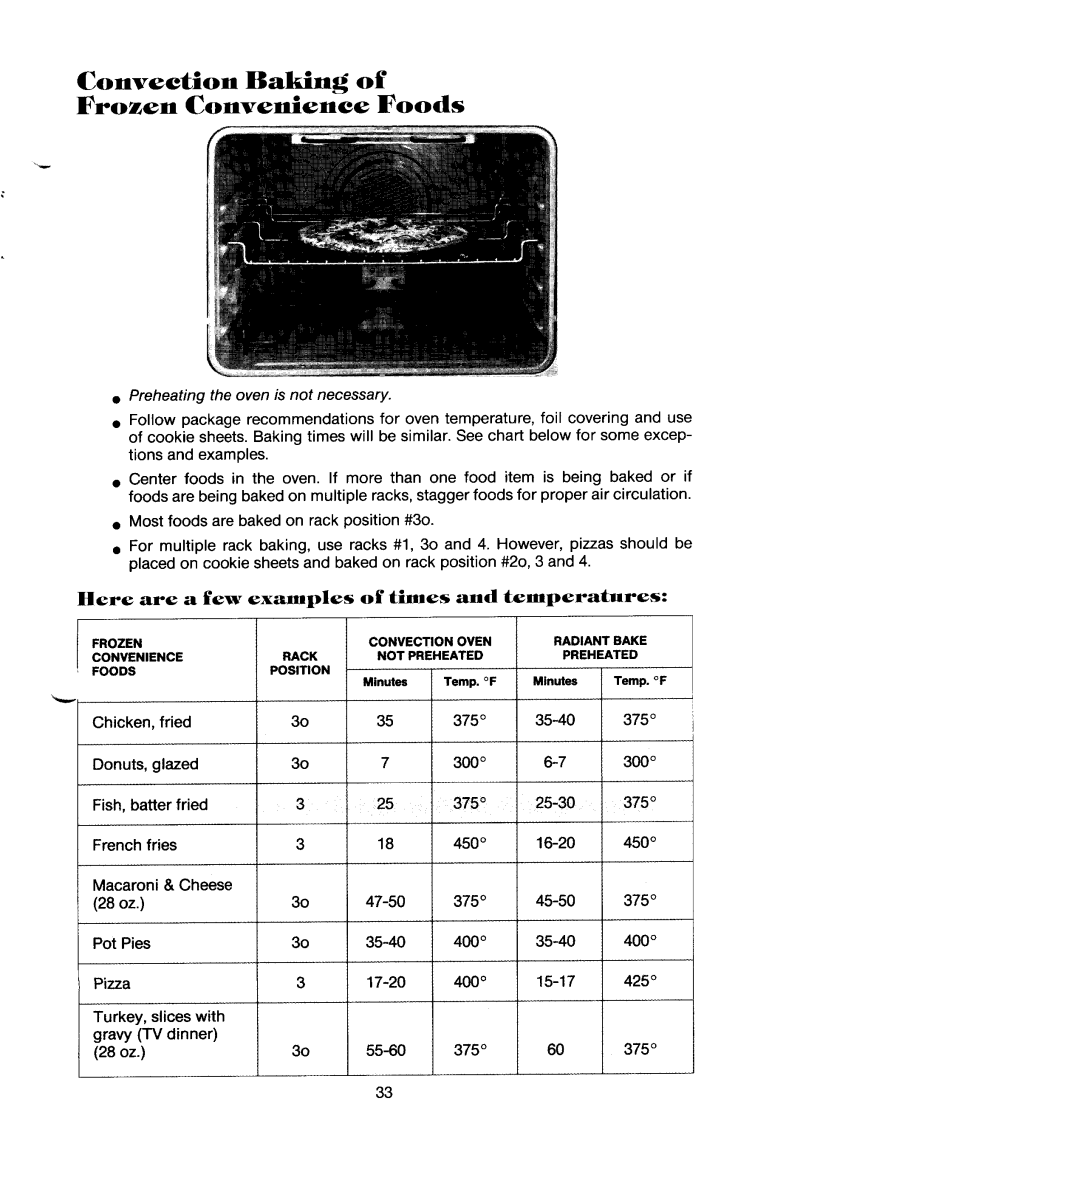
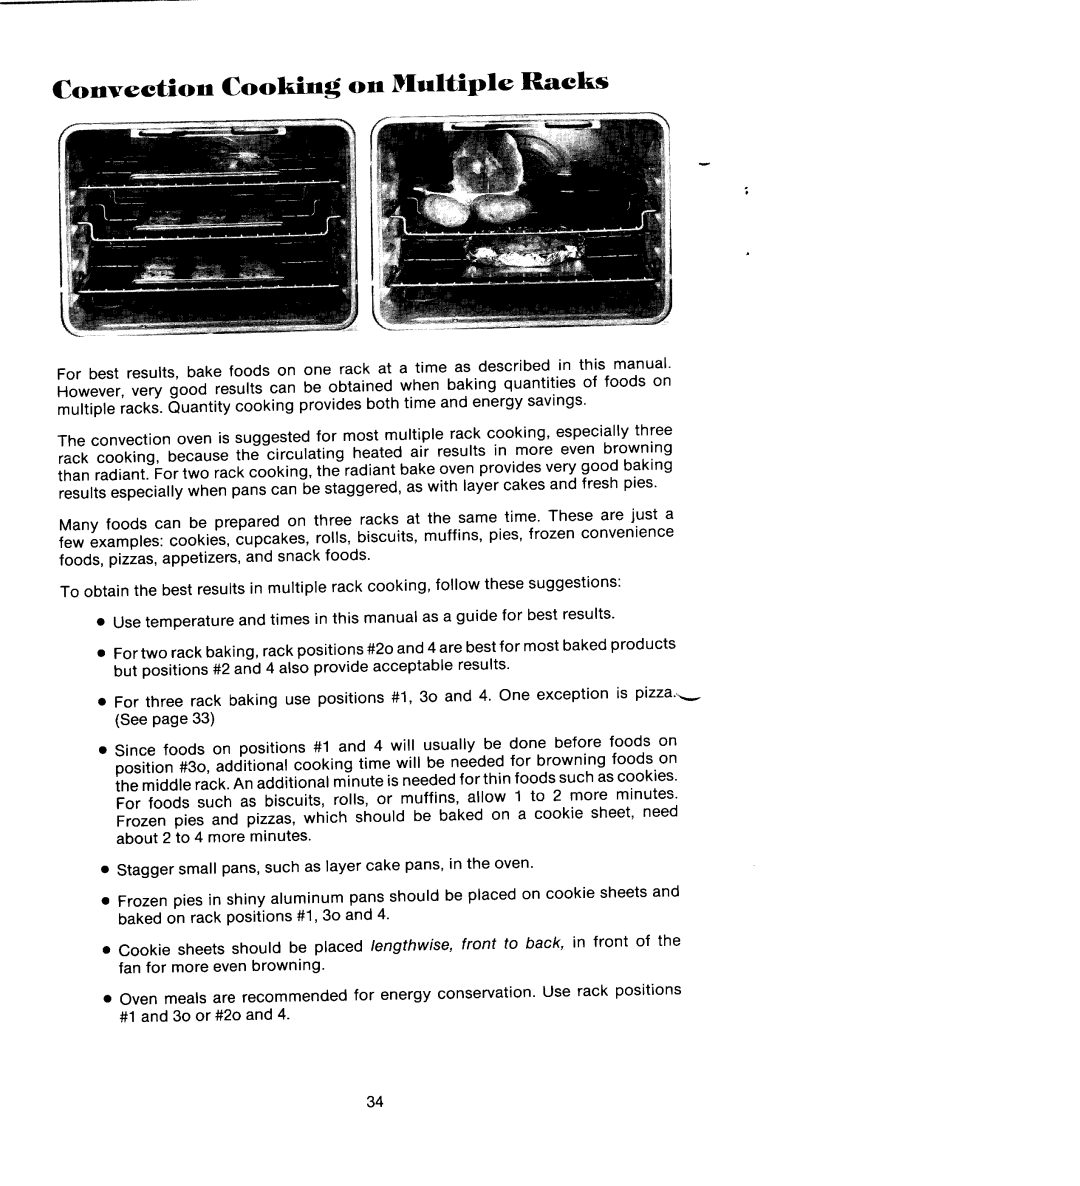
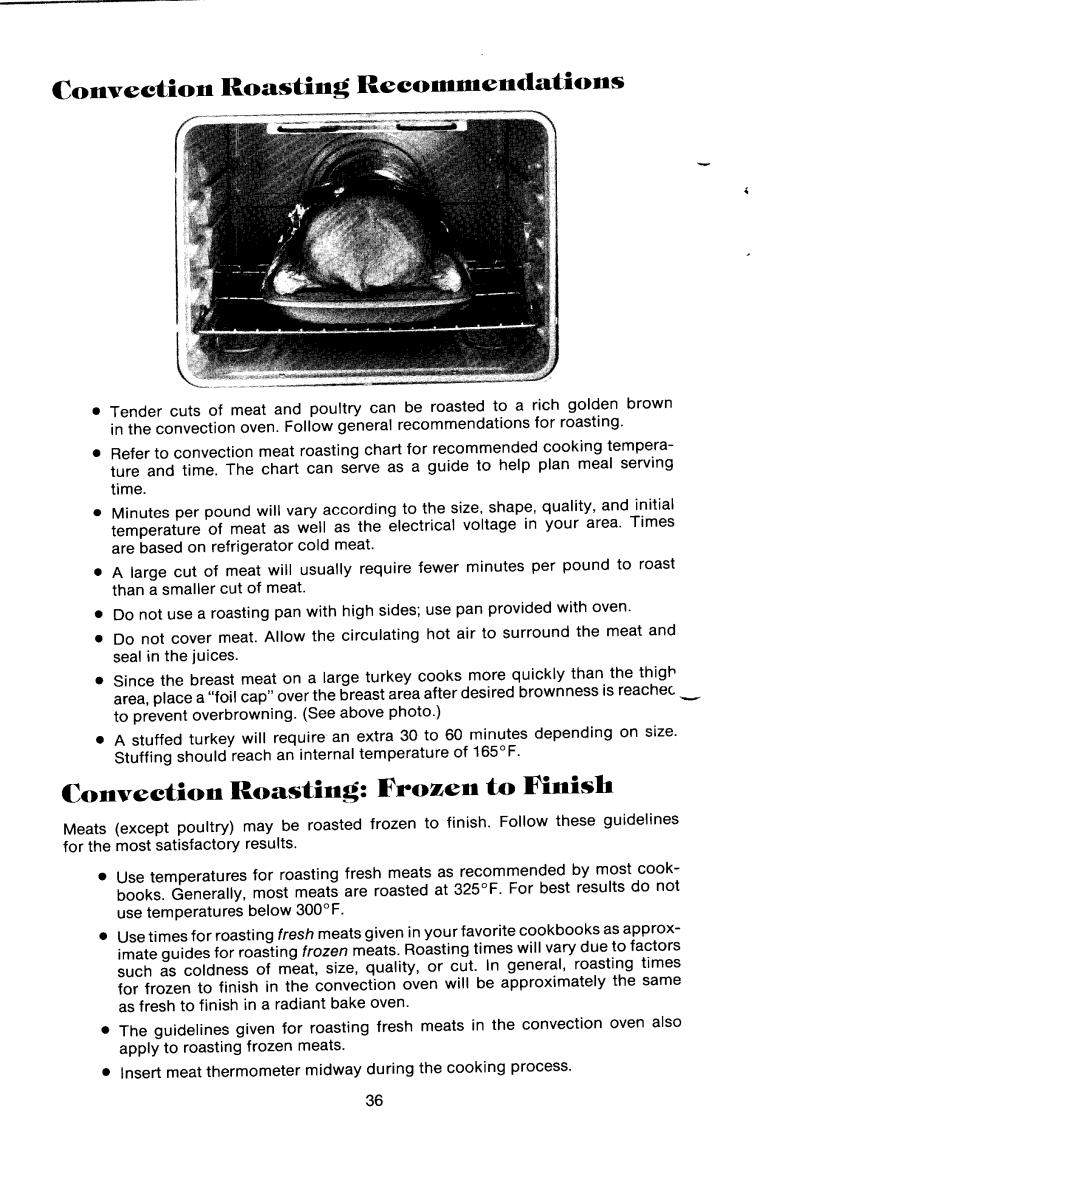
The Jenn-Air SEG196 is a sophisticated and high-performance built-in electric wall oven designed for home chefs seeking both functionality and style. This model stands out in the competitive kitchen appliance market due to its innovative features, advanced technologies, and elegant design.At the heart of the SEG196 is its True Convection cooking system, which ensures consistent and evenly distributed heat throughout the oven. This technology is ideal for baking multiple trays of cookies or roasting meats, as it minimizes uneven cooking. The powerful convection fan circulates heated air around the food, resulting in faster cooking times and improved browning.
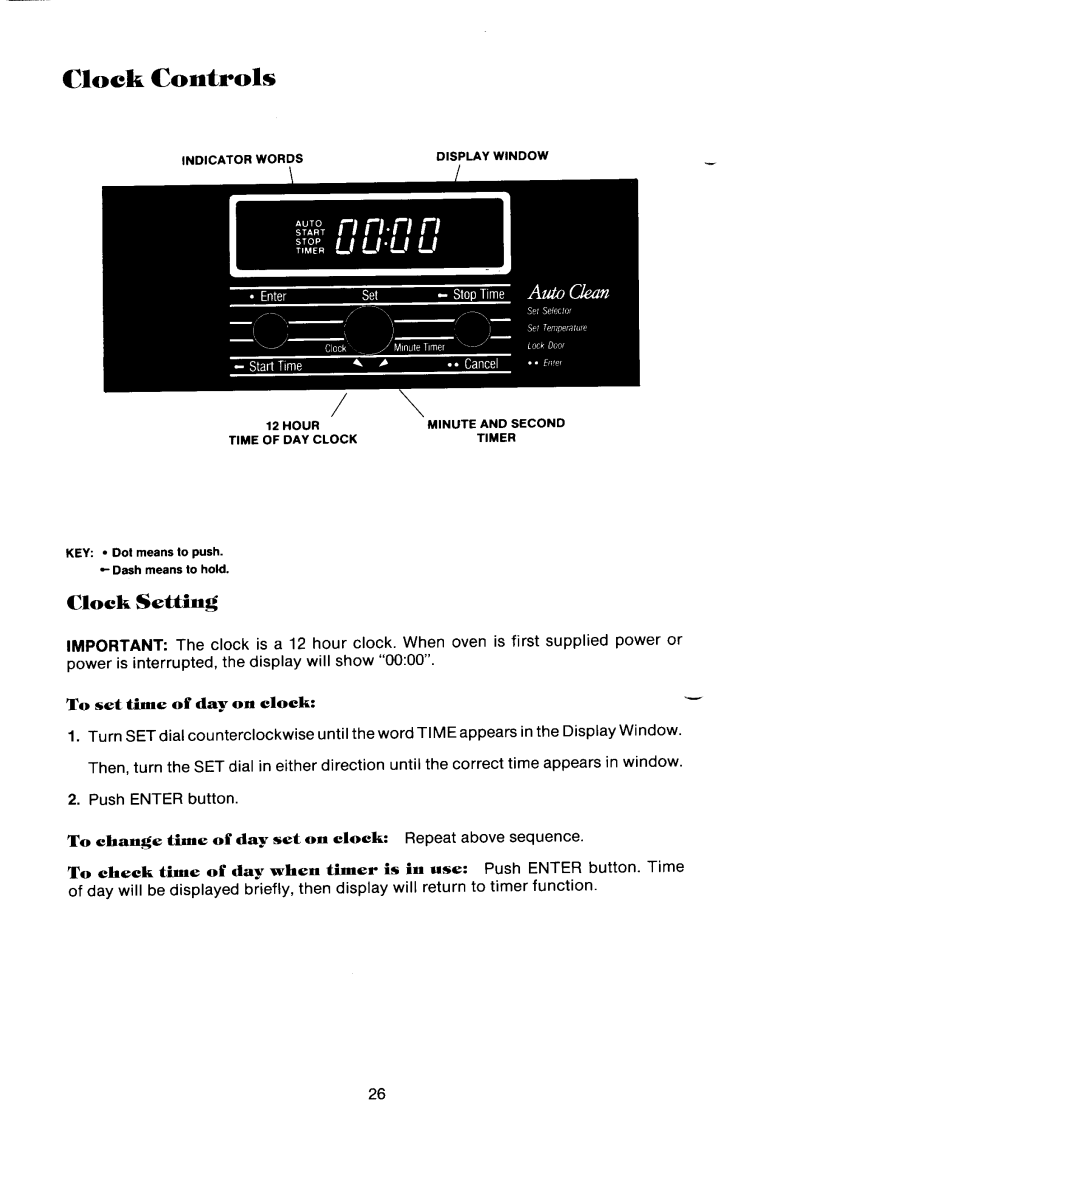
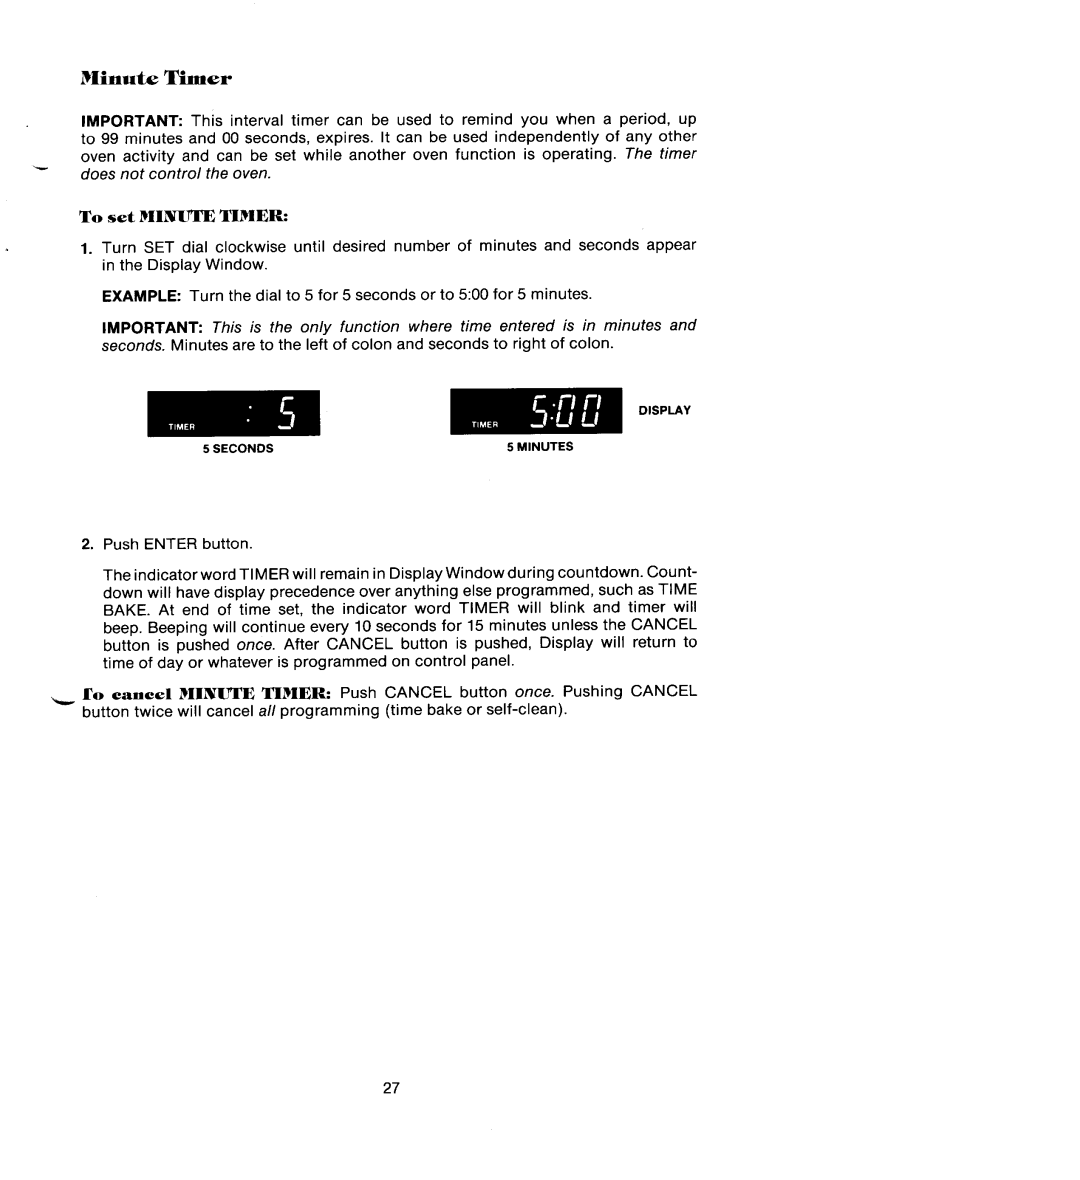
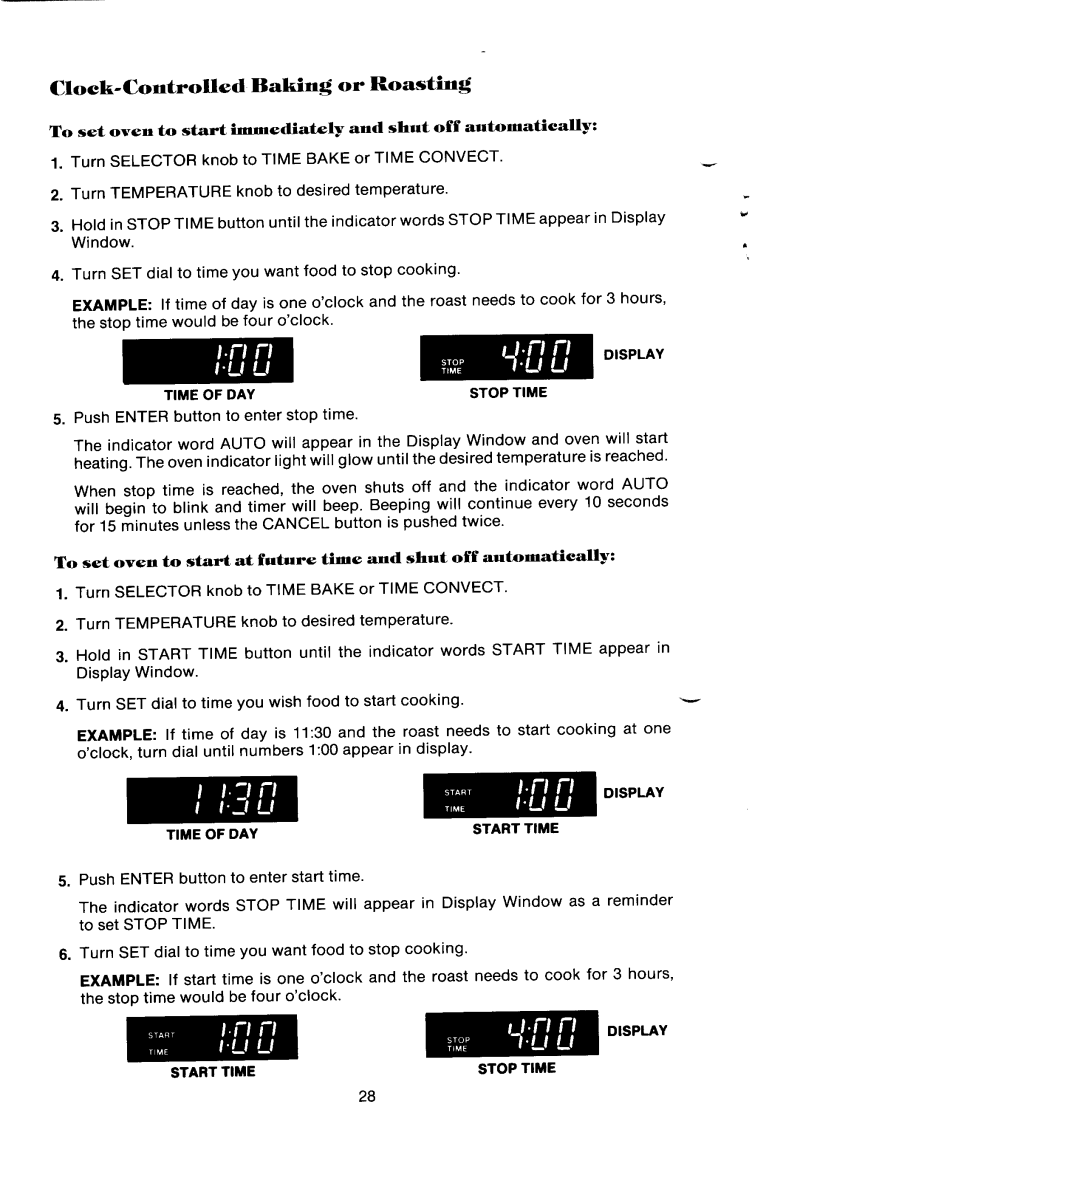
One of the standout features of the Jenn-Air SEG196 is its intuitive control panel. With a sleek touchscreen interface, users can easily navigate through various cooking modes and settings. This model offers a wide range of cooking options, including bake, broil, roast, and steam. The steam cooking feature is particularly noteworthy, as it preserves the moisture and flavor of food while enhancing overall texture.
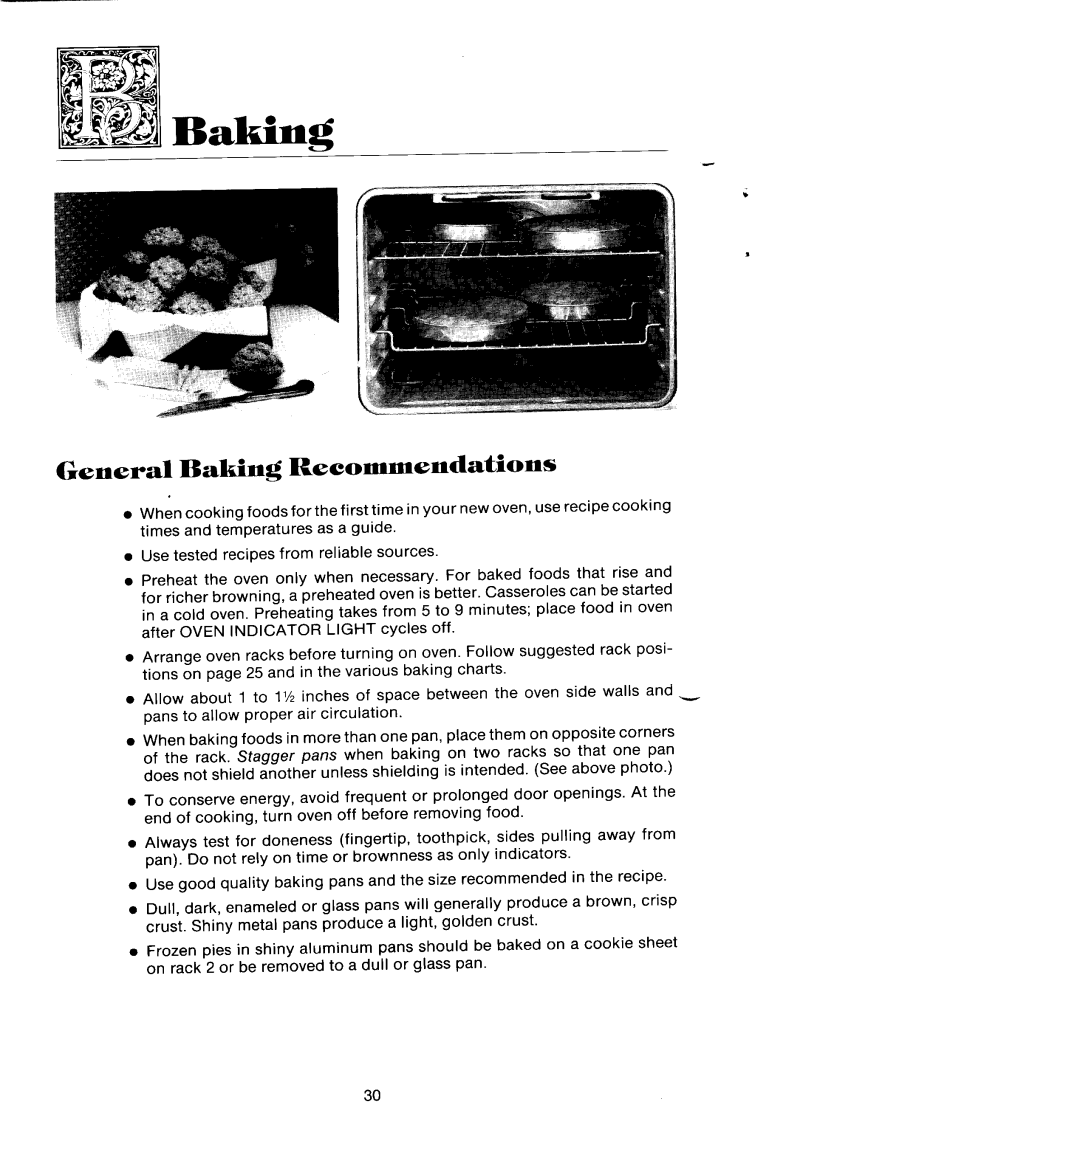
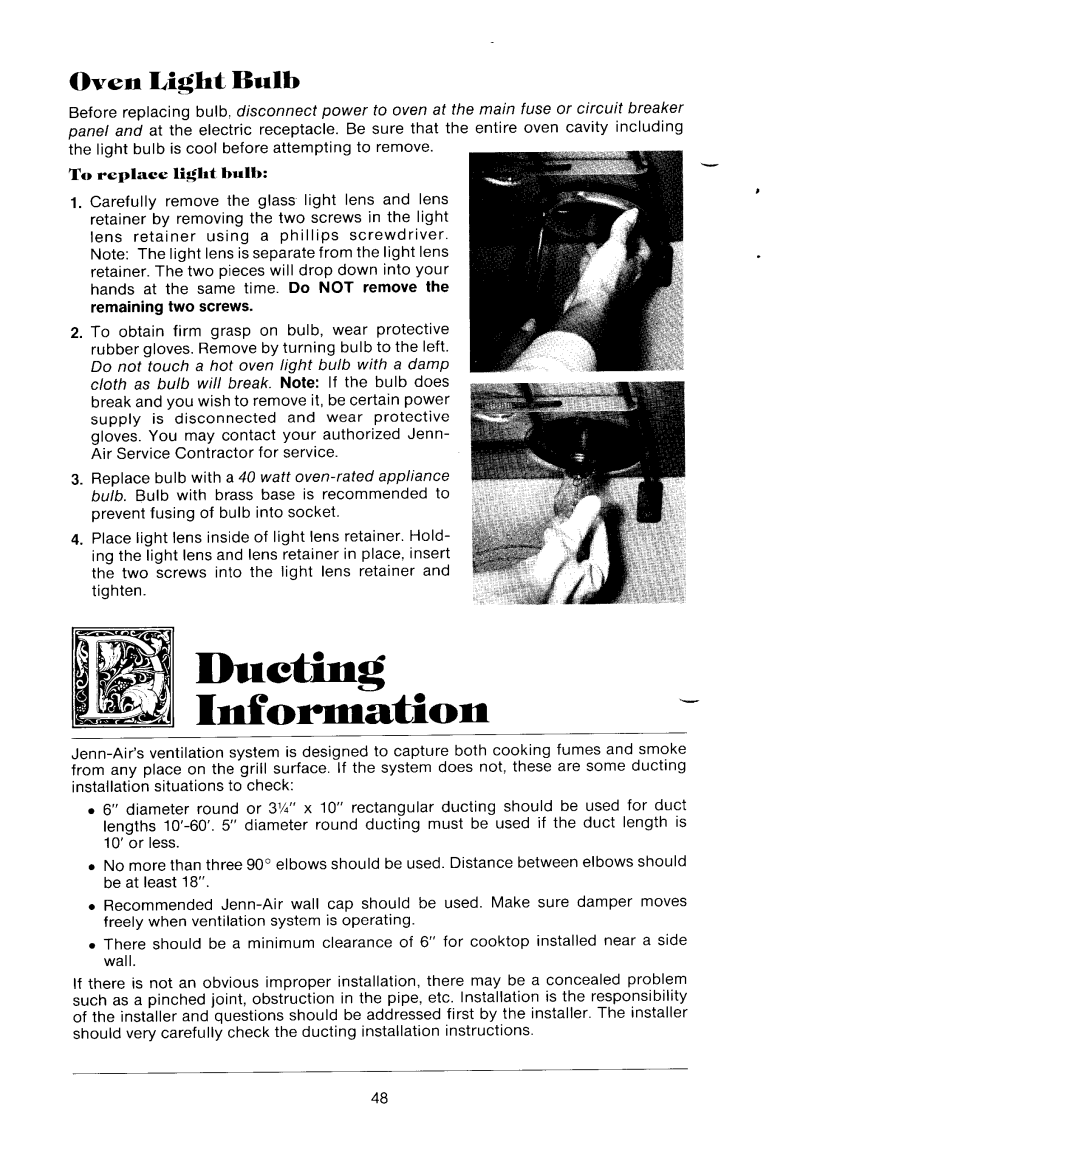
Another impressive characteristic of the SEG196 is its generous oven capacity, allowing for multiple dishes to be cooked simultaneously. The oven interior is designed with premium materials that are easy to clean, ensuring that maintenance is a breeze.
The Jenn-Air SEG196 also incorporates smart technology, enabling users to connect the oven to their smartphones via Wi-Fi. This feature allows for remote monitoring and control, which is especially handy for busy home chefs. Users can preheat the oven, set timers, and receive notifications when their dishes are ready—all from the convenience of a mobile app.
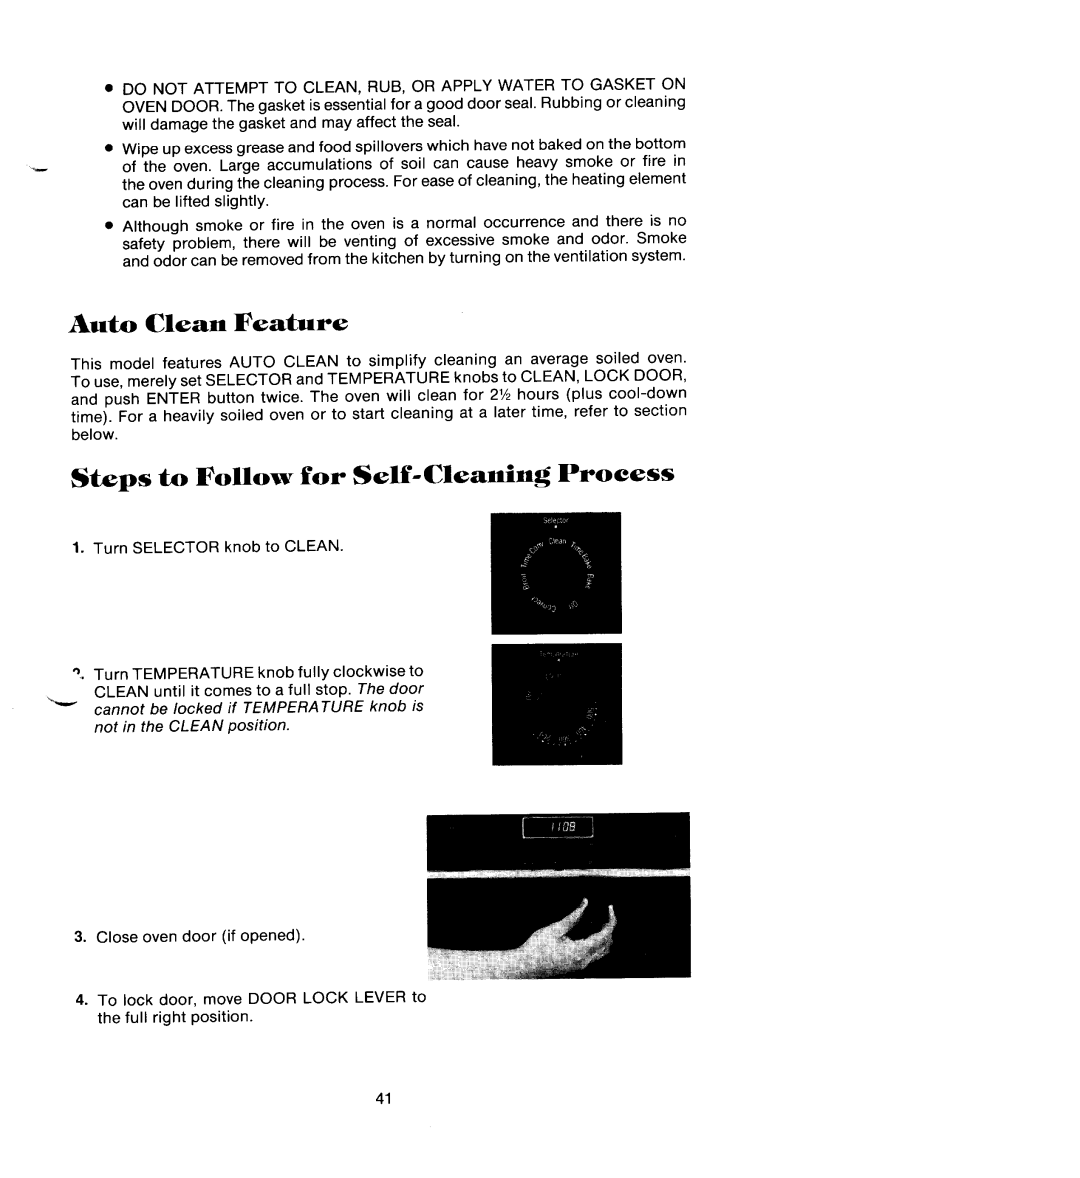
For cooks who appreciate precision, the oven includes a temperature probe that alerts users when their meat has reached the desired internal temperature, ensuring perfectly cooked results every time. Additionally, the SEG196's self-cleaning function makes upkeep simple and efficient, using high temperatures to burn away food residue.
With its sleek design and premium finishes, the Jenn-Air SEG196 not only enhances the functionality of any kitchen but also elevates its aesthetics. Available in various colors, this oven can seamlessly blend with existing decor while providing outstanding performance.
In conclusion, the Jenn-Air SEG196 is a standout choice for anyone seeking a high-quality and technologically advanced wall oven. Its combination of convection cooking, smart technology, and elegant design makes it a worthy addition to any modern kitchen.
