Westinghouse UL-ES-VintageII-WH09 Extended Downrod Option, Opción Con Varilla Vertical Más Larga

Page 11
EXTENDED DOWNROD OPTION

UL-ES-VintageII-WH09

EXTENDED DOWNROD OPTION

OPCIÓN CON VARILLA VERTICAL MÁS LARGA

10

Manual background2

Manual background 1

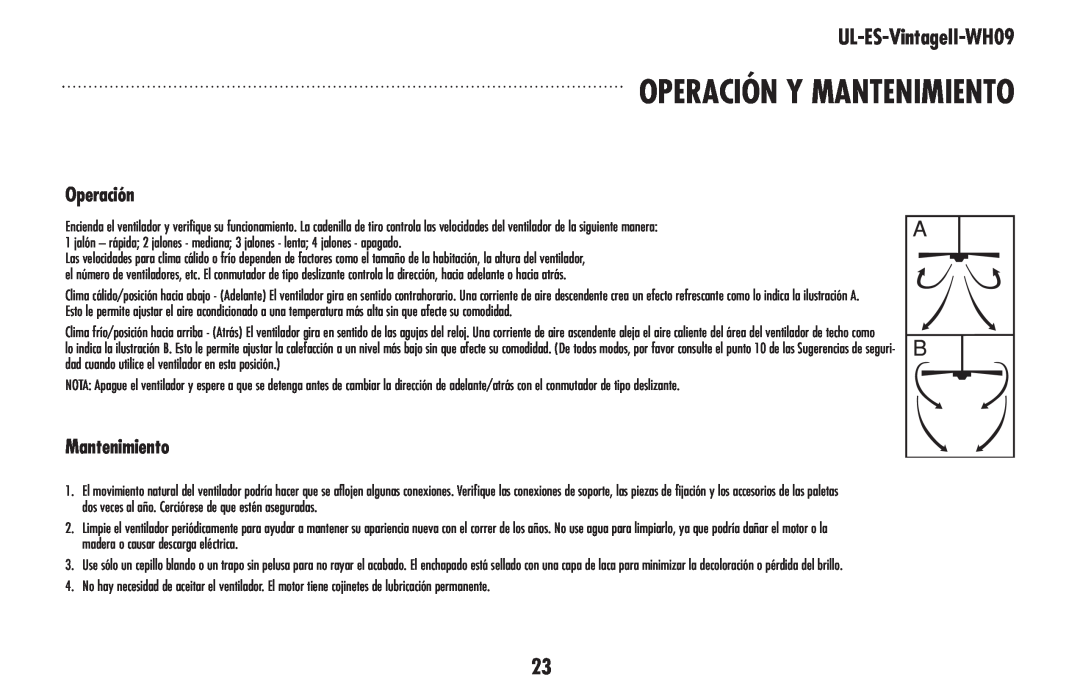
Slide downrod ball (1) off of downrod and remove pin (2).

Deslice la esfera de la varilla vertical (1) hasta separarla de la varilla vertical y quite el pasador (2).

11

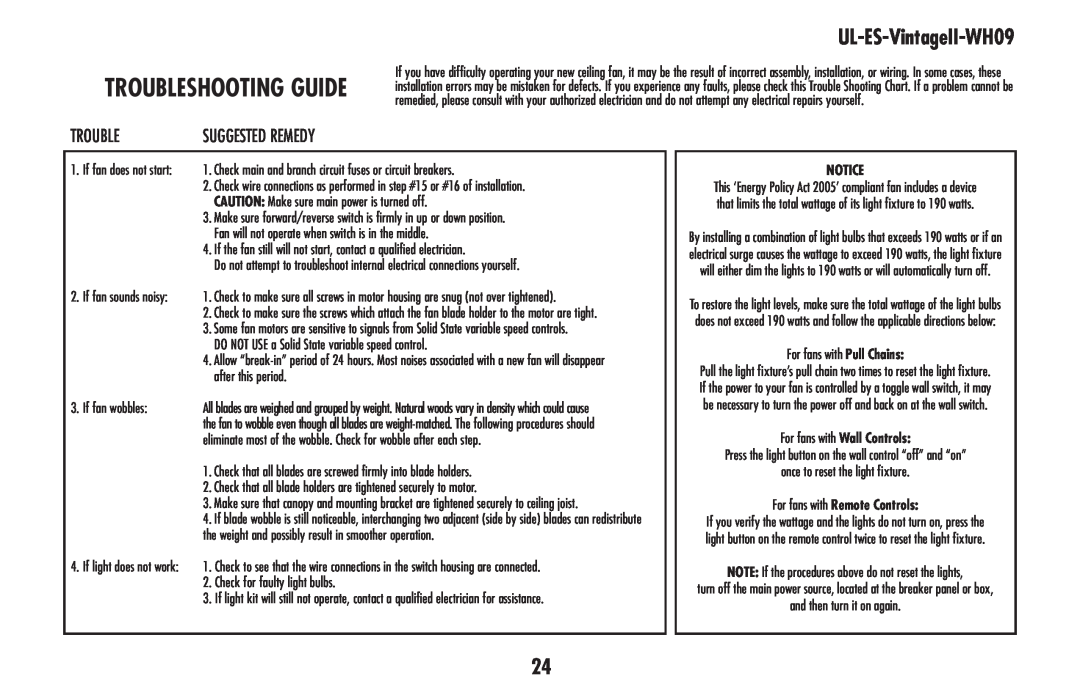
Re-install pin into extended downrod, and slide downrod ball up to the top of the downrod. Re-install set screw to secure ball to downrod. Note: Some extended downrods have a pre-drilled set-screw hole. If a pre-drilled hole is present in the extended downrod, tighten the set screw into the pre-drilled hole in the extended downrod. If no pre-drilled hole exists in the extended downrod, tighten the set screw against the downrod to secure the downrod ball.

Vuelva a instalar el pasador en la varilla vertical más larga y deslice la esfera de la varilla hasta el extremo superior de la misma. Vuelva a insertar el tornillo de fijación para asegurar la esfera a la varilla vertical. Nota: Algunas varillas verticales más largas tienen un agujero previamente perforado para el tornillo. Si la varilla vertical más larga tiene un agujero previamente perforado, ajuste el tornillo en el agujero previamente perforado de la varilla vertical más larga. Si la varilla vertical más larga no tiene un agujero previamente perforado, ajuste el tornillo sobre la varilla vertical para asegurar la esfera de la misma.

11
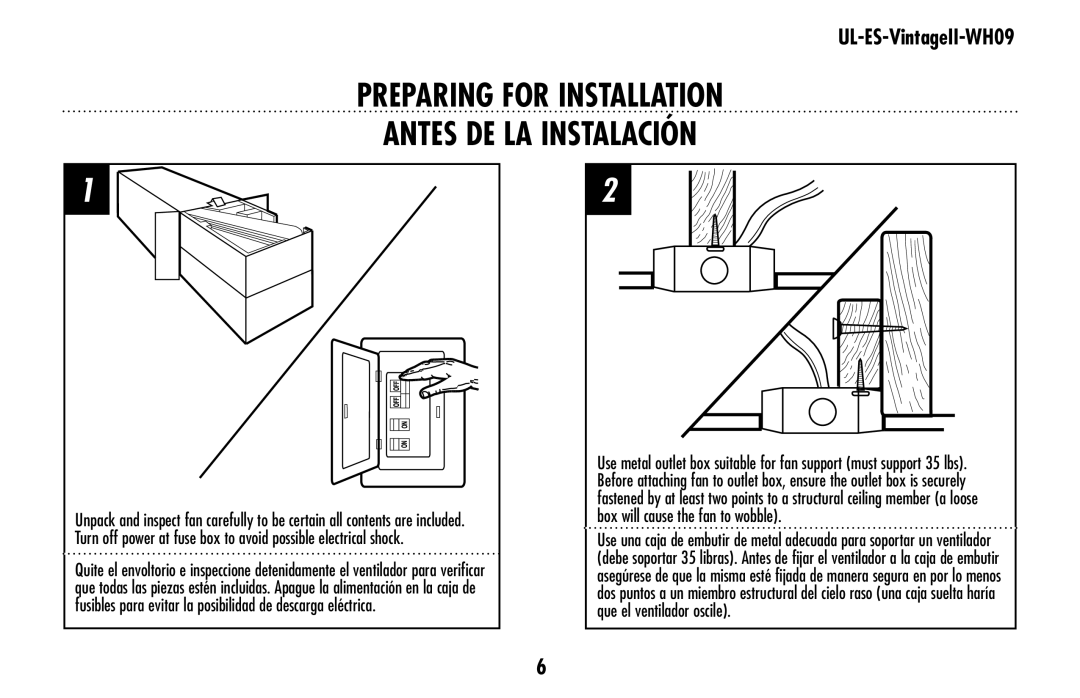
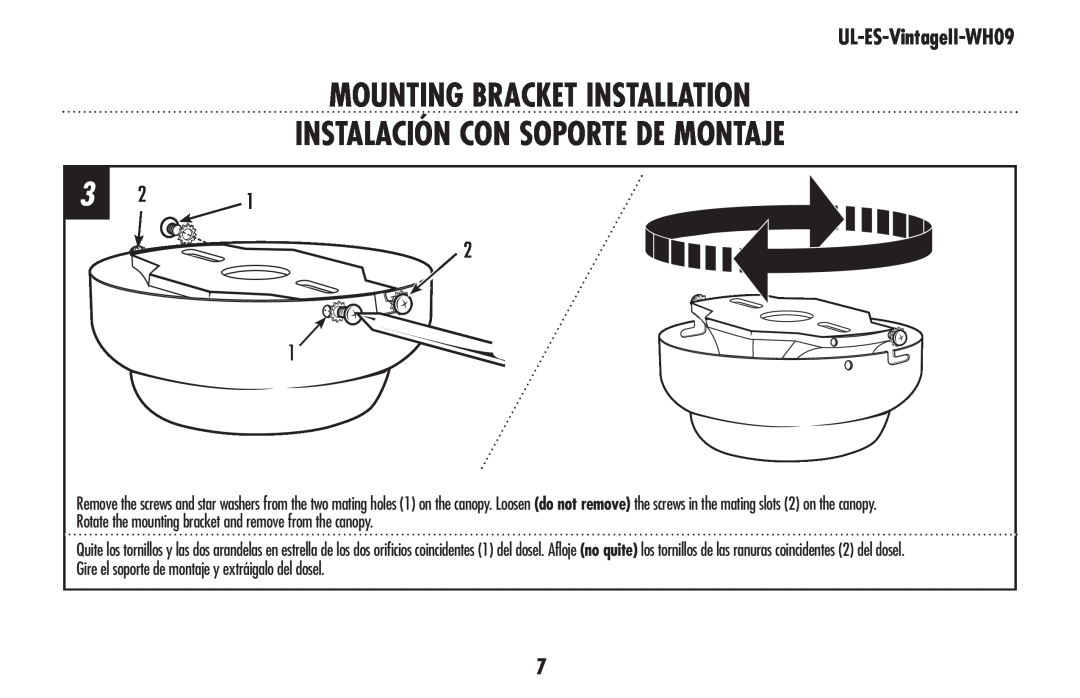
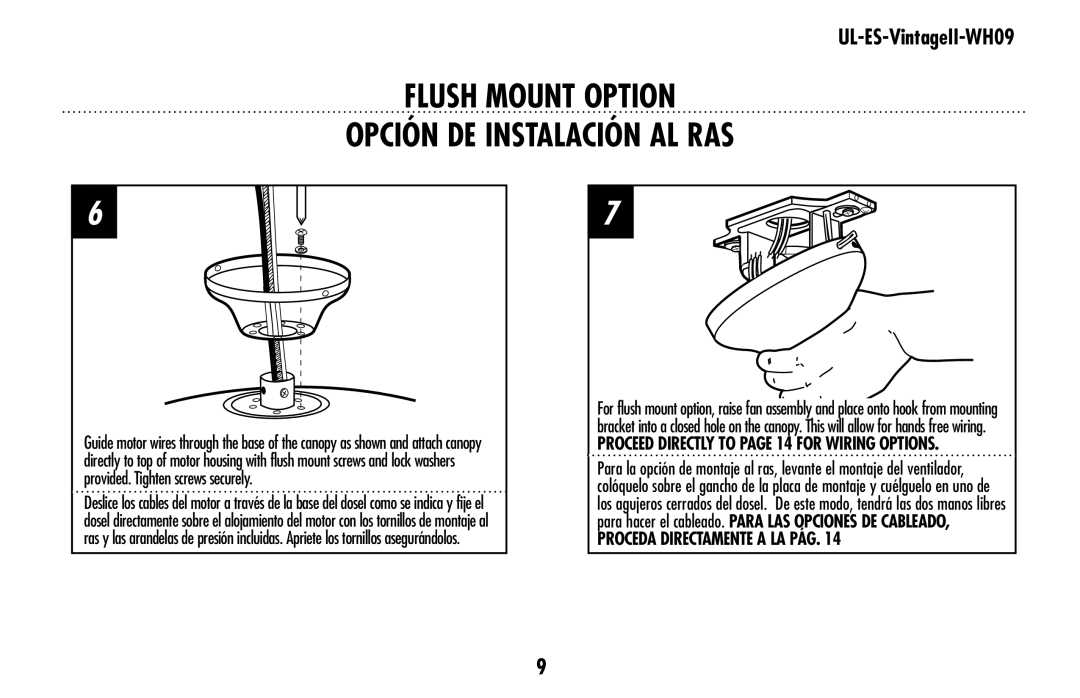
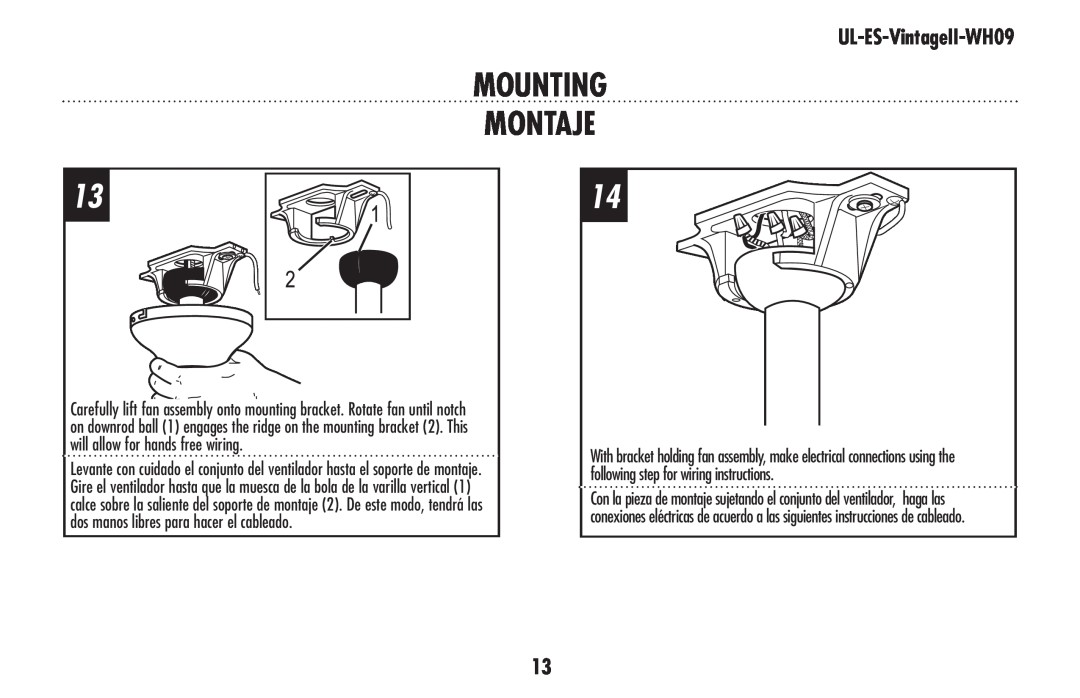
Image 11
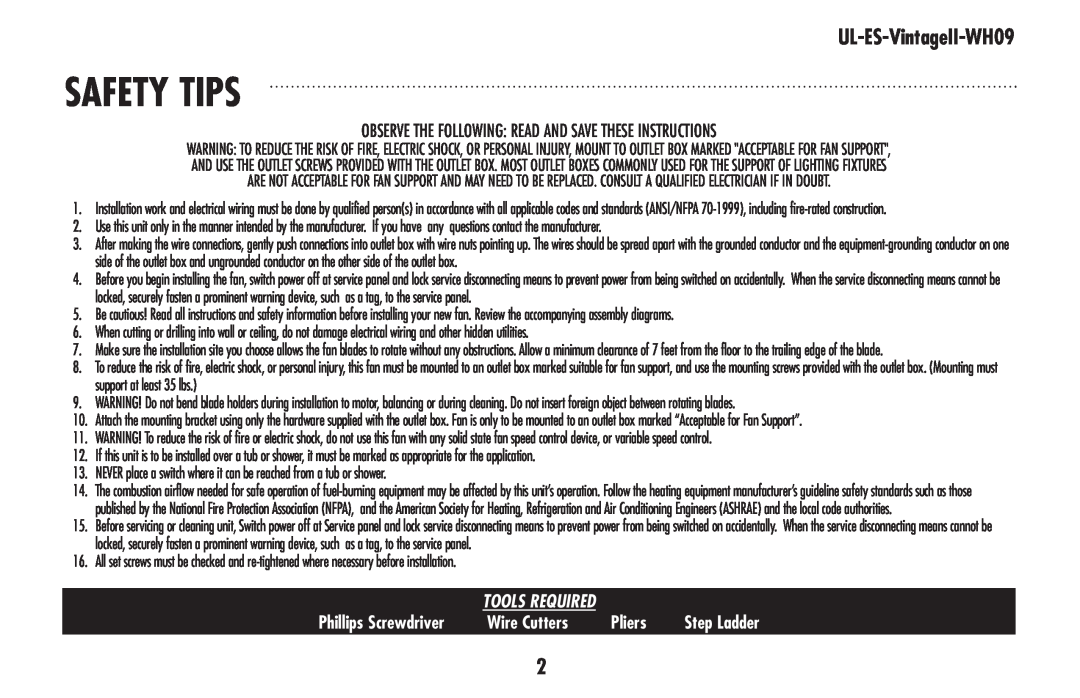
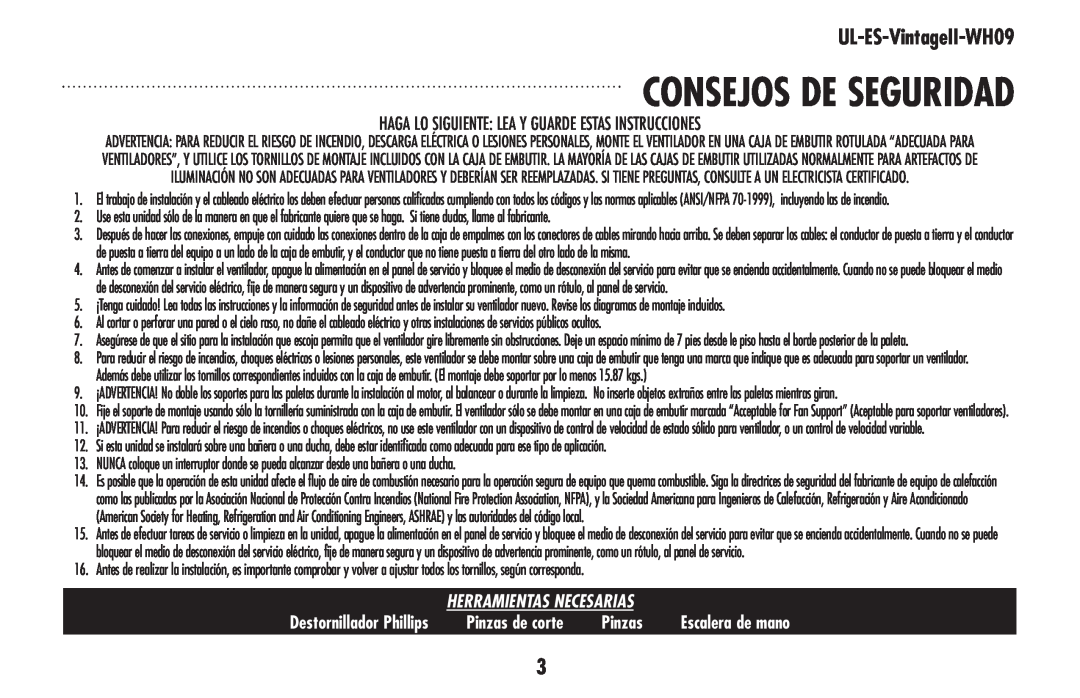
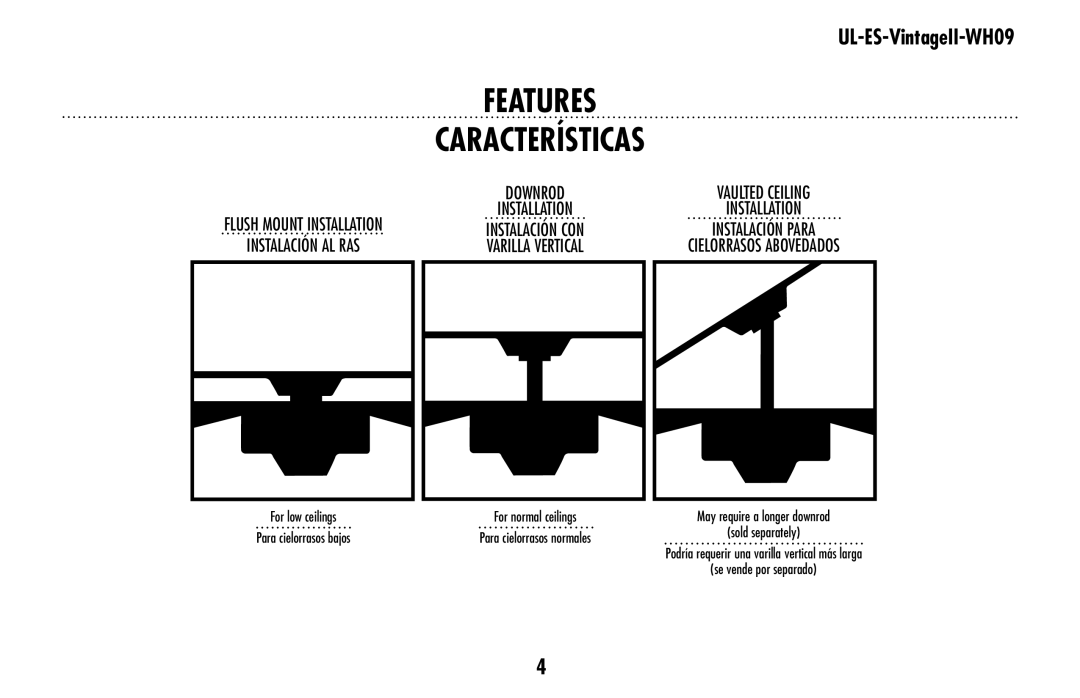
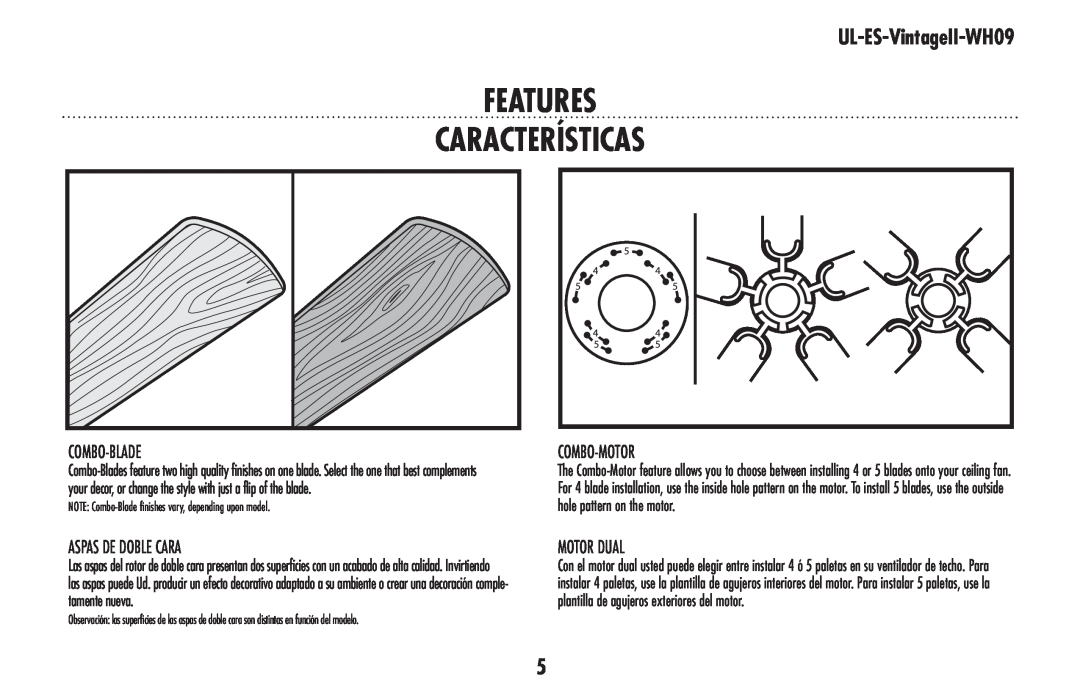
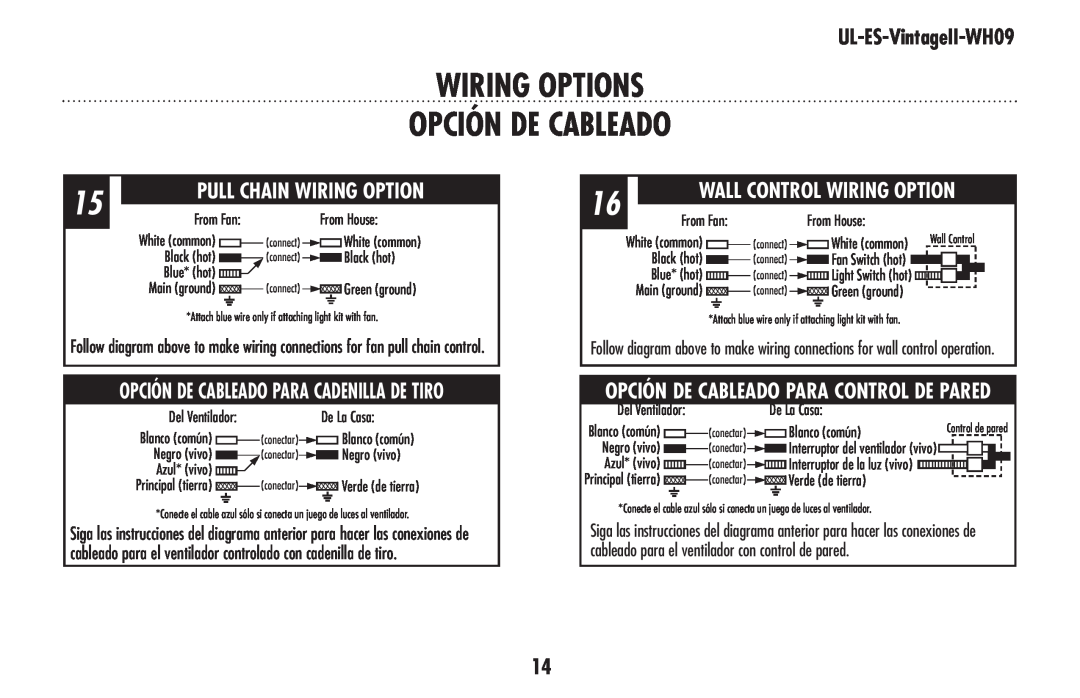
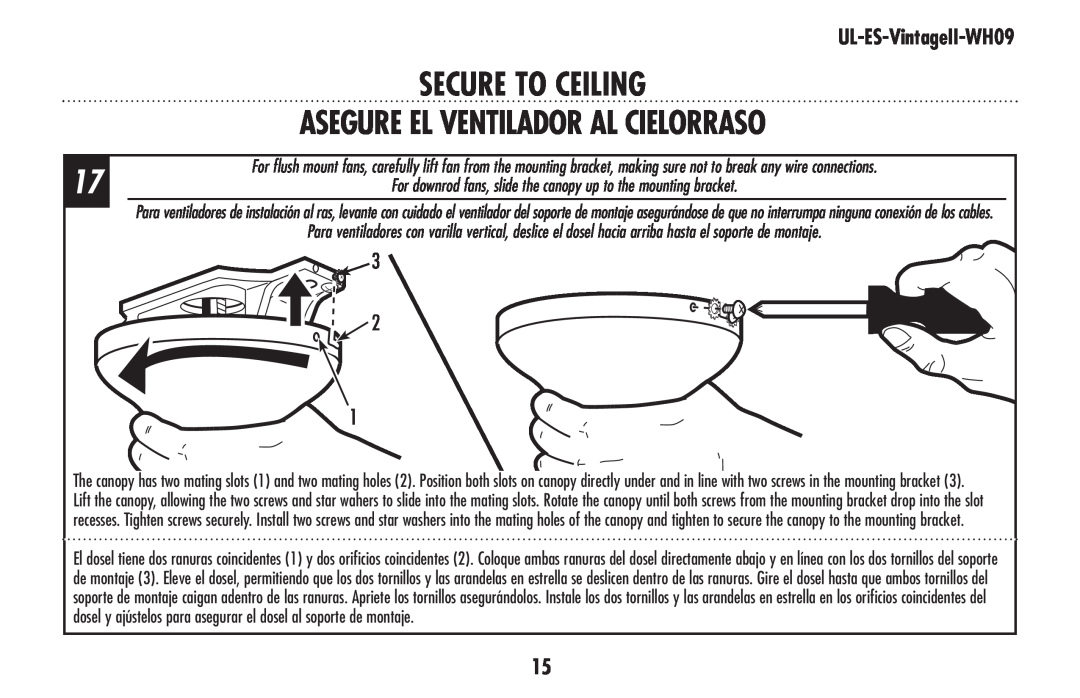
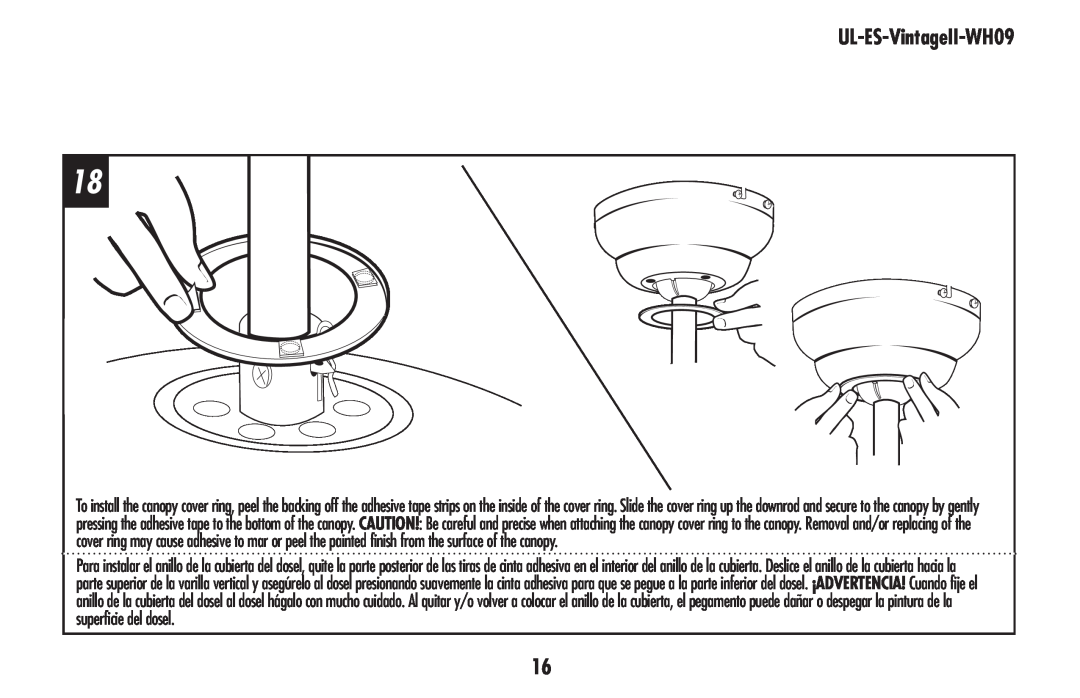
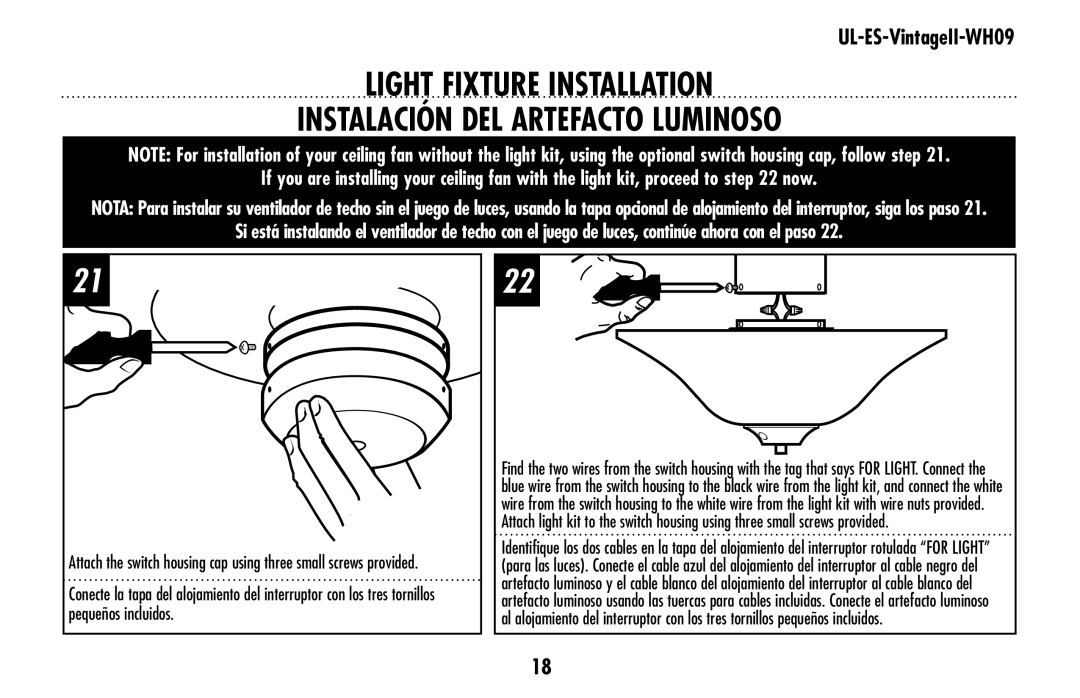
Contents Vintage IITM UL-ES-VintageII-WH0918.30 Peso NetoStep Ladder Safety tipsWire Cutters PliersEscalera de mano Consejos de seguridadPinzas de corte PinzasMay require a longer downrod Features CaracterísticasFor normal ceilings ASPAS DE DOBLE CARA CaracterísticasCOMBO-BLADE COMBO-MOTORAntes de la instalación pREPARING for installationInstalación con soporte de montaje Mounting bracket Installationproceda a la página 10, paso MOUNTING OPTIONS OPCIONES DE MONTAJEFLUSH MOUNT OPTION NORMAL DOWNROD OPTIONPROCEDA DIRECTAMENTE A LA PÁG PROCEED DIRECTLY TO PAGE 14 FOR WIRING OPTIONSFLUSH MOUNT OPTION OPCIÓN DE INSTALACIÓN AL RAS OPCIÓN CON VARILLA VERTICAL NORMAL DOWNROD OPTIONPARA CIELORRASO NORMAL OPCIÓN CON VARILLA VERTICAL MÁS LARGAEXTENDED DOWNROD OPTION UL-ES-VintageII-WH09 MOUNTING MONTAJE OPCIÓN DE CABLEADO PARA CADENILLA DE TIRO wiring OPTIONS OPCIÓN DE CABLEADOPULL CHAIN WIRING OPTION WALL CONTROL WIRING OPTIONSecure To Ceiling Asegure el ventilador al cielorrasoUL-ES-VintageII-WH09 Blade Installation Instalación de las paletas pequeños incluidos Light fixture installationInstalación del artefacto luminoso UL-ES-VintageII-WH09 UL-ES-VintageII-WH09 Glass PARTS LIST LISTA DE REPUESTOSNo.descripción BladeOperation OPERATION AND MAINTENANCEMaintenance Mantenimiento Operación y mantenimientoOperación For fans with Remote Controls TROUBLETroubleshooting guide AVISO Guía para solucionar problemasPROBLEMA UL-ES-VintageII-WH09 UL-ES-VintageII-WH09 Westinghouse Lighting Corporation