operation
Operating your AVR360
For information display we recommend you use the OSD
Switching on
Press the front panel power button in. The power LED will glow green, the front display shows the word ‘ARCAM’. When initialisation is complete, the display shows the volume setting and the name of the selected input.
Please wait until the unit has finished initialising before operating the AVR360. It is recommended that if the unit is switched off, you should wait at least 10 seconds before switching the unit back on.
Standby
The AVR360 has a standby mode which can be entered by pressing StANDBy on the remote control. When in standby mode, the display is blank and the power LED glows red.
If the unit is to be left unused for an extended period, we recommend that you disconnect it from the mains supply to save power.
To switch on from standby
Press the standby button on the remote control or any key on the front panel (other than the power button).
Front panel display
The AVR360 is ready for use after about four seconds.
B D | 3 7 |
D O L B Y T R U E H D 5 . 1 |
|
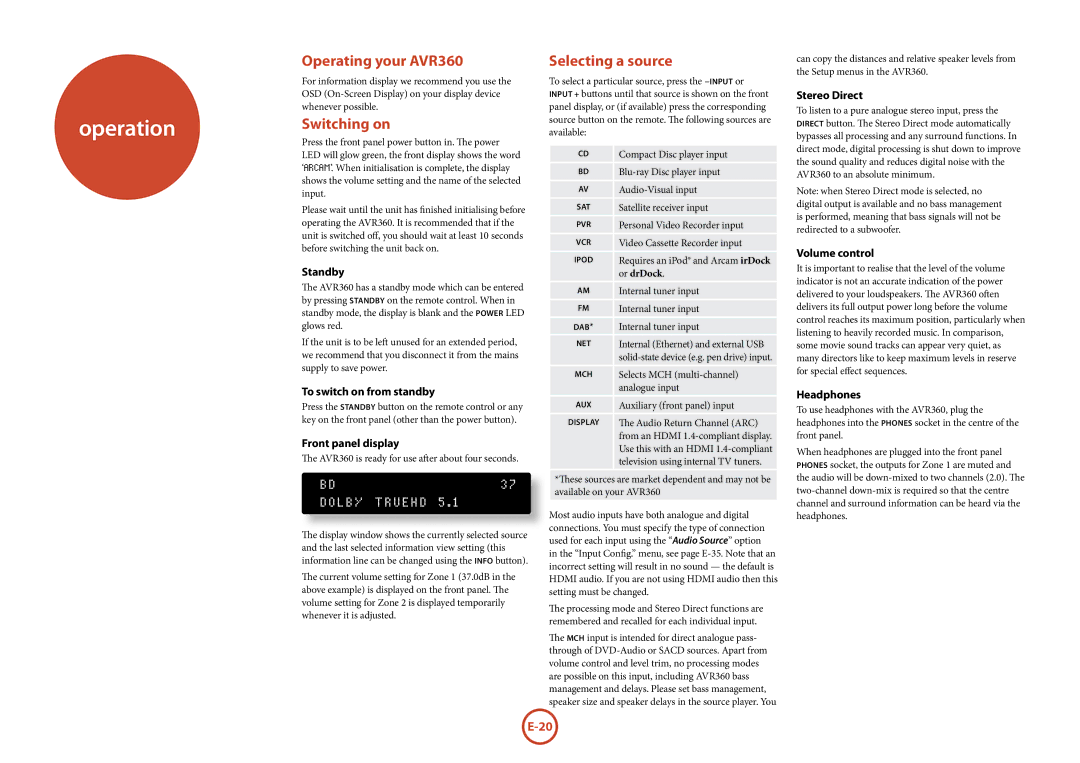
The display window shows the currently selected source and the last selected information view setting (this information line can be changed using the INFO button).
The current volume setting for Zone 1 (37.0dB in the above example) is displayed on the front panel. The volume setting for Zone 2 is displayed temporarily whenever it is adjusted.
Selecting a source
To select a particular source, press the
CD | Compact Disc player input |
BD | |
AV | |
SAT | Satellite receiver input |
PVR | Personal Video Recorder input |
VCR | Video Cassette Recorder input |
iPoD | Requires an iPod® and Arcam irDock |
| or drDock. |
AM | Internal tuner input |
FM | Internal tuner input |
DAB* | Internal tuner input |
NeT | Internal (Ethernet) and external USB |
| |
MCH | Selects MCH |
| analogue input |
AUX | Auxiliary (front panel) input |
DISPLAY | The Audio Return Channel (ARC) |
| from an HDMI |
| Use this with an HDMI |
| television using internal TV tuners. |
*These sources are market dependent and may not be available on your AVR360
Most audio inputs have both analogue and digital connections. You must specify the type of connection used for each input using the “Audio Source” option in the “Input Config.” menu, see page
The processing mode and Stereo Direct functions are remembered and recalled for each individual input.
The MCH input is intended for direct analogue pass- through of
can copy the distances and relative speaker levels from the Setup menus in the AVR360.
Stereo Direct
To listen to a pure analogue stereo input, press the DirECT button. The Stereo Direct mode automatically bypasses all processing and any surround functions. In direct mode, digital processing is shut down to improve the sound quality and reduces digital noise with the AVR360 to an absolute minimum.
Note: when Stereo Direct mode is selected, no digital output is available and no bass management is performed, meaning that bass signals will not be redirected to a subwoofer.
Volume control
It is important to realise that the level of the volume indicator is not an accurate indication of the power delivered to your loudspeakers. The AVR360 often delivers its full output power long before the volume control reaches its maximum position, particularly when listening to heavily recorded music. In comparison, some movie sound tracks can appear very quiet, as many directors like to keep maximum levels in reserve for special effect sequences.
Headphones
To use headphones with the AVR360, plug the headphones into the PhONES socket in the centre of the front panel.
When headphones are plugged into the front panel phones socket, the outputs for Zone 1 are muted and the audio will be