multi-room
set up
The AVR360 allows independent routing and control of analogue audio and Composite video to a separate set of equipment, typically used for a second living space, e.g., bedroom or lounge.
The connection guide on the following page shows how the AVR360 is normally connected in a
Zone 2
Zone 2 receives only signals obtained by the AVR360 from the analogue audio and Composite video inputs. The analogue inputs are required because there is no
For this reason, we recommend that in addition to any digital connections, the analogue audio and Composite video outputs from your source devices are connected to the AVR360.
Video outputs
The Z2 Composite video output connectors of the AVR360 should be connected to the analogue video inputs (usually labelled VidEO iN or CoMPOSitE VidEO in) of the display device in Zone 2.
Audio outputs
The Z2 OuT, R and L phono sockets should be connected to the analogue audio inputs (Usually labelled AnAloGUE AuDio in) of the Zone 2 display device, or to the inputs of an additional stereo power amplifier in Zone 2 (for example, the Arcam P38).
Speaker outputs
If the main zone has a
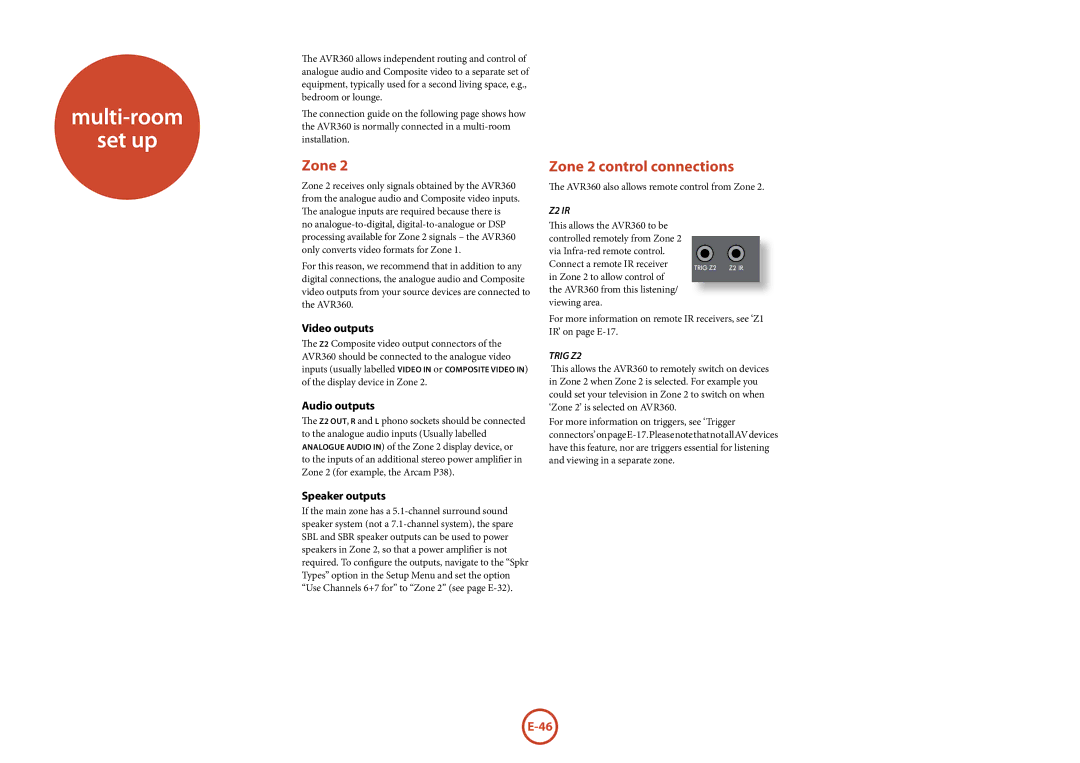
Zone 2 control connections
The AVR360 also allows remote control from Zone 2.
Z2 IR
This allows the AVR360 to be
controlled remotely from Zone 2 via
in Zone 2 to allow control of the AVR360 from this listening/ viewing area.
For more information on remote IR receivers, see ‘Z1 IR’ on page
TRIG Z2
This allows the AVR360 to remotely switch on devices in Zone 2 when Zone 2 is selected. For example you could set your television in Zone 2 to switch on when ‘Zone 2’ is selected on AVR360.
For more information on triggers, see ‘Trigger