Removing the Keyboard
IMPORTANT: The keyboard is easily warped or damaged during the removal process. Take care not to use excessive force when removing to prevent damage.
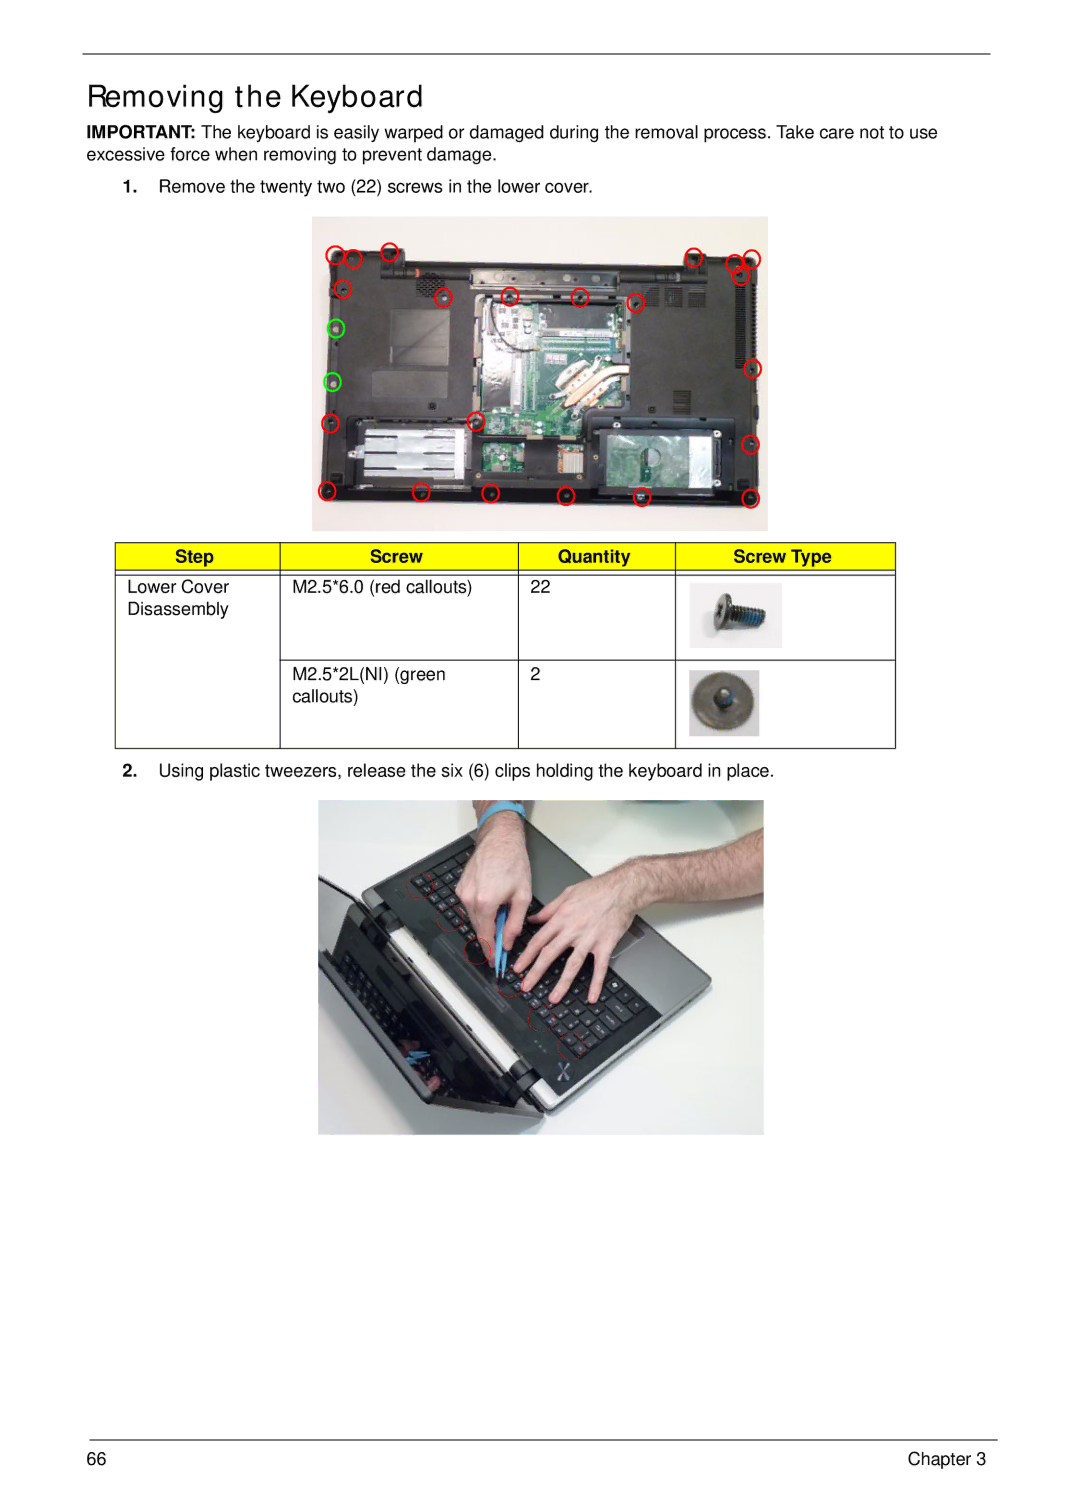
1.Remove the twenty two (22) screws in the lower cover.
Step | Screw | Quantity | Screw Type |
|
|
|
|
Lower Cover | M2.5*6.0 (red callouts) | 22 |
|
Disassembly |
|
|
|
|
|
|
|
| M2.5*2L(NI) (green | 2 |
|
| callouts) |
|
|
|
|
|
|
2.Using plastic tweezers, release the six (6) clips holding the keyboard in place.
66 | Chapter 3 |