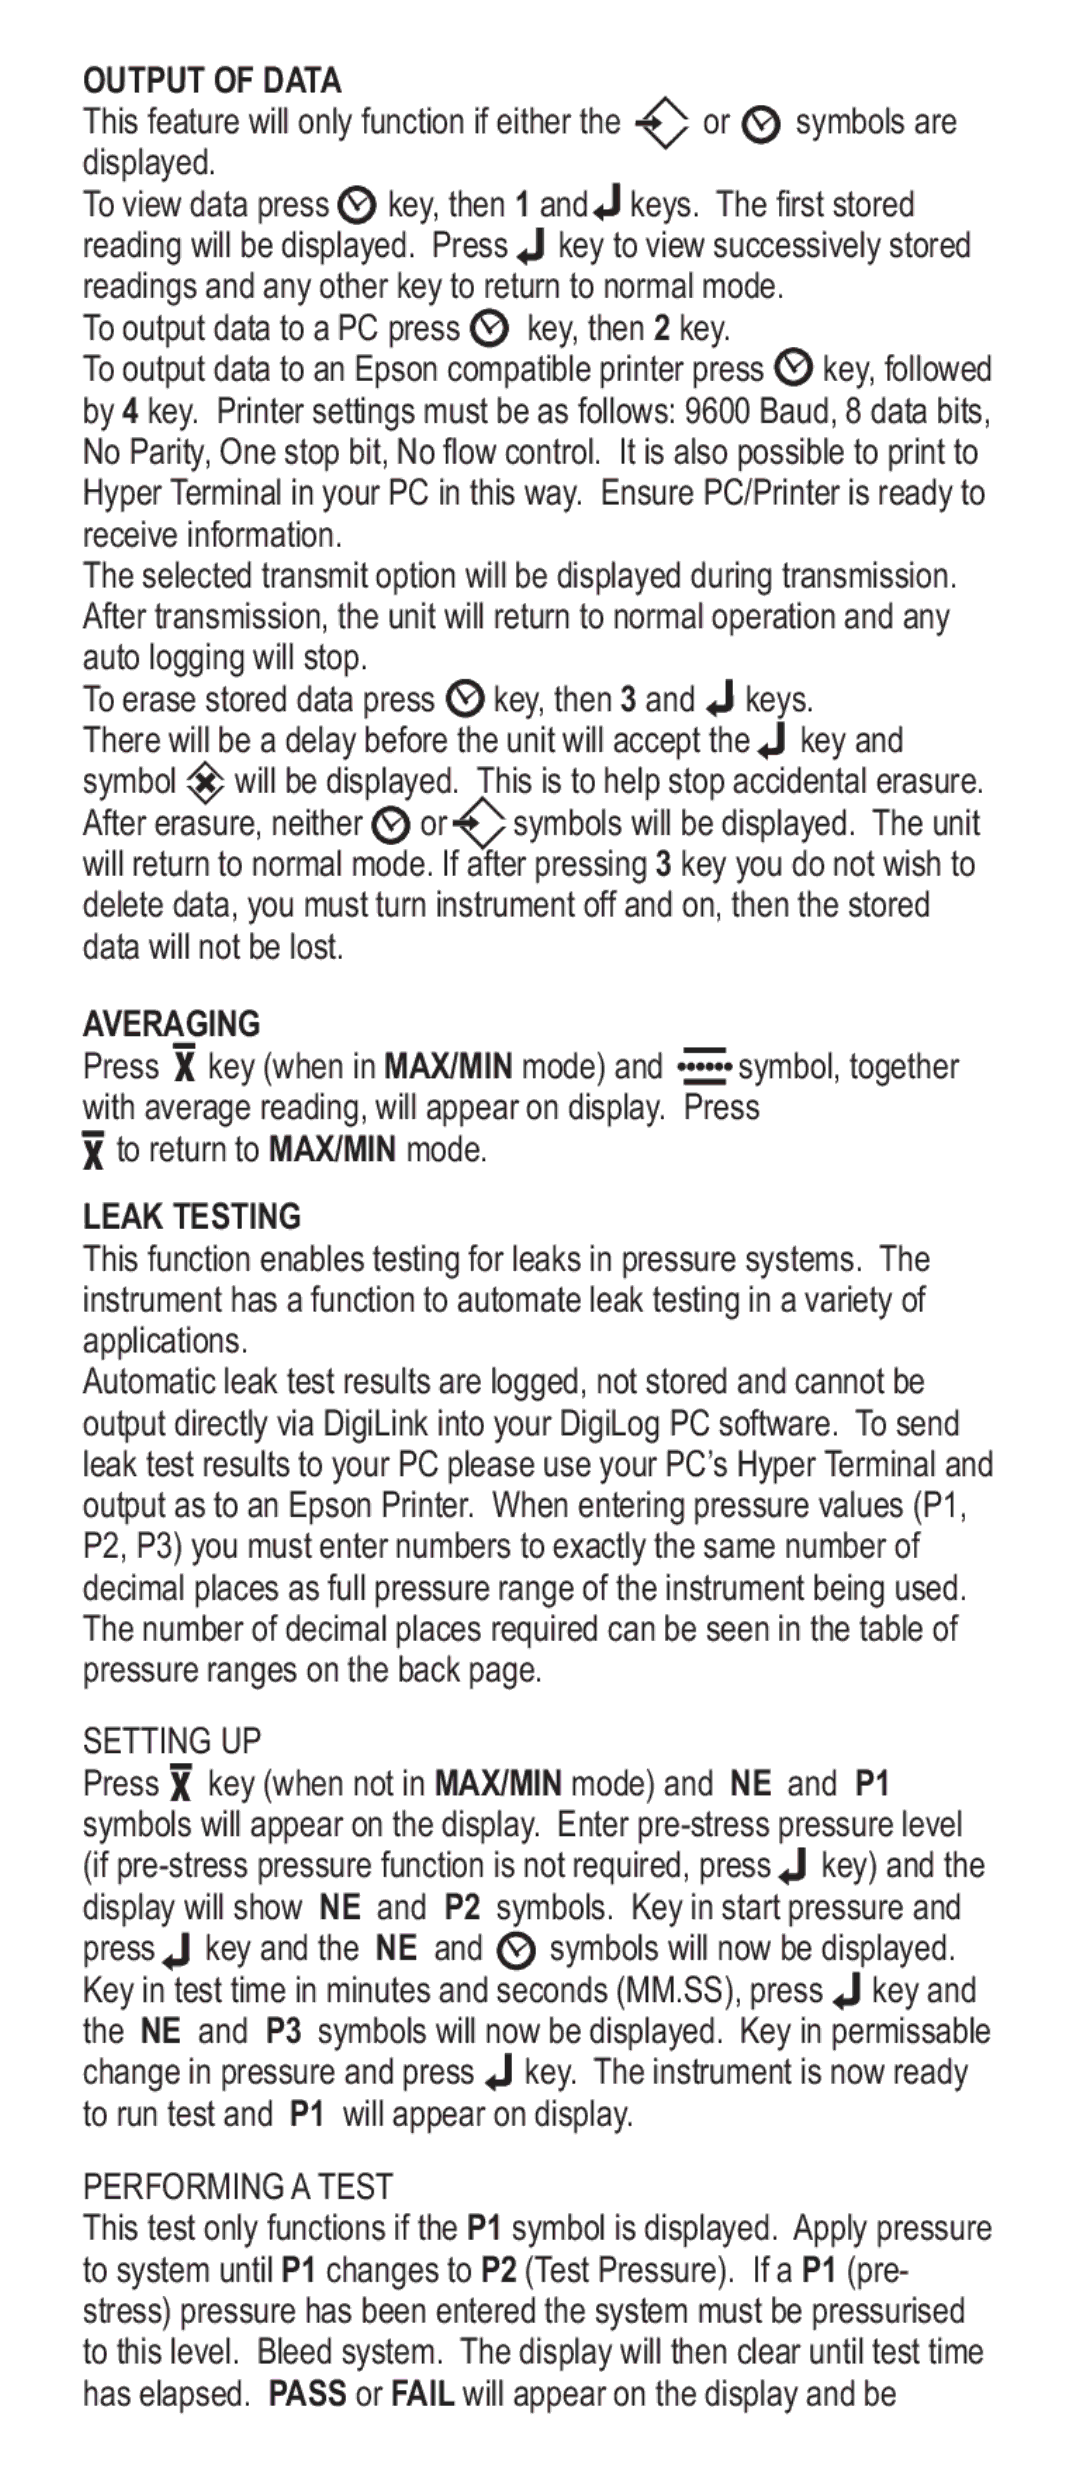
OUTPUT OF DATA |
|
|
|
|
This feature will only function if either the | or | symbols are | ||
displayed. |
|
|
|
|
To view data press | key, then 1 and | keys. The first stored | ||
reading will be displayed. Press | key to view successively stored | |||
readings and any other key to return to normal mode. |
| |||
To output data to a PC press | key, then 2 key. |
| ||
To output data to an Epson compatible printer press | key, followed | |||
by 4 key. Printer settings must be as follows: 9600 Baud, 8 data bits, No Parity, One stop bit, No flow control. It is also possible to print to Hyper Terminal in your PC in this way. Ensure PC/Printer is ready to receive information.
The selected transmit option will be displayed during transmission. After transmission, the unit will return to normal operation and any auto logging will stop.
To erase stored data press | key, then 3 and | keys. | |||
There will be a delay before the unit will accept the | key and | ||||
symbol | will be displayed. This is to help stop accidental erasure. | ||||
After erasure, neither | or | symbols will be displayed. The unit | |||
will return to normal mode. If after pressing 3 key you do not wish to delete data, you must turn instrument off and on, then the stored data will not be lost.
AVERAGING |
|
Press X key (when in MAX/MIN mode) and | symbol, together |
with average reading, will appear on display. Press
Xto return to MAX/MIN mode.
LEAK TESTING
This function enables testing for leaks in pressure systems. The instrument has a function to automate leak testing in a variety of applications.
Automatic leak test results are logged, not stored and cannot be output directly via DigiLink into your DigiLog PC software. To send leak test results to your PC please use your PC’s Hyper Terminal and output as to an Epson Printer. When entering pressure values (P1, P2, P3) you must enter numbers to exactly the same number of decimal places as full pressure range of the instrument being used. The number of decimal places required can be seen in the table of pressure ranges on the back page.
SETTING UP
Press X key (when not in MAX/MIN mode) and NE and P1 symbols will appear on the display. Enter ![]() key) and the display will show NE and P2 symbols. Key in start pressure and
key) and the display will show NE and P2 symbols. Key in start pressure and
press ![]() key and the NE and
key and the NE and ![]() symbols will now be displayed. Key in test time in minutes and seconds (MM.SS), press
symbols will now be displayed. Key in test time in minutes and seconds (MM.SS), press ![]() key and the NE and P3 symbols will now be displayed. Key in permissable change in pressure and press
key and the NE and P3 symbols will now be displayed. Key in permissable change in pressure and press ![]() key. The instrument is now ready to run test and P1 will appear on display.
key. The instrument is now ready to run test and P1 will appear on display.
PERFORMING A TEST
This test only functions if the P1 symbol is displayed. Apply pressure to system until P1 changes to P2 (Test Pressure). If a P1 (pre- stress) pressure has been entered the system must be pressurised to this level. Bleed system. The display will then clear until test time has elapsed. PASS or FAIL will appear on the display and be
