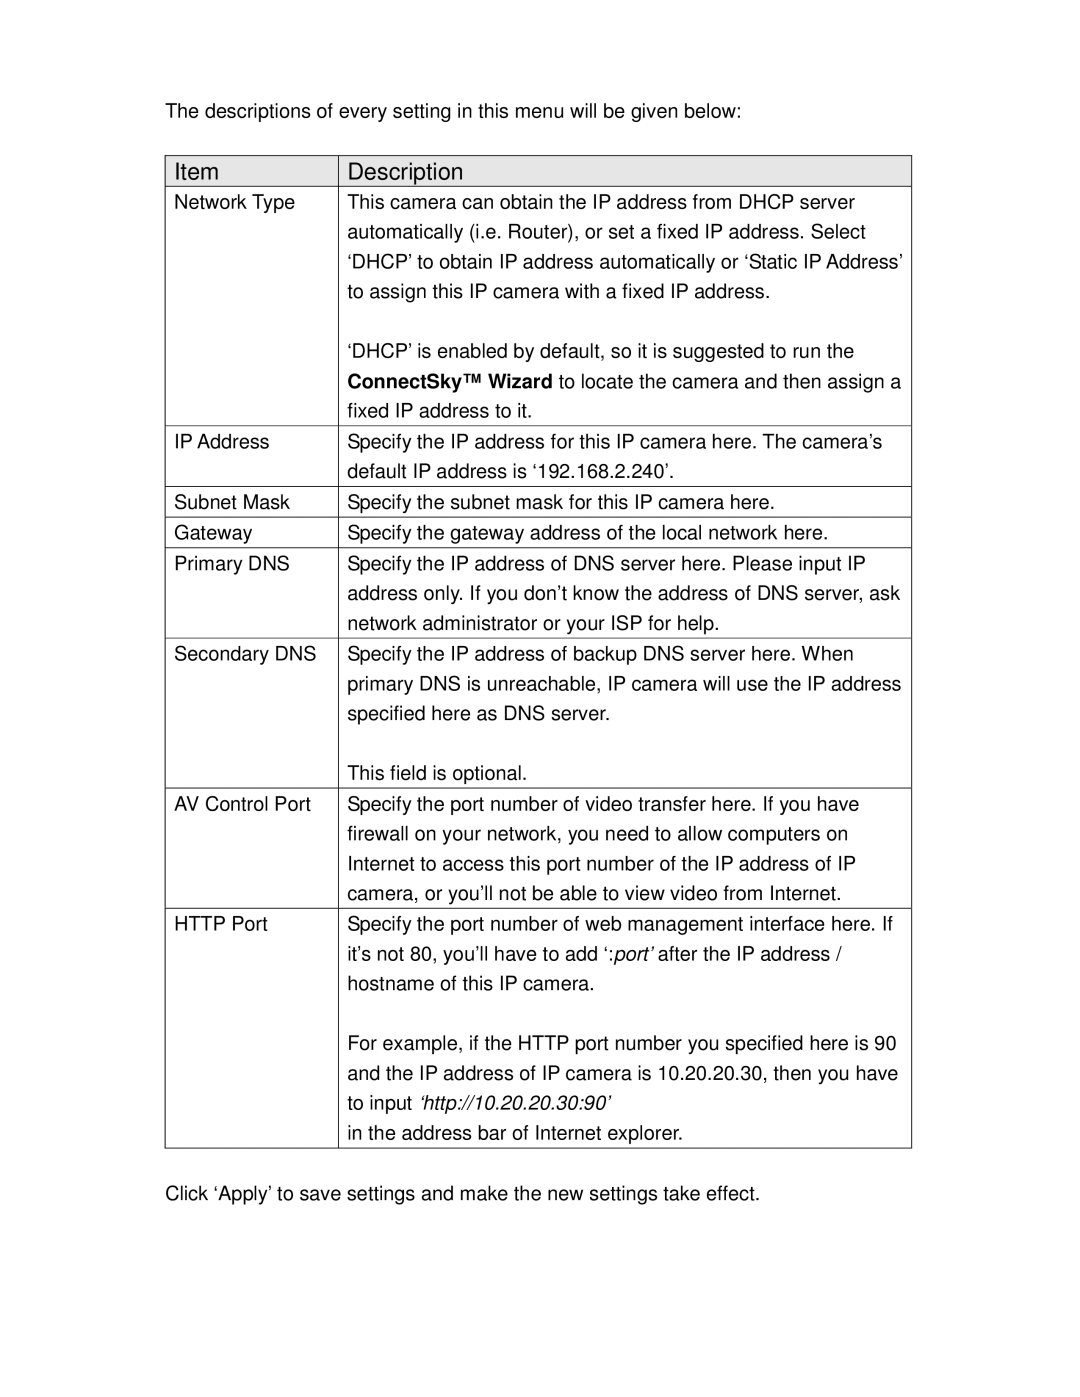
The descriptions of every setting in this menu will be given below:
Item | Description |
Network Type | This camera can obtain the IP address from DHCP server |
| automatically (i.e. Router), or set a fixed IP address. Select |
| ‘DHCP’ to obtain IP address automatically or ‘Static IP Address’ |
| to assign this IP camera with a fixed IP address. |
| ‘DHCP’ is enabled by default, so it is suggested to run the |
| ConnectSky™ Wizard to locate the camera and then assign a |
| fixed IP address to it. |
|
|
IP Address | Specify the IP address for this IP camera here. The camera’s |
| default IP address is ‘192.168.2.240’. |
|
|
Subnet Mask | Specify the subnet mask for this IP camera here. |
|
|
Gateway | Specify the gateway address of the local network here. |
|
|
Primary DNS | Specify the IP address of DNS server here. Please input IP |
| address only. If you don’t know the address of DNS server, ask |
| network administrator or your ISP for help. |
|
|
Secondary DNS | Specify the IP address of backup DNS server here. When |
| primary DNS is unreachable, IP camera will use the IP address |
| specified here as DNS server. |
| This field is optional. |
|
|
AV Control Port | Specify the port number of video transfer here. If you have |
| firewall on your network, you need to allow computers on |
| Internet to access this port number of the IP address of IP |
| camera, or you’ll not be able to view video from Internet. |
|
|
HTTP Port | Specify the port number of web management interface here. If |
| it’s not 80, you’ll have to add ‘:port’ after the IP address / |
| hostname of this IP camera. |
| For example, if the HTTP port number you specified here is 90 |
| and the IP address of IP camera is 10.20.20.30, then you have |
| to input ‘http://10.20.20.30:90’ |
| in the address bar of Internet explorer. |
|
|
Click ‘Apply’ to save settings and make the new settings take effect.
