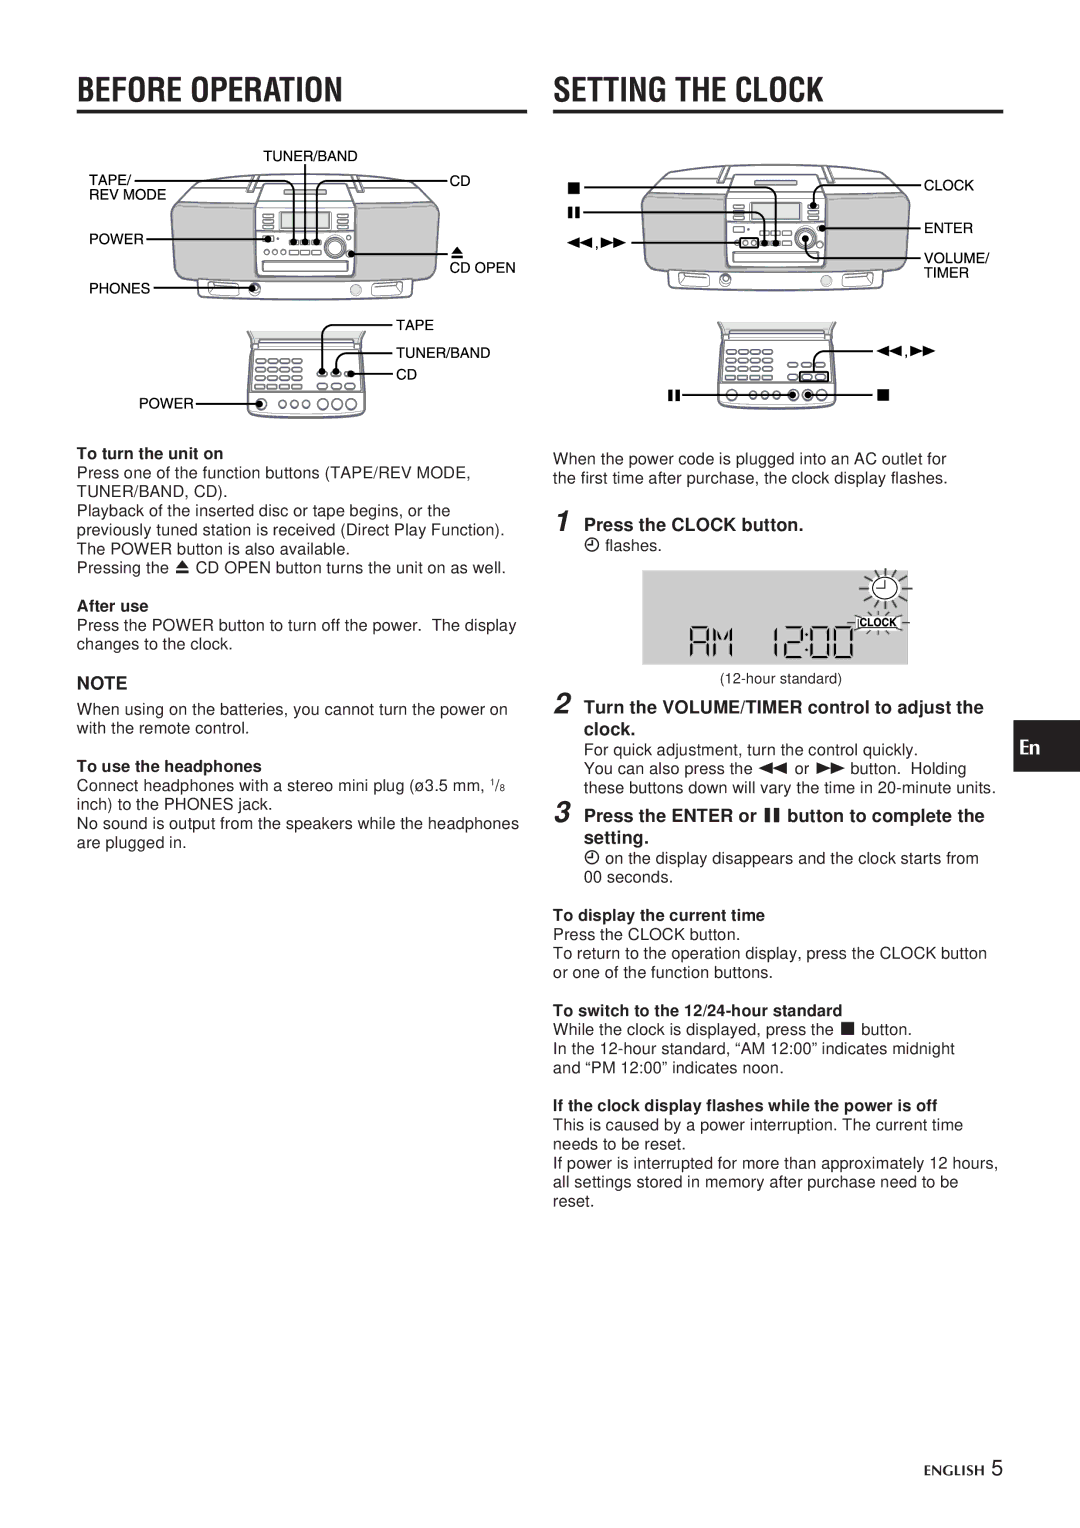
CSD-EL300 specifications
The Aiwa CSD-EL300 is a remarkable piece of audio equipment that combines innovative technology with user-friendly features, making it a standout choice for music enthusiasts. This portable stereo cassette player with a built-in radio is a prime example of Aiwa's commitment to delivering sound quality and functionality.One of the main features of the CSD-EL300 is its dual cassette deck. This allows users to easily record their favorite songs from the radio or duplicate tracks from one cassette to another, providing a seamless experience for both listening and recording. The device supports both normal and bias cassettes, ensuring compatibility with a wide range of tape formats.
A key characteristic of the Aiwa CSD-EL300 is its high-quality audio playback. Equipped with Aiwa's proprietary sound processing technology, the device delivers clear highs and robust lows, enhancing the overall listening experience. The built-in speakers are designed to produce a rich and dynamic sound, making it perfect for personal listening sessions or small gatherings.
In addition to its cassette functionality, the CSD-EL300 features an integrated FM/AM radio tuner. This allows users to catch their favorite live broadcasts, further expanding their audio options. The tuner is equipped with a simple knob for easy frequency selection, ensuring quick access to all available stations.
Portability is another hallmark of the Aiwa CSD-EL300. The device is compact and lightweight, making it easy to transport from room to room or take along on trips. The built-in handle adds convenience, allowing users to carry it effortlessly.
The CSD-EL300 is powered by batteries, which offers the flexibility of wireless operation. This feature is especially useful for outdoor use or in locations where power sources are not readily available. Additionally, there is an option to use an AC adapter, providing users with the choice to enjoy their music indoors without the worry of battery life.
Overall, the Aiwa CSD-EL300 merges nostalgia with modern functionality, catering to those who appreciate the classic cassette format while embracing the convenience of contemporary features. Its combination of dual cassette decks, high-quality sound, integrated radio, and portability makes it an appealing option for anyone looking to relive the joy of cassette tapes while enjoying reliable audio performance.

