3.2 Recording Operations
This section details the way to record video into
3.2.1 Manual Recording
Take the following steps to start and stop recording:
(1)Press the REC button 6 to record video into a hard disk drive with the corresponding programmed recording settings. The REC
button 6 will light up indicating the DVR is in the recording status.
(2)Press the REC button 6 for 3 seconds to stop recording any time.
(3)To access just recorded video, please refer to section 3.4 for more details.
3.2.2 Timer Recording
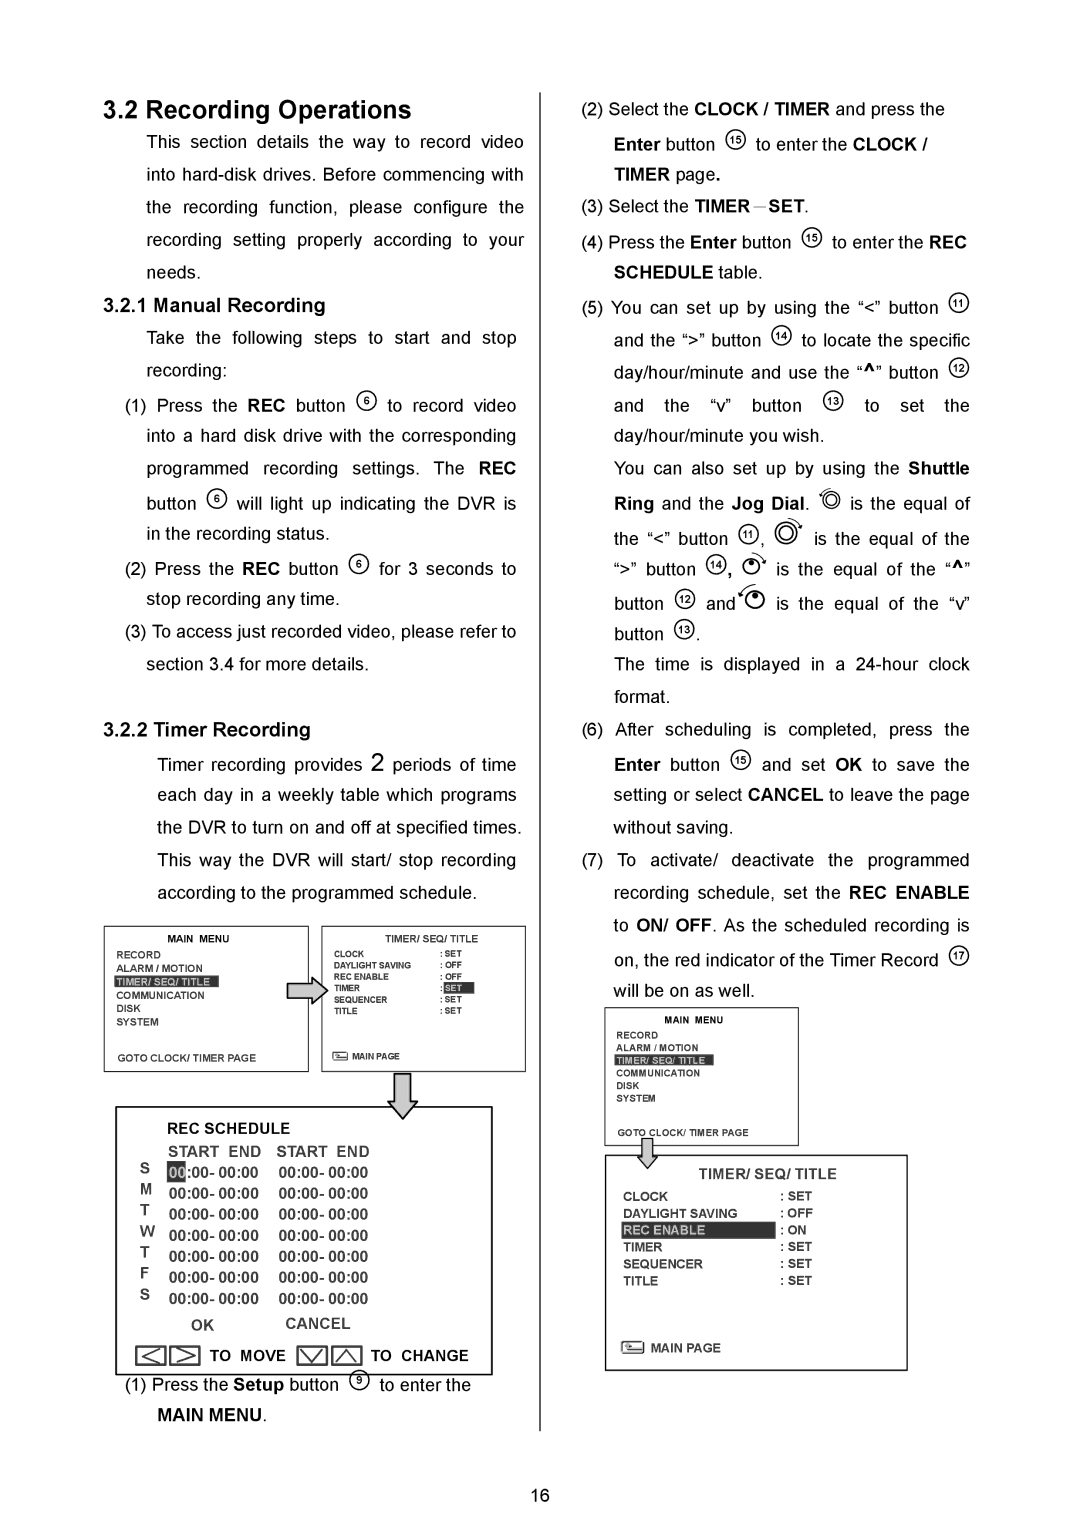
Timer recording provides 2 periods of time each day in a weekly table which programs the DVR to turn on and off at specified times. This way the DVR will start/ stop recording according to the programmed schedule.
| MAIN MENU |
|
|
| TIMER/ SEQ/ TITLE | ||||
| RECORD |
| CLOCK | : SET | |||||
| ALARM / MOTION |
| DAYLIGHT SAVING | : OFF | |||||
|
|
|
| REC ENABLE | : OFF | ||||
| TIMER/ SEQ/ TITLE |
| |||||||
|
|
| TIMER | : | SET |
| |||
| COMMUNICATION |
|
| ||||||
|
| SEQUENCER | : SET | ||||||
| DISK |
| |||||||
|
| TITLE | : SET | ||||||
| SYSTEM |
|
|
|
|
|
|
| |
| GOTO CLOCK/ TIMER PAGE |
|
|
| MAIN PAGE |
|
|
| |
|
|
|
|
|
|
| |||
|
|
|
|
|
|
|
|
|
|
REC SCHEDULE
START END START END
S00:00- 00:00 00:00- 00:00
M00:00- 00:00 00:00- 00:00 T 00:00- 00:00 00:00- 00:00 W 00:00- 00:00 00:00- 00:00
T 00:00- 00:00 00:00- 00:00
F00:00- 00:00 00:00- 00:00 S 00:00- 00:00 00:00- 00:00
OK CANCEL
TO MOVE ![]()
![]()
![]()
![]()
![]()
![]() TO CHANGE
TO CHANGE
(1) Press the Setup button 9 to enter the
MAIN MENU.
16
(2) Select the CLOCK / TIMER and press the Enter button 15 to enter the CLOCK / TIMER page.
(3)Select the TIMER-SET.
(4)Press the Enter button 15 to enter the REC SCHEDULE table.
(5)You can set up by using the “<” button 11 and the “>” button 14 to locate the specific day/hour/minute and use the “^” button 12
and the “v” button 13 to set the day/hour/minute you wish.
You can also set up by using the Shuttle
Ring and the Jog Dial. | is the equal of | ||||
the “<” button 11 , |
| is the equal of the | |||
“>” button | 14 , | is | the equal of the “^” | ||
button | 12 | and | is | the | equal of the “v” |
button | 13 . |
|
|
|
|
The time is displayed in a
(6)After scheduling is completed, press the Enter button 15 and set OK to save the setting or select CANCEL to leave the page without saving.
(7)To activate/ deactivate the programmed recording schedule, set the REC ENABLE to ON/ OFF. As the scheduled recording is
on, the red indicator of the Timer Record 17 will be on as well.
MAIN MENU
RECORD
ALARM / MOTION
TIMER/ SEQ/ TITLE
COMMUNICATION
DISK
SYSTEM
GOTO CLOCK/ TIMER PAGE
TIMER/ SEQ/ TITLE
CLOCK | : SET | ||
DAYLIGHT SAVING | : OFF | ||
REC ENABLE | : ON | ||
TIMER | : SET | ||
SEQUENCER | : SET | ||
TITLE | : SET | ||
|
| MAIN PAGE |
|
|
|
| |
