
CX-NMT50 specifications
The Aiwa CX-NMT50 is a compact yet powerful mini stereo system that embodies the brand's rich heritage in providing high-quality audio experiences. Designed for both casual listeners and dedicated audiophiles, the CX-NMT50 combines a sleek aesthetic with advanced sound technologies, ensuring it stands out in any living space.At the heart of the CX-NMT50 is its impressive sound performance. The system is equipped with dual 3-way speakers, each featuring a dedicated woofer, mid-range driver, and tweeter, allowing for a rich and dynamic sound profile. With a total output power of up to 40 watts, the system is capable of filling a room with clear and balanced audio, whether you're listening to music, watching movies, or enjoying other forms of entertainment.
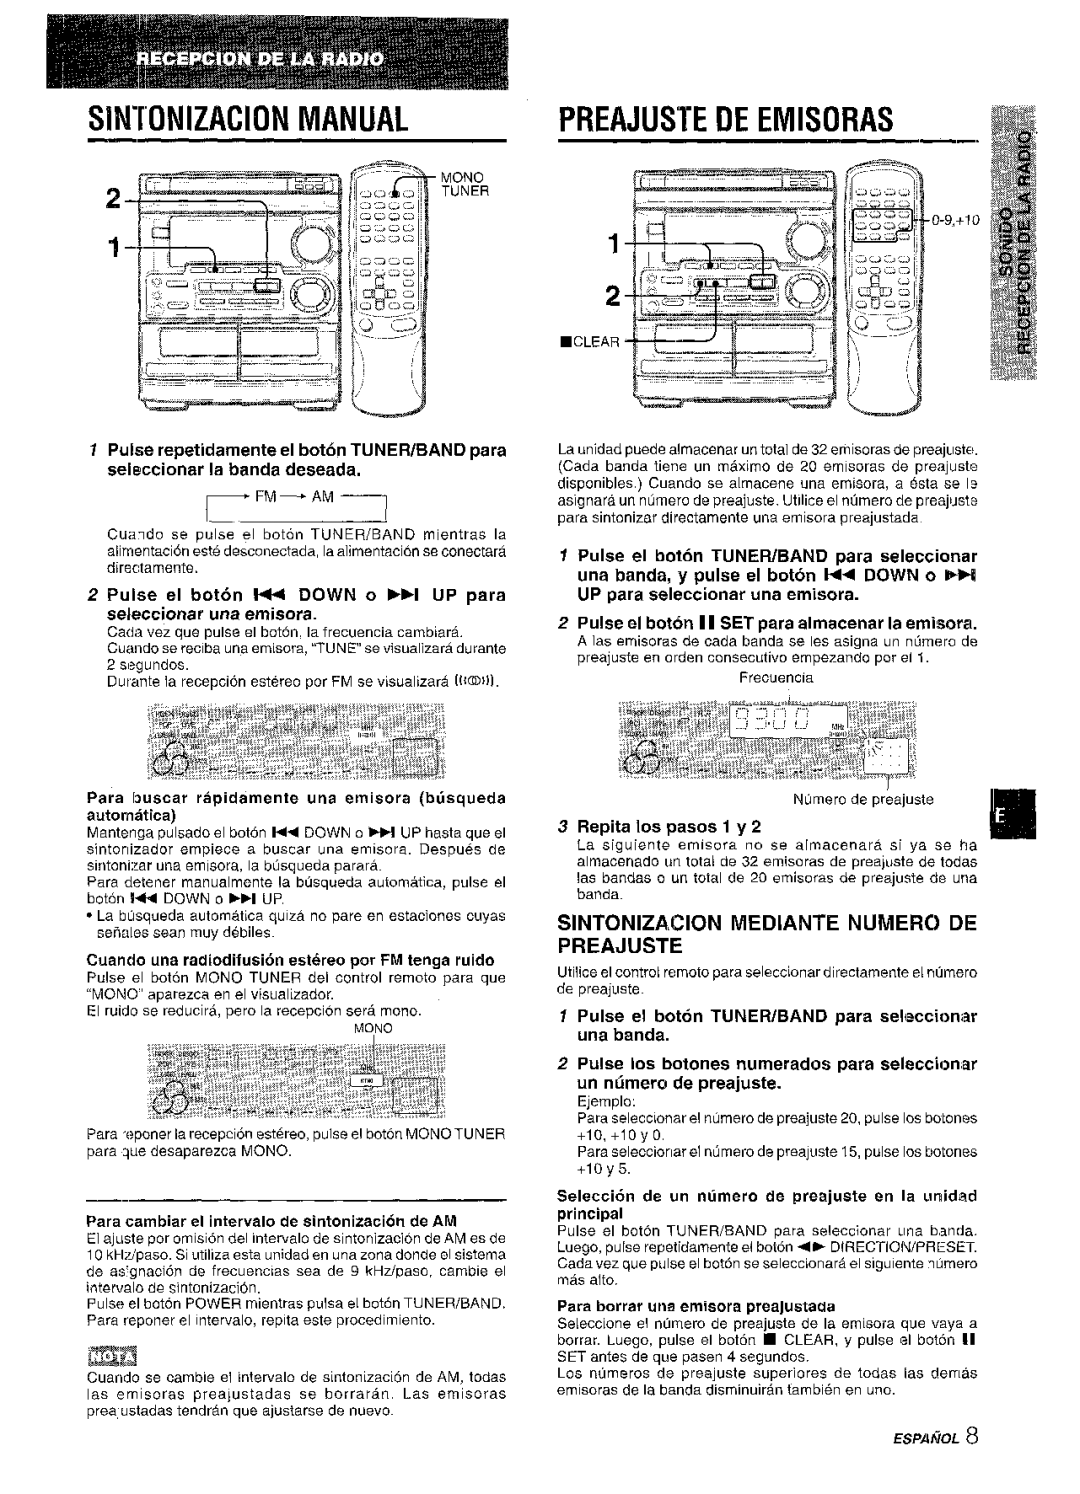
One of the standout features of the Aiwa CX-NMT50 is its multifunctional capabilities. The system includes an integrated CD player, AM/FM radio tuner, and built-in Bluetooth technology, enabling users to play music from various sources. Whether you prefer classic CDs, the latest radio hits, or streaming your favorite playlists wirelessly from your smartphone or tablet, the CX-NMT50 has you covered.
In addition to its diverse playback options, the CX-NMT50 is designed with user-friendly controls. The intuitive interface, located on the front panel, allows for easy navigation through tracks, settings, and adjustments, ensuring a seamless listening experience. Moreover, the inclusion of a remote control further enhances convenience, allowing users to adjust volume or change tracks from a distance.
The Aiwa CX-NMT50 also prioritizes connectivity, featuring an aux input and USB port for connecting external devices. This versatility makes it compatible with a range of external audio sources, including MP3 players, laptops, and other digital media devices. The built-in equalizer presets offer further customization, letting listeners fine-tune their audio experience to suit their preferences.
In terms of design, the CX-NMT50 boasts a modern and stylish look, making it a perfect addition to any contemporary home. Its compact size ensures it can fit easily into various spaces, from living rooms to bedrooms, without compromising on performance.
In summary, the Aiwa CX-NMT50 is a remarkable mini stereo system that combines excellent audio quality, versatile playback options, and a modern design. Its blend of traditional and contemporary technologies makes it an attractive choice for anyone looking to enhance their audio experience.