BASIC RECORDING

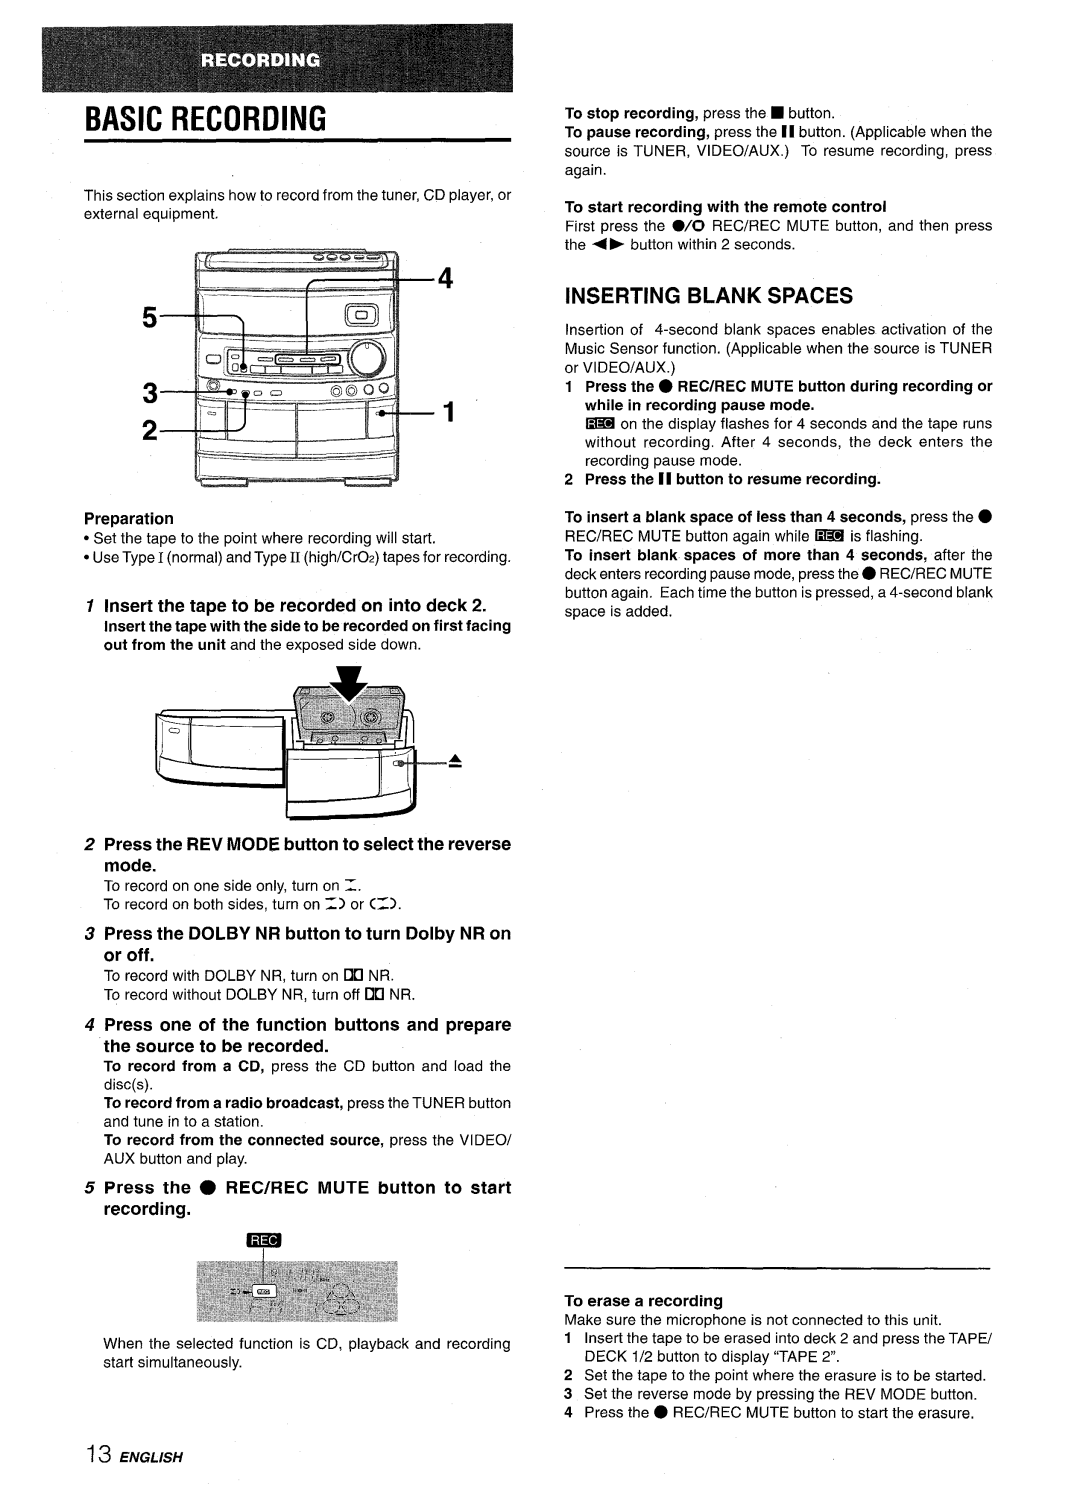
This section explains how to record from the tuner, CD player, or external equipment.

,___ ._

\-——_:“,- _—_., 4

1“

)...

__

___ j .._

._ —–-–

..

—_—_

_

–— —---

Preparation

Set the tape to the point where recording will start.

Use Type I (normal) and Type II (high/CrOz) tapes for recording.

1Insert the tape to be recorded on into deck 2.

Insert the tape with the side to be recorded on first facing out from the unit and the exposed side down.

A

To stop recording, press the button.

To pause recording, press the 11 button. (Applicable when the source is TUNER, VI DEO/AUX.) To resume recording, press again.

To start recording with the remote control

First press the /0 REC/REC MUTE button, and then press the 4 button within 2 seconds.

INSERTING BLANK SPACES

Insertion of 4-second blank spaces enables activation of the Music Sensor function. (Applicable when the source is TUNER or VIDEO/AUX.)

1Press the REC/REC MUTE button during recording or while in recording pause mode.

= on the display flashes for 4 seconds and the tape runs without recording. After 4 seconds, the deck enters the recording pause mode.

2Press the 11 button to resume recording.

To insert a blank space of less than 4 seconds, press the

REC/REC MUTE button again while = is flashing.

To insert blank spaces of more than 4 seconds, after the deck enters recording pause mode, press the O RECIREC MUTE button again. Each time the button is pressed, a 4-second blank space is added.

2Press the REV MODE button to select the reverse mode.

To record on one side only, turn on =.

To record on both sides, turn on => or (Z).

3Press the DOLBY NR button to turn Dolby NR on or off.

To record with DOLBY NR, turn on DO NR. To record without DOLBY NR, turn off 00 NR.

4Press one of the function buttons and prepare the source to be recorded.

To record from a CD, press the CD button and load the disc(s).

To record from a radio broadcast, press the TUNER button and tune in to a station.

To record from the connected source, press the VIDEO/ AUX button and play.

5Press the REC/REC MUTE button to start recording.

lq

When the selected function is CD, playback and recording start simultaneously.

To erase a recording

Make sure the microphone is not connected to this unit.

1Insert the tape to be erased into deck 2 and press the TAPE/ DECK 1/2 button to display “TAPE2“.

2Set the tape to the point where the erasure is to be started.

3Set the reverse mode by pressing the REV MODE button.

4Press the REC/REC MUTE button to start the erasure.

13ENGLISH

Page 14
Image 14
Aiwa CX-NV8000 manual Basic Recording, Inserting Blank Spaces

CX-NV8000 specifications

The Aiwa CX-NV8000 is a remarkable all-in-one audio solution that caters to both audiophiles and casual listeners alike. This compact stereo system combines cutting-edge technology with user-friendly features to deliver an exceptional listening experience.

One of the main highlights of the CX-NV8000 is its powerful amplifier, which ensures that high-quality audio output is achieved across various genres of music. With a total output power of 200 watts, it provides ample volume levels without compromising sound clarity. The system is designed to accommodate a wide range of audio formats, including CDs, cassette tapes, and FM/AM radio, allowing users to enjoy their favorite music in various ways.

The CX-NV8000 is equipped with a digital tuner, which stands out with its ability to automatically search for and store radio stations, making tuning in to broadcasts a hassle-free experience. Additionally, the system features a built-in equalizer that allows users to customize their audio experience, adjusting the sound according to their preferences.

One of the standout technologies in this stereo system is the inclusion of a CD player that supports both standard CDs and CD-R/RW formats. This versatility ensures that users can listen to their extensive CD collections, including personalized CDs with their favorite tracks. The front-loading design makes it easy to swap out discs on the fly.

Connectivity is another strong point for the CX-NV8000. The system includes multiple inputs such as USB and AUX ports, enabling users to connect external devices like smartphones and tablets effortlessly. This feature is perfect for streaming music or accessing digital libraries.

The design of the Aiwa CX-NV8000 is both stylish and functional, with a sleek black finish and an intuitive control layout that makes navigation straightforward. The LED display clearly shows the track information, making it easy to see what you’re listening to at a glance.

Furthermore, the system’s speaker setup is designed to enhance sound quality, providing a rich and immersive listening experience. The powerful bass and clear treble work together to create a balanced soundscape, perfect for various audio experiences, from powerful rock anthems to delicate classical pieces.

In summary, the Aiwa CX-NV8000 stands out as a versatile and powerful audio system, incorporating modern technology with classic functionality. Its combination of power, connectivity options, and user-friendly features makes it an excellent choice for music lovers looking to elevate their listening experience.