XR-M75 specifications
The Aiwa XR-M75 is a versatile mini stereo system that emerged in the 1990s, showcasing impressive capabilities combined with a compact design. Known for its powerful audio performance, the XR-M75 became a sought-after choice for music enthusiasts seeking a high-quality listening experience in smaller spaces.One of the standout features of the Aiwa XR-M75 is its dual cassette deck. This allows for both playback and recording, enabling users to create mixtapes or transfer music from various sources with ease. The cassette deck is complemented by a CD player, which supports various disc formats, ensuring compatibility with a wide range of audio media.
At the heart of the XR-M75 is a robust amplifier that delivers dynamic sound quality. With a power output of 40 watts per channel, it ensures an immersive audio experience that can fill a room, making it suitable for parties or casual listening sessions. The system's speakers, designed for optimum performance, feature a bass reflex design, enhancing low-frequency response and providing deep, rich sound.
The Aiwa XR-M75 integrates advanced stereo technology, including Dolby B noise reduction, which helps to improve sound clarity while minimizing tape hiss. Additionally, the system features a built-in equalizer with multiple presets that allow users to tailor the audio output to their preferences, enabling an individualized listening experience.
Connectivity is another key aspect of the XR-M75. The system includes auxiliary inputs, allowing users to connect external devices such as smartphones or tablets, making it easy to play digital music through the stereo system. This flexibility ensures that users can enjoy their entire music collection, regardless of the format.
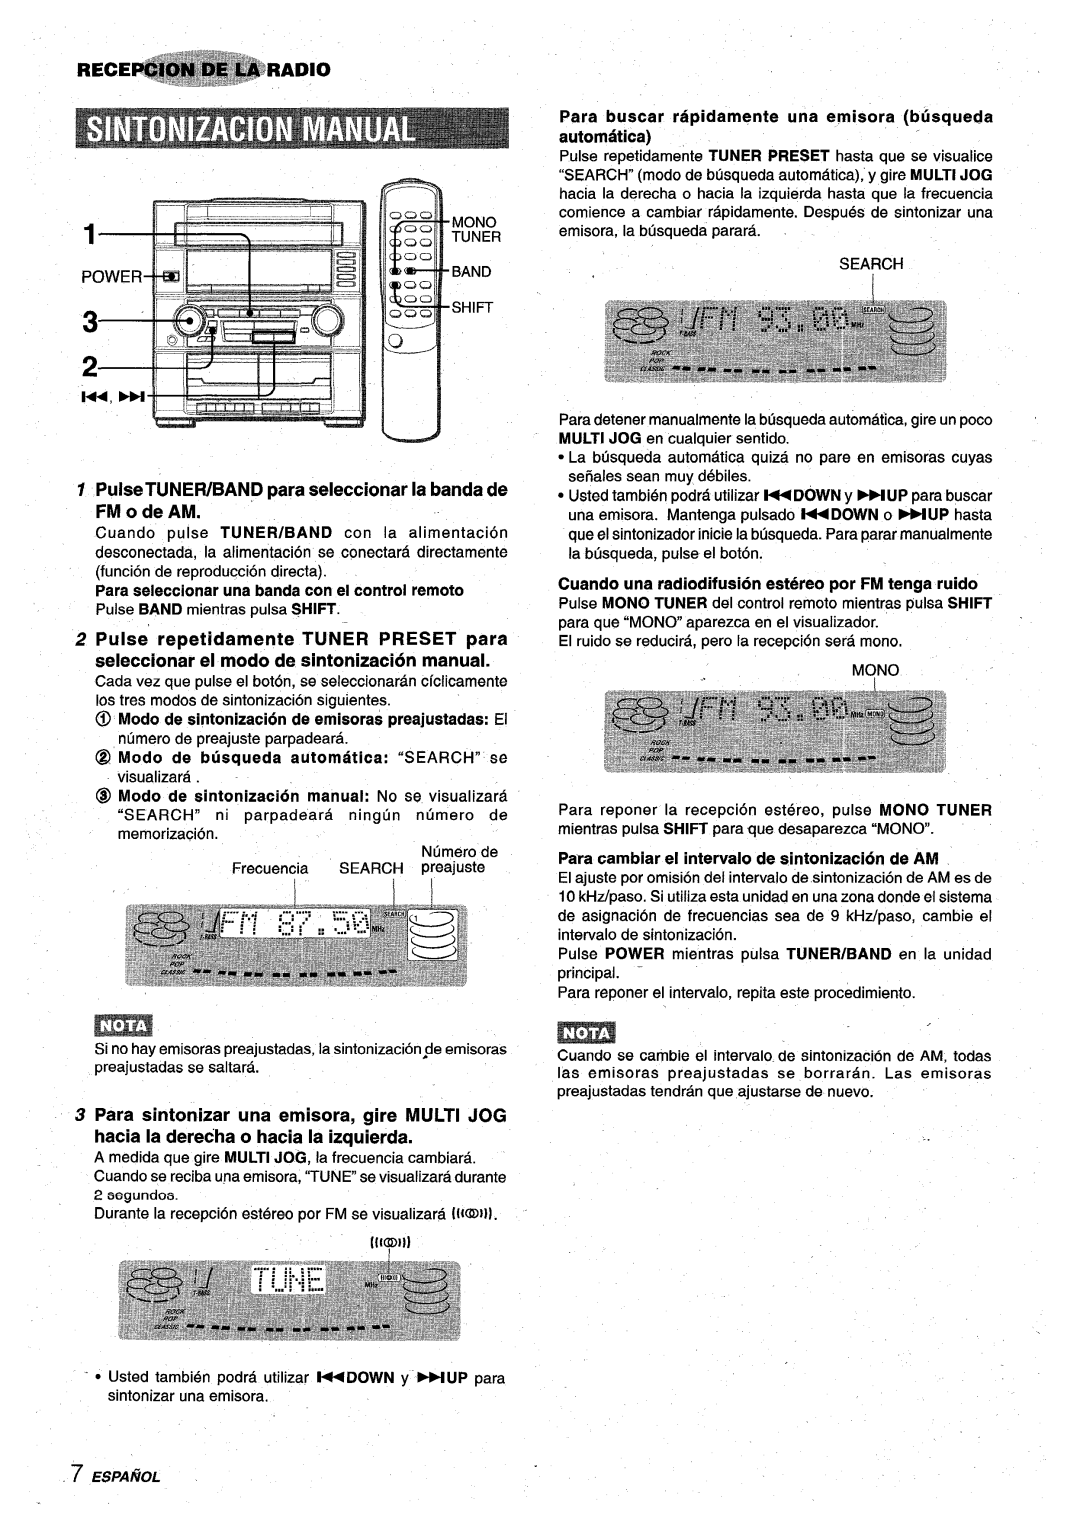
The design of the Aiwa XR-M75 is stylish yet functional, featuring a sleek front panel with a digital display that enhances usability. The layout of buttons and controls is intuitive, providing easy operation even for those less familiar with audio equipment.
In conclusion, the Aiwa XR-M75 mini stereo system stands out due to its combination of advanced features, high-quality sound performance, and user-friendly design. Whether for casual enjoyment or serious listening, the XR-M75 offers a compelling package that has left a lasting impact on the world of audio systems. Its ability to blend modern technologies with classic features makes it a timeless choice for any music lover.