MAINTENANCE
MAINTENANCE
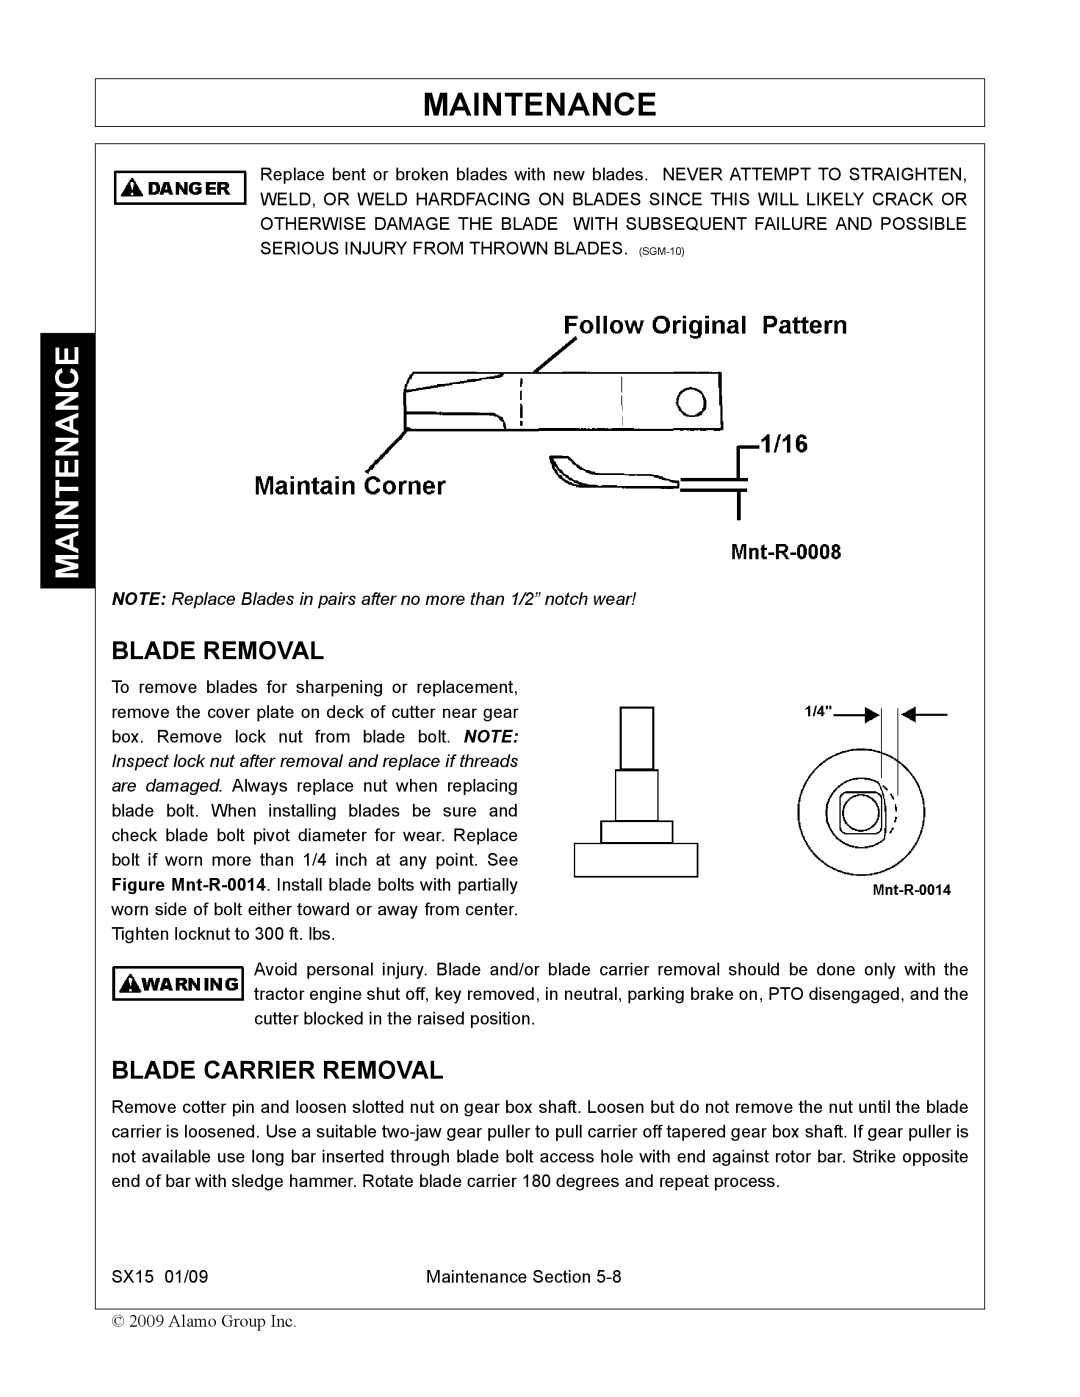
Replace bent or broken blades with new blades. NEVER ATTEMPT TO STRAIGHTEN, WELD, OR WELD HARDFACING ON BLADES SINCE THIS WILL LIKELY CRACK OR OTHERWISE DAMAGE THE BLADE WITH SUBSEQUENT FAILURE AND POSSIBLE SERIOUS INJURY FROM THROWN BLADES.
NOTE: Replace Blades in pairs after no more than 1/2” notch wear!
BLADE REMOVAL
To remove blades for sharpening or replacement, remove the cover plate on deck of cutter near gear box. Remove lock nut from blade bolt. NOTE: Inspect lock nut after removal and replace if threads are damaged. Always replace nut when replacing blade bolt. When installing blades be sure and check blade bolt pivot diameter for wear. Replace bolt if worn more than 1/4 inch at any point. See Figure
Avoid personal injury. Blade and/or blade carrier removal should be done only with the tractor engine shut off, key removed, in neutral, parking brake on, PTO disengaged, and the cutter blocked in the raised position.
BLADE CARRIER REMOVAL
Remove cotter pin and loosen slotted nut on gear box shaft. Loosen but do not remove the nut until the blade carrier is loosened. Use a suitable
SX15 01/09 | Maintenance Section |
© 2009 Alamo Group Inc.