Allied Telesis x600-48Ts, x600-24Ts/XP, X600-24TS Installing the Switches in an Equipment Rack

Models: x600-48Ts X600-48TS/XP X600-24TS x600-24Ts/XP

1 72
Download 72 pages 26.86 Kb
Page 40
Image 40

Chapter 2: Installing the Hardware

Installing the Switches in an Equipment Rack

Perform the following procedure to install each switch in a standard

19-inch rack:

Note

Steps 1, 2, and 3 are optional. These steps provide instructions on how to remove the snap-on plastic feet from the bottom of a switch. You can leave the feet on.

1.Place the switch upside down on a level, secure surface.
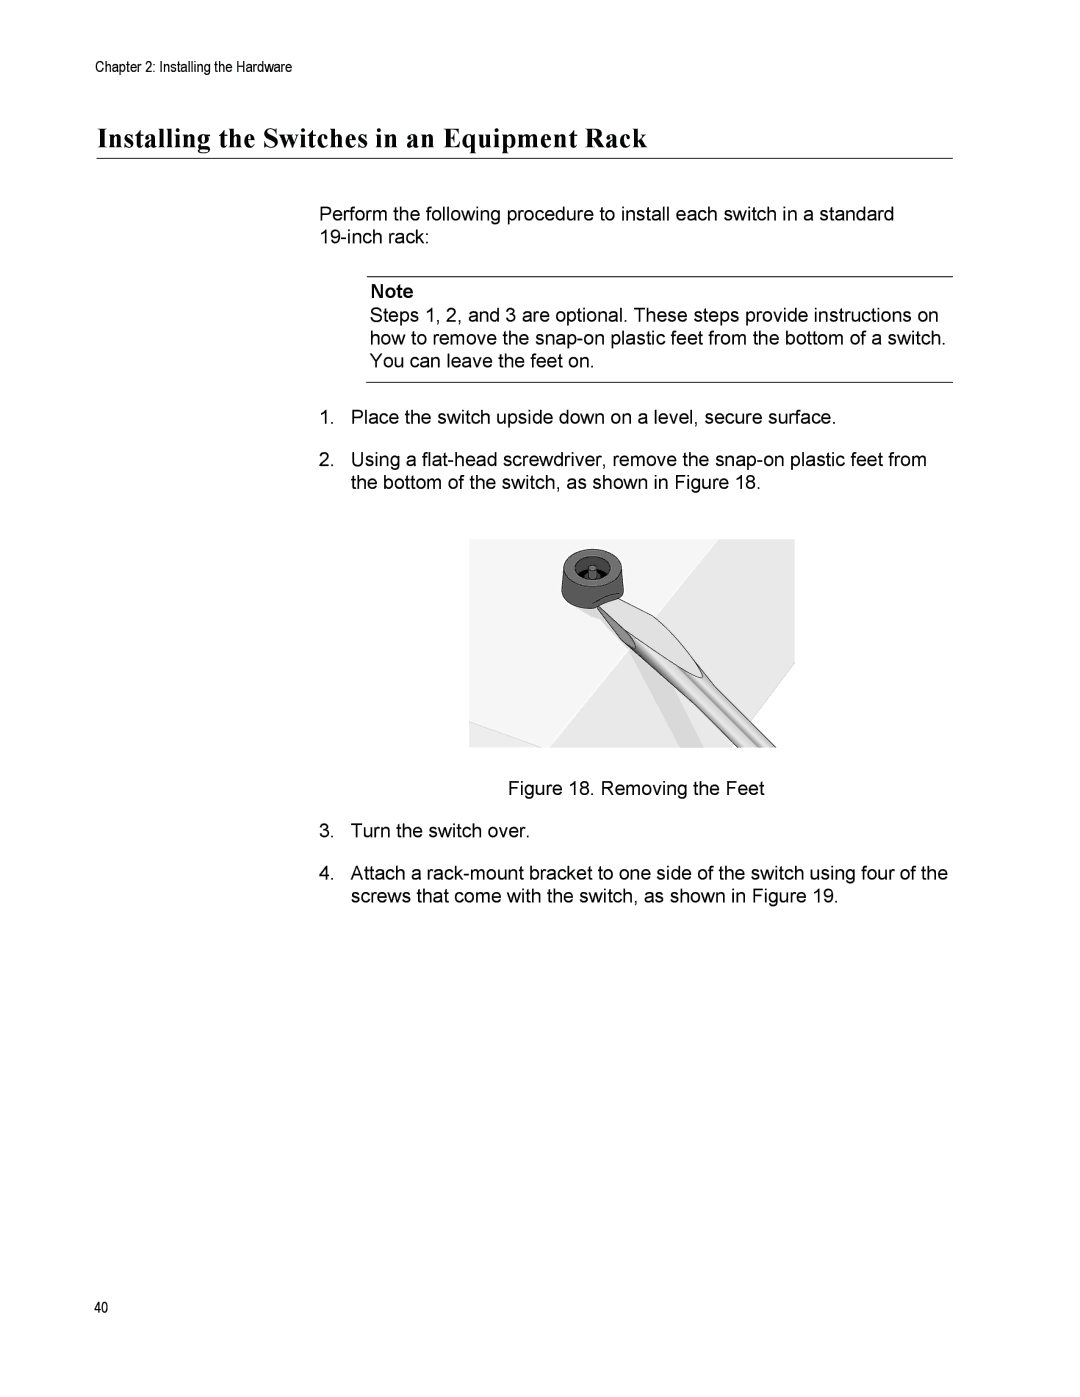
2.Using a flat-head screwdriver, remove the snap-on plastic feet from the bottom of the switch, as shown in Figure 18.

Figure 18. Removing the Feet

3.Turn the switch over.

4.Attach a rack-mount bracket to one side of the switch using four of the screws that come with the switch, as shown in Figure 19.

40

Page 40
Image 40
Allied Telesis x600-48Ts, x600-24Ts/XP, X600-24TS, X600-48TS/XP manual Installing the Switches in an Equipment Rack