Basic Operation
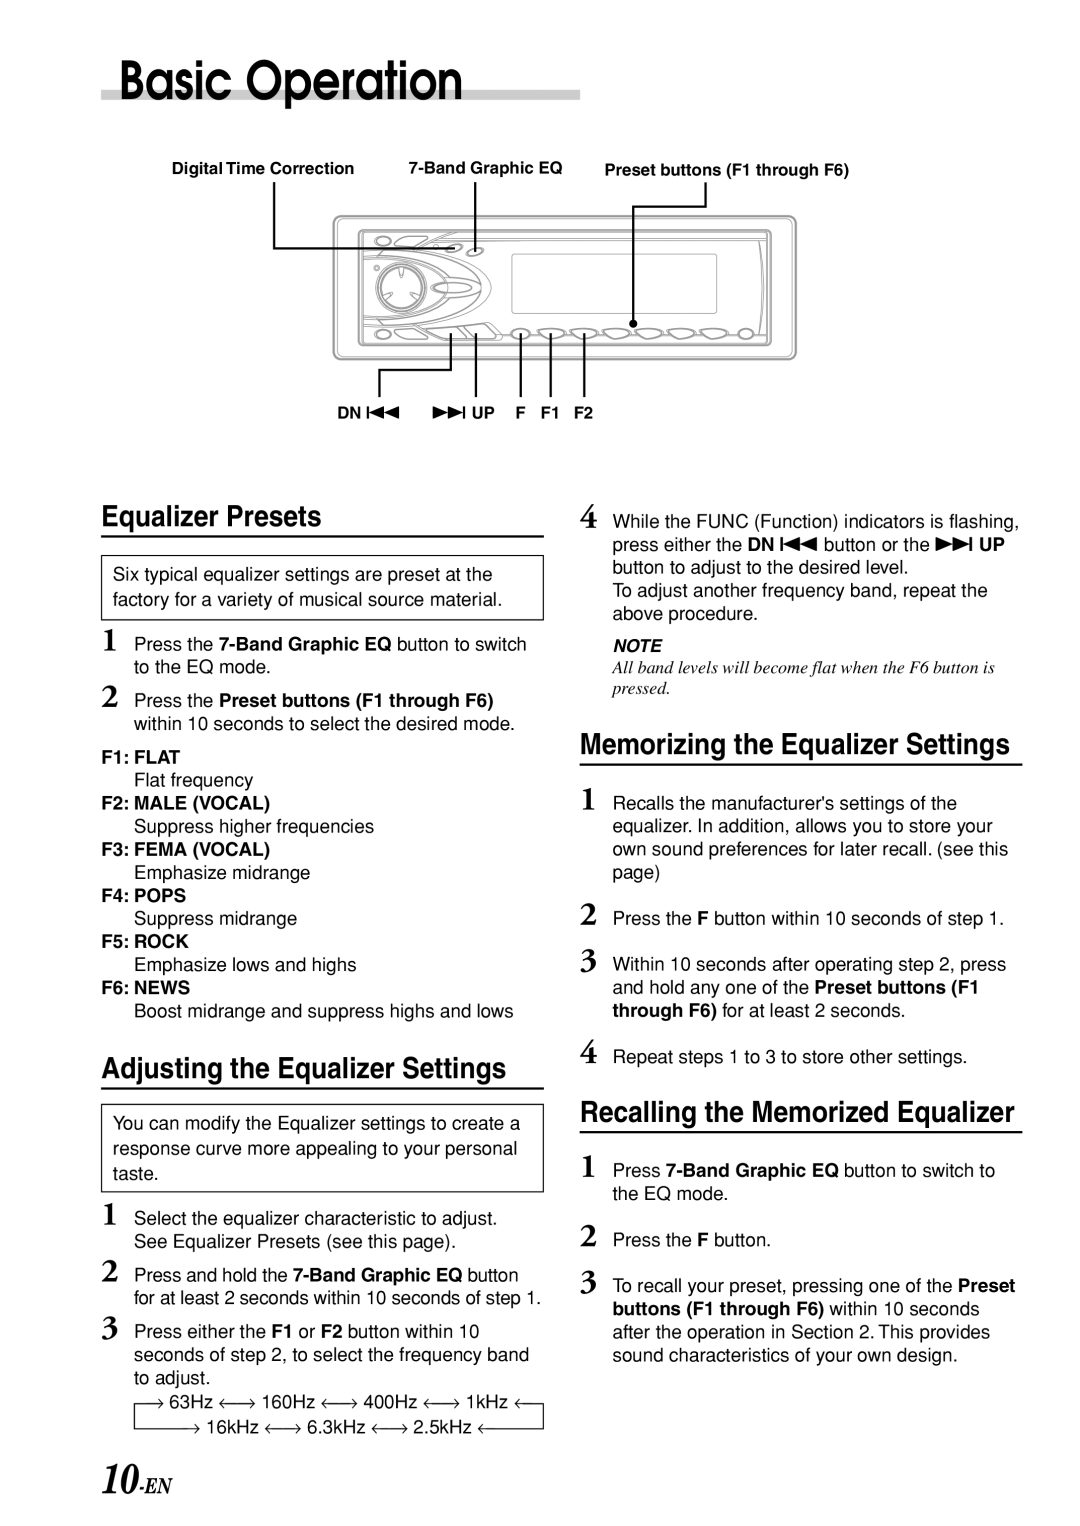
Digital Time Correction | Preset buttons (F1 through F6) | |||||||||
|
|
|
|
|
|
|
|
|
|
|
|
|
|
|
|
|
|
|
|
|
|
|
|
|
|
|
|
|
|
|
|
|
|
|
|
|
|
|
|
|
|
|
|
|
|
|
|
|
|
|
|
|
|
|
|
|
|
|
|
|
|
|
|
|
|
DN g f UP F F1 F2
Equalizer Presets
Six typical equalizer settings are preset at the factory for a variety of musical source material.
1 Press the
2 Press the Preset buttons (F1 through F6) within 10 seconds to select the desired mode.
F1: FLAT
Flat frequency
F2: MALE (VOCAL)
Suppress higher frequencies
F3: FEMA (VOCAL)
Emphasize midrange
F4: POPS
Suppress midrange
F5: ROCK
Emphasize lows and highs
F6: NEWS
Boost midrange and suppress highs and lows
Adjusting the Equalizer Settings
You can modify the Equalizer settings to create a response curve more appealing to your personal taste.
1 Select the equalizer characteristic to adjust. See Equalizer Presets (see this page).
2 Press and hold the
3 Press either the F1 or F2 button within 10 seconds of step 2, to select the frequency band to adjust.
→63Hz ←→ 160Hz ←→ 400Hz ←→ 1kHz ←
→16kHz ←→ 6.3kHz ←→ 2.5kHz ←
4 While the FUNC (Function) indicators is flashing, press either the DN g button or the f UP button to adjust to the desired level.
To adjust another frequency band, repeat the above procedure.
NOTE
All band levels will become flat when the F6 button is pressed.
Memorizing the Equalizer Settings
1 Recalls the manufacturer's settings of the equalizer. In addition, allows you to store your own sound preferences for later recall. (see this page)
2
3 Within 10 seconds after operating step 2, press and hold any one of the Preset buttons (F1 through F6) for at least 2 seconds.
4 Repeat steps 1 to 3 to store other settings.
Recalling the Memorized Equalizer
1 Press
2 Press the F button.
3 To recall your preset, pressing one of the Preset buttons (F1 through F6) within 10 seconds after the operation in Section 2. This provides sound characteristics of your own design.