Displaying the External Amplifier Information
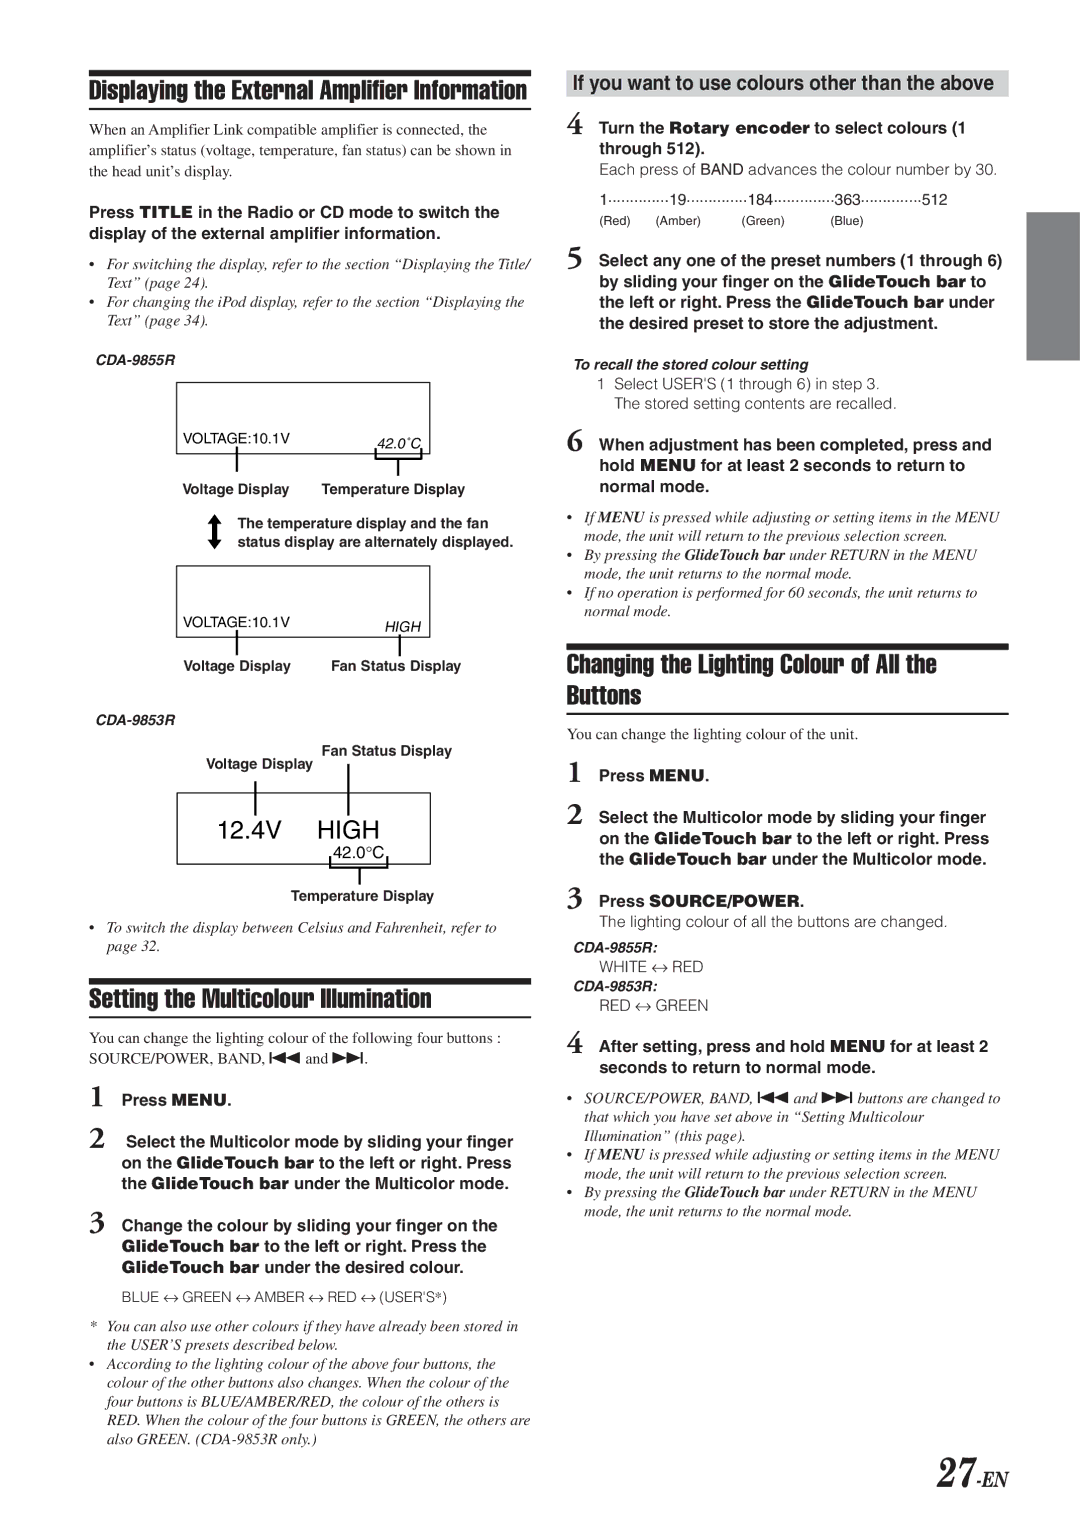
When an Amplifier Link compatible amplifier is connected, the amplifier’s status (voltage, temperature, fan status) can be shown in the head unit’s display.
Press TITLE in the Radio or CD mode to switch the display of the external amplifier information.
•For switching the display, refer to the section “Displaying the Title/ Text” (page 24).
•For changing the iPod display, refer to the section “Displaying the Text” (page 34).
VOLTAGE:10.1V42.0˚C
Voltage Display | Temperature Display |
The temperature display and the fan status display are alternately displayed.
VOLTAGE:10.1VHIGH
Voltage Display | Fan Status Display |
Fan Status Display
Voltage Display
12.4V HIGH
42.0°C
Temperature Display
•To switch the display between Celsius and Fahrenheit, refer to page 32.
Setting the Multicolour Illumination
You can change the lighting colour of the following four buttons : SOURCE/POWER, BAND, gand f.
1 Press MENU.
2 Select the Multicolor mode by sliding your finger on the GlideTouch bar to the left or right. Press the GlideTouch bar under the Multicolor mode.
3 Change the colour by sliding your finger on the GlideTouch bar to the left or right. Press the GlideTouch bar under the desired colour.
BLUE ↔ GREEN ↔ AMBER ↔ RED ↔ (USER'S*)
*You can also use other colours if they have already been stored in the USER’S presets described below.
•According to the lighting colour of the above four buttons, the colour of the other buttons also changes. When the colour of the four buttons is BLUE/AMBER/RED, the colour of the others is RED. When the colour of the four buttons is GREEN, the others are also GREEN.
If you want to use colours other than the above
4 Turn the Rotary encoder to select colours (1 through 512).
Each press of BAND advances the colour number by 30.
1 | 19 | .............. .............. .............. | 512 | ||
| 184 | 363 | |||
(Red) | (Amber) | (Green) | (Blue) |
| |
5 Select any one of the preset numbers (1 through 6) by sliding your finger on the GlideTouch bar to the left or right. Press the GlideTouch bar under the desired preset to store the adjustment.
To recall the stored colour setting
1Select USER'S (1 through 6) in step 3. The stored setting contents are recalled.
6 When adjustment has been completed, press and hold MENU for at least 2 seconds to return to normal mode.
•If MENU is pressed while adjusting or setting items in the MENU mode, the unit will return to the previous selection screen.
•By pressing the GlideTouch bar under RETURN in the MENU mode, the unit returns to the normal mode.
•If no operation is performed for 60 seconds, the unit returns to normal mode.
Changing the Lighting Colour of All the Buttons
You can change the lighting colour of the unit.
1 Press MENU.
2 Select the Multicolor mode by sliding your finger on the GlideTouch bar to the left or right. Press the GlideTouch bar under the Multicolor mode.
3 Press SOURCE/POWER.
The lighting colour of all the buttons are changed.
WHITE ↔ RED
RED ↔ GREEN
4 After setting, press and hold MENU for at least 2 seconds to return to normal mode.
•SOURCE/POWER, BAND, gand fbuttons are changed to that which you have set above in “Setting Multicolour Illumination” (this page).
•If MENU is pressed while adjusting or setting items in the MENU mode, the unit will return to the previous selection screen.
•By pressing the GlideTouch bar under RETURN in the MENU mode, the unit returns to the normal mode.
