Preparation
1 Park the vehicle in a flat, safe place. Apply the parking brake, then remove the ignition key.
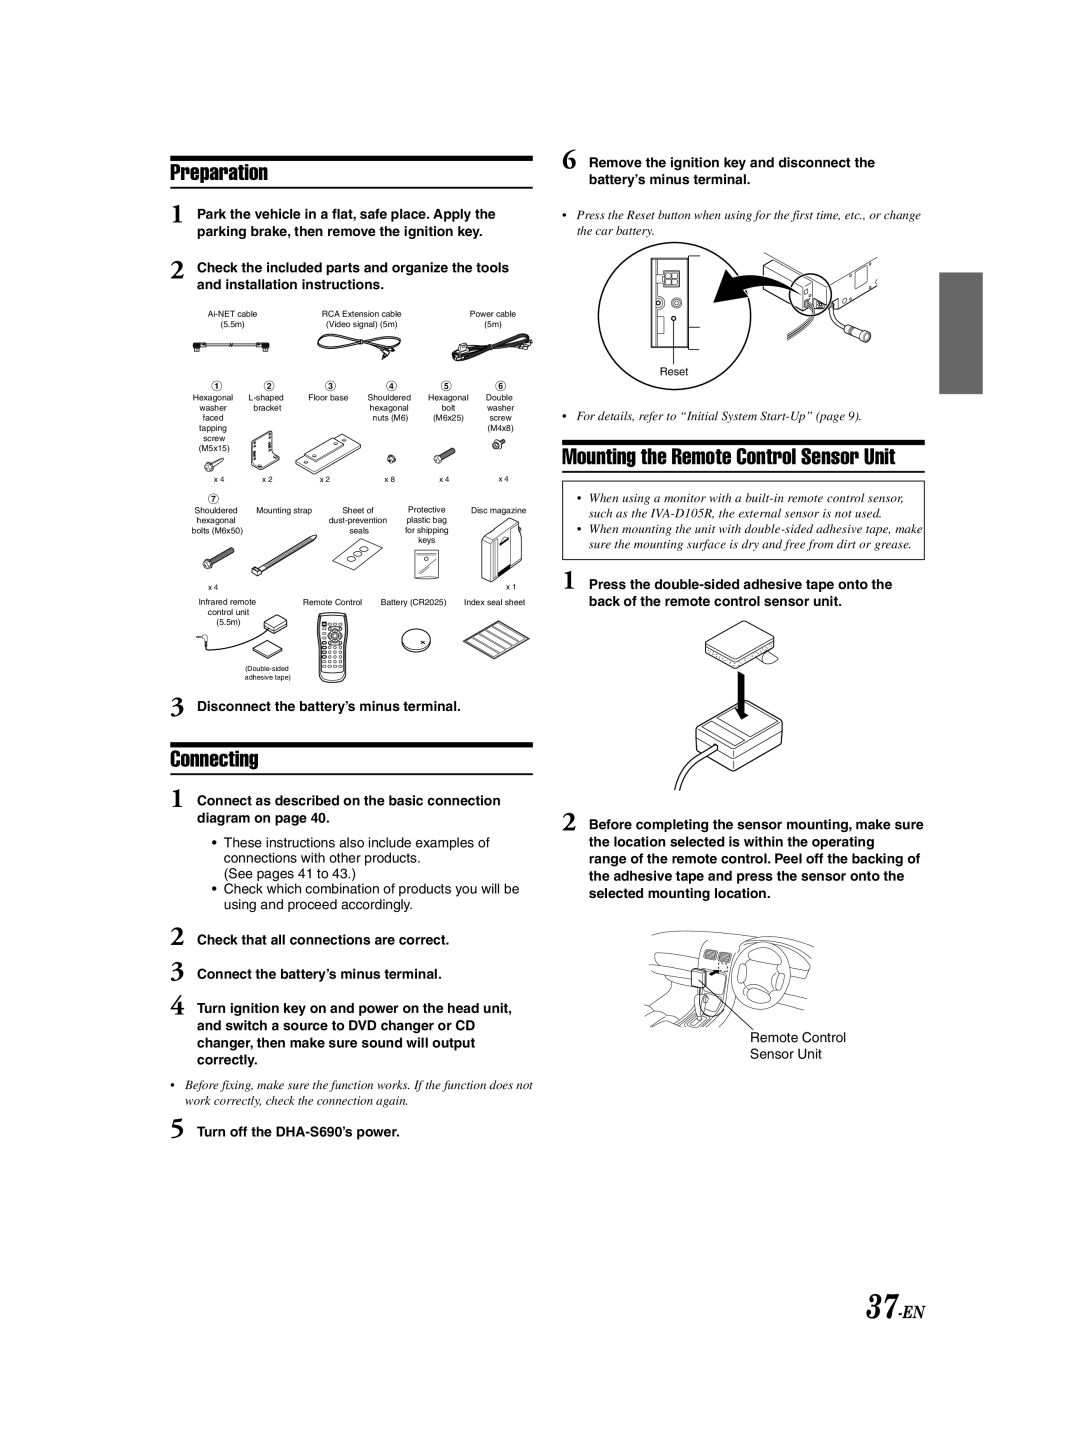
2 Check the included parts and organize the tools and installation instructions.
| RCA Extension cable | Power cable | ||
(5.5m) |
| (Video signal) (5m) | (5m) | |
|
|
|
|
|
1 | 2 |
| 3 |
| 4 |
| 5 |
| 6 |
Hexagonal | Floor base | Shouldered | Hexagonal | Double | |||||
washer | bracket |
|
| hexagonal | bolt |
| washer | ||
faced |
|
|
| nuts (M6) | (M6x25) |
| screw | ||
tapping |
|
|
|
|
|
|
|
| (M4x8) |
screw |
|
|
|
|
|
|
|
|
|
(M5x15) |
|
|
|
|
|
|
|
|
|
x 4 | x 2 |
| x 2 |
| x 8 |
| x 4 |
| x 4 |
7 |
|
|
|
|
|
|
|
|
|
Shouldered | Mounting strap | Sheet of |
| Protective |
| Disc magazine | |||
hexagonal |
|
| plastic bag |
|
| ||||
bolts (M6x50) |
|
|
| seals |
| for shipping |
|
| |
|
|
|
|
|
|
| keys |
|
|
x 4 |
|
|
|
|
|
|
|
| x 1 |
Infrared remote | Remote Control | Battery (CR2025) | Index seal sheet | ||||||
control unit |
|
|
|
|
|
|
|
| |
(5.5m) |
|
|
|
|
|
|
|
|
|
3 Disconnect the battery’s minus terminal.
Connecting
1 Connect as described on the basic connection diagram on page 40.
•These instructions also include examples of connections with other products.
(See pages 41 to 43.)
•Check which combination of products you will be using and proceed accordingly.
2 Check that all connections are correct.
3 Connect the battery’s minus terminal.
4 Turn ignition key on and power on the head unit, and switch a source to DVD changer or CD changer, then make sure sound will output correctly.
•Before fixing, make sure the function works. If the function does not work correctly, check the connection again.
5 Turn off the
6 Remove the ignition key and disconnect the battery’s minus terminal.
•Press the Reset button when using for the first time, etc., or change the car battery.
Reset
• For details, refer to “Initial System
Mounting the Remote Control Sensor Unit
•When using a monitor with a
•When mounting the unit with
1Press the
2 Before completing the sensor mounting, make sure the location selected is within the operating range of the remote control. Peel off the backing of the adhesive tape and press the sensor onto the selected mounting location.
Remote Control
Sensor Unit