INSTALLING DUCTS TO / FROM INSIDE (CONT'D)
Exhaust Air Ducting
The stale air exhaust system is used to draw air from the points in the house where the worst air quality problems occur. It is rec- ommended that return air ducts be installed in the bathroom, kitchen, and laundry room. Additional return air ducts from strategic locations (i.e. greenhouse, atrium, swimming pool, sauna, etc.) may be installed. The furnace return duct may be also used to exhaust from. In this method, the exhaust air is not ducted back from bathrooms, kitchens, etc to the HRV with “dedicated lines”. This method has become popular and provides good ventilation when installed in accordance with the instructions. The furnace blower must be running when the HRV is operating for this method to be effective.
PRACTICAL TIPS
•For new construction, the rigid ducts are run in the walls.
•Choose the location for your Supply and Exhaust grilles. The Supply grilles should be located in every habitable room and the Exhaust Grilles should be located in the wet rooms.
•A piece of flexible ducting should be placed between the Supply Air In and Out collar of the HRV and the rigid ducting to absorb any noise or vibrations.
•For proper network
of ducting, see TYPES OF
INSTALLATIONS.
Dedicated Installation for Existing Home -
(non forced air heating / cooling system)
1Begin with the duct collar marked “Exhaust Air In”. Slide a short piece (12”) of flexible duct over the duct collar. Using duct tape, tape the flexible duct to the collar. Run the flexible ducting to the main rigid duct trunk line, which connects to the remainder of the ducts going to and from rooms in the house. Repeat the steps for the “Supply Air Out” on the side of the HRV.
2Working from a closet, attic or inside your joist wall, run the length of ducting required for the proper grille location and cut a hole in the drywall. Fasten the mounting collar (optional) to the ducting and fasten the collar to the wall or ceiling with screws.
3The grille airflow can be adjusted by rotating the inside unit. It is recommended that the grilles be completely opened at first and then adjusted later as needed.
•The grilles are to be installed on the ceiling or on the wall 6” (152
mm)to 12” (305 mm) from the ceiling.
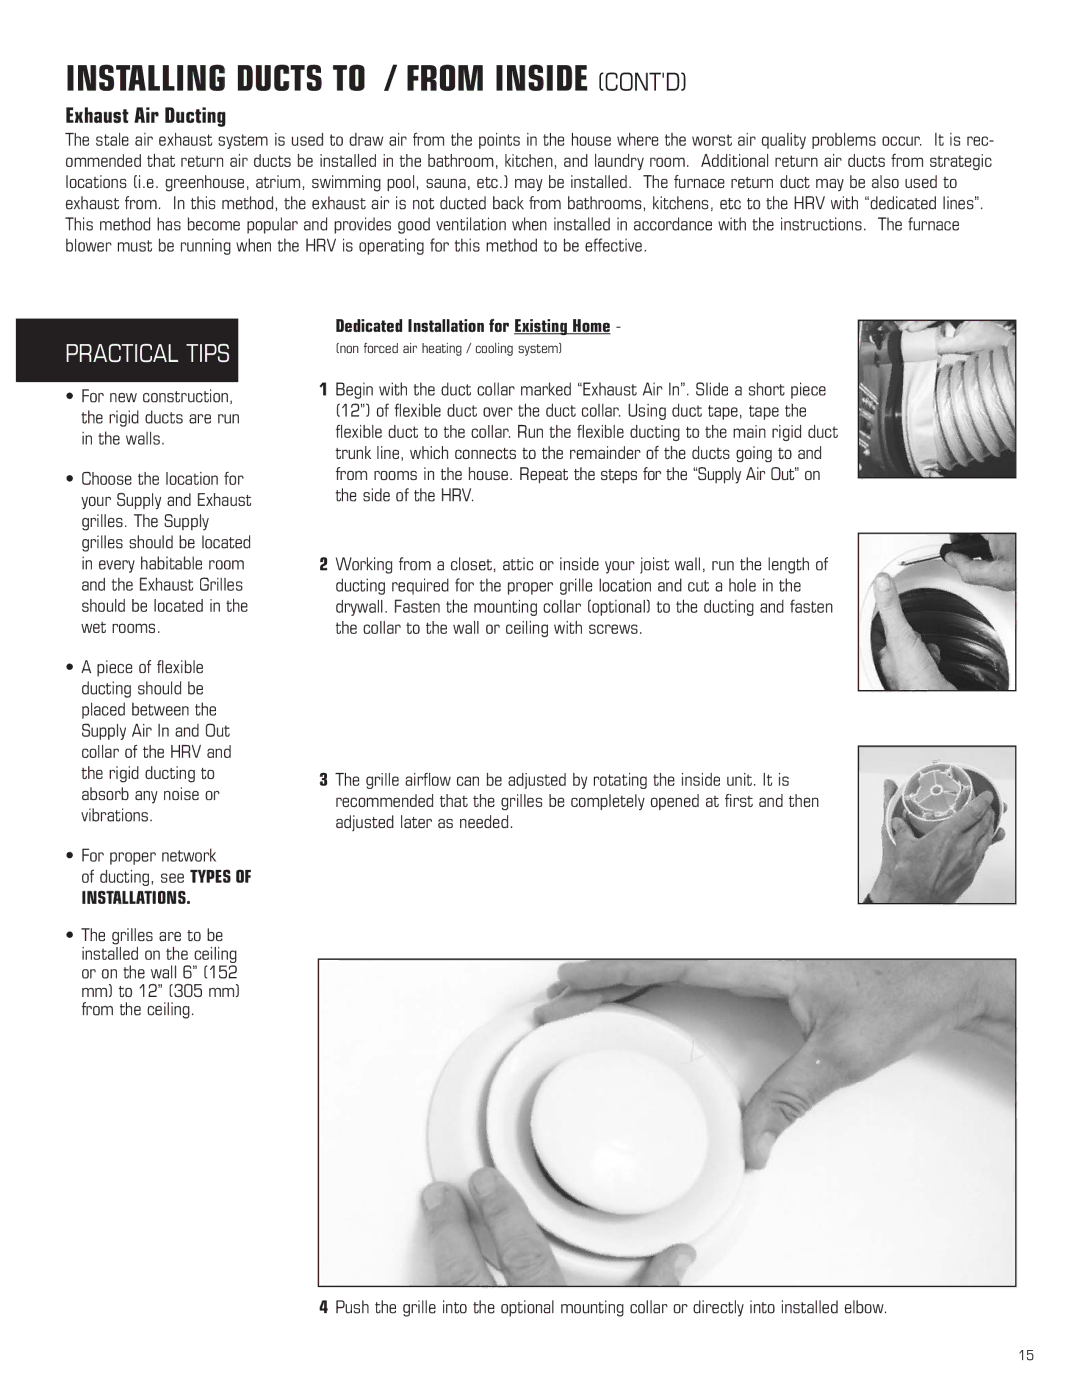
4Push the grille into the optional mounting collar or directly into installed elbow.
15
