Chapter 5: Prepare for Configuration
This chapter provides information on preparing the P333R for configuration, and discusses the following topics:
●Establishing a Console Connection
●Assigning a Stack IP Address
●Establishing a Telnet Connection
●Configuring the Switch
Establishing a Console Connection
This section describes the procedure for establishing switch access between a terminal and the Avaya
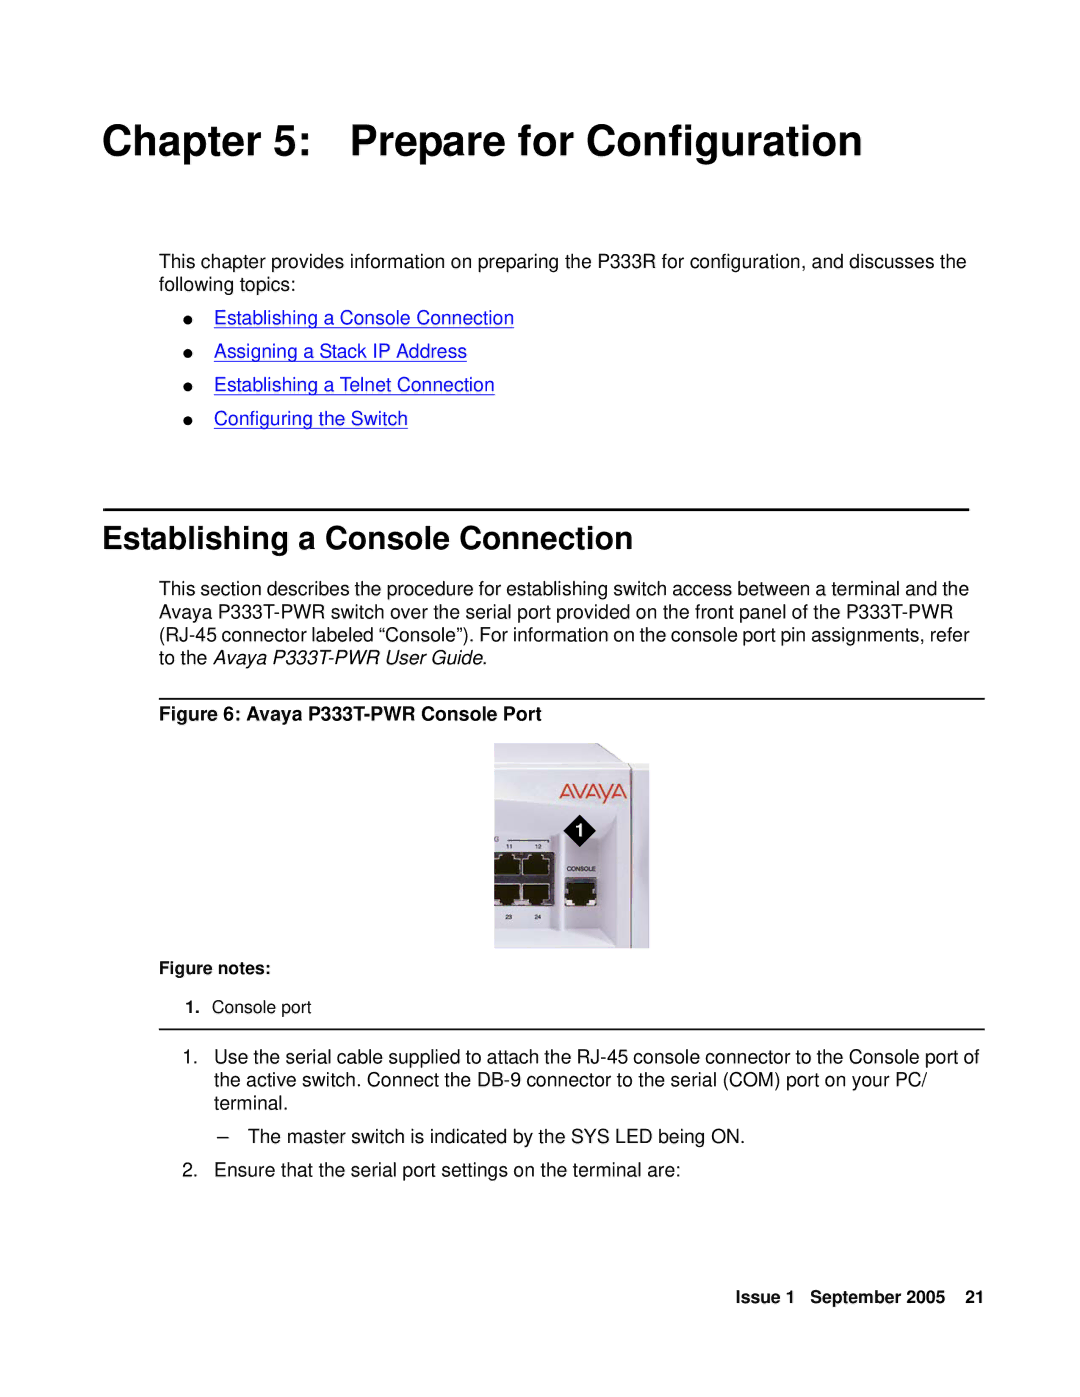
Figure 6: Avaya P333T-PWR Console Port
1
Figure notes:
1.Console port
1.Use the serial cable supplied to attach the
- The master switch is indicated by the SYS LED being ON.
2.Ensure that the serial port settings on the terminal are:
Issue 1 September 2005 21