OPERATION of
INFINITY SERIES WHIRLPOOLS
JET OPERATIONS (continued):
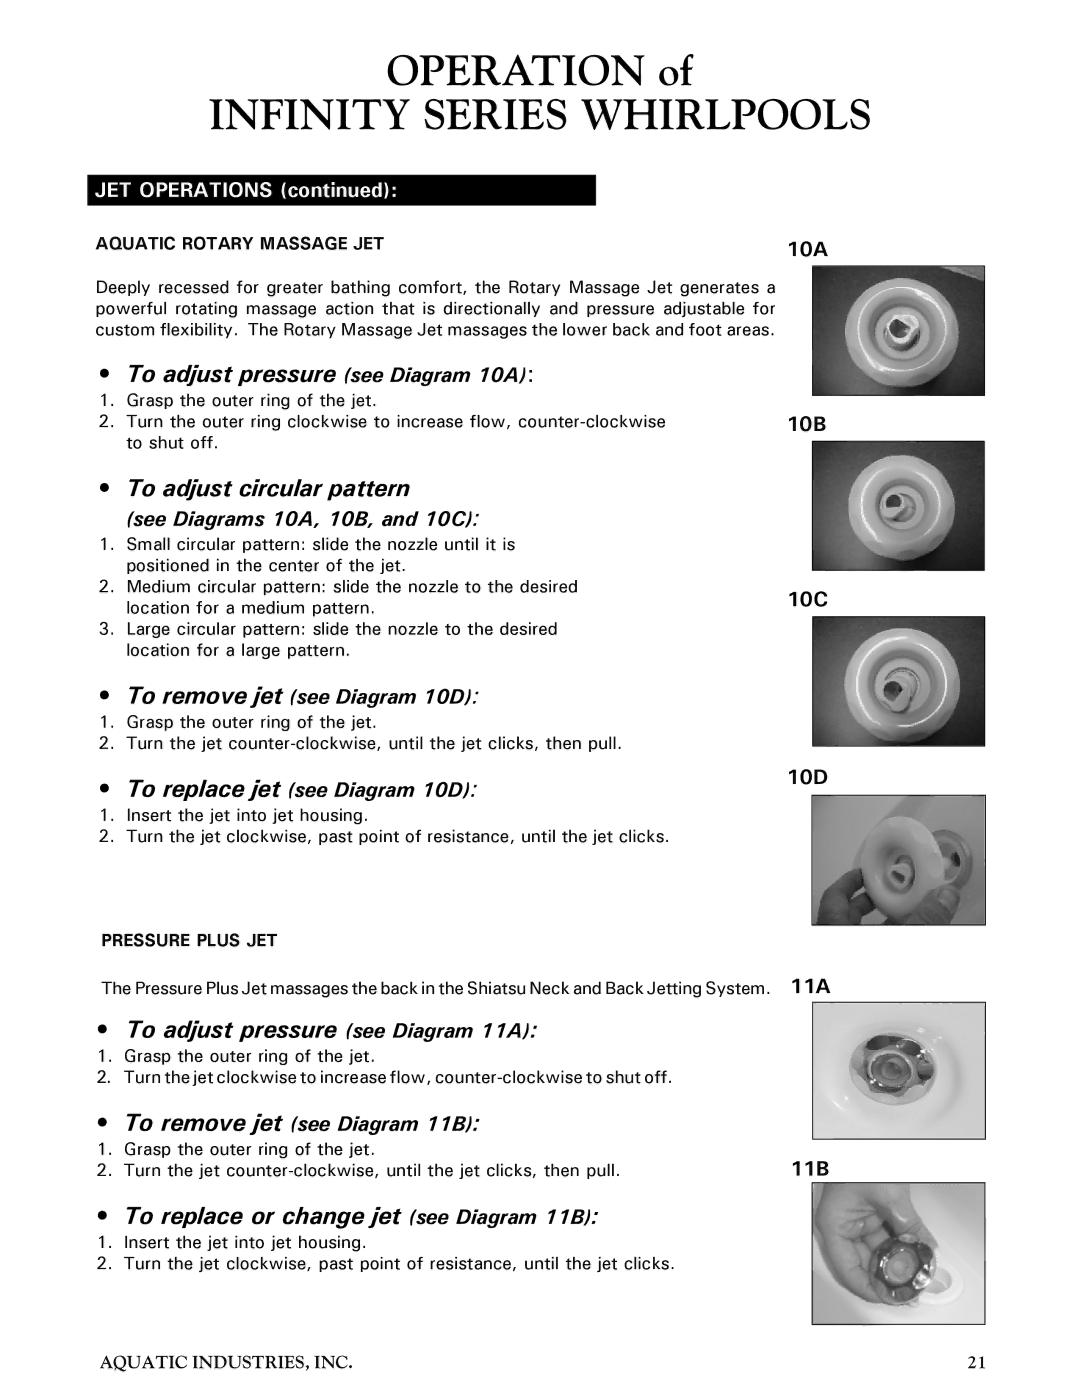
AQUATIC ROTARY MASSAGE JET | 10A |
|
Deeply recessed for greater bathing comfort, the Rotary Massage Jet generates a powerful rotating massage action that is directionally and pressure adjustable for custom flexibility. The Rotary Massage Jet massages the lower back and foot areas.
• | To adjust pressure (see Diagram 10A): |
|
|
1. | Grasp the outer ring of the jet. |
|
|
|
| ||
2. | Turn the outer ring clockwise to increase flow, | 10B | |
| to shut off. |
|
|
|
|
| |
• | To adjust circular pattern |
|
|
| (see Diagrams 10A, 10B, and 10C): |
|
|
1. | Small circular pattern: slide the nozzle until it is |
|
|
| positioned in the center of the jet. |
|
|
|
|
| |
2. | Medium circular pattern: slide the nozzle to the desired | 10C | |
| location for a medium pattern. | ||
|
|
| |
3.Large circular pattern: slide the nozzle to the desired location for a large pattern.
•To remove jet (see Diagram 10D):
1.Grasp the outer ring of the jet.
2.Turn the jet
•To replace jet (see Diagram 10D):
1.Insert the jet into jet housing.
2.Turn the jet clockwise, past point of resistance, until the jet clicks.
PRESSURE PLUS JET
The Pressure Plus Jet massages the back in the Shiatsu Neck and Back Jetting System.
• To adjust pressure (see Diagram 11A):
1.Grasp the outer ring of the jet.
2.Turn the jet clockwise to increase flow,
•To remove jet (see Diagram 11B):
1.Grasp the outer ring of the jet.
2.Turn the jet
• To replace or change jet (see Diagram 11B):
1.Insert the jet into jet housing.
2.Turn the jet clockwise, past point of resistance, until the jet clicks.
10D
11A
11B
AQUATIC INDUSTRIES, INC. | 21 |