English
4.5 Switch Setup
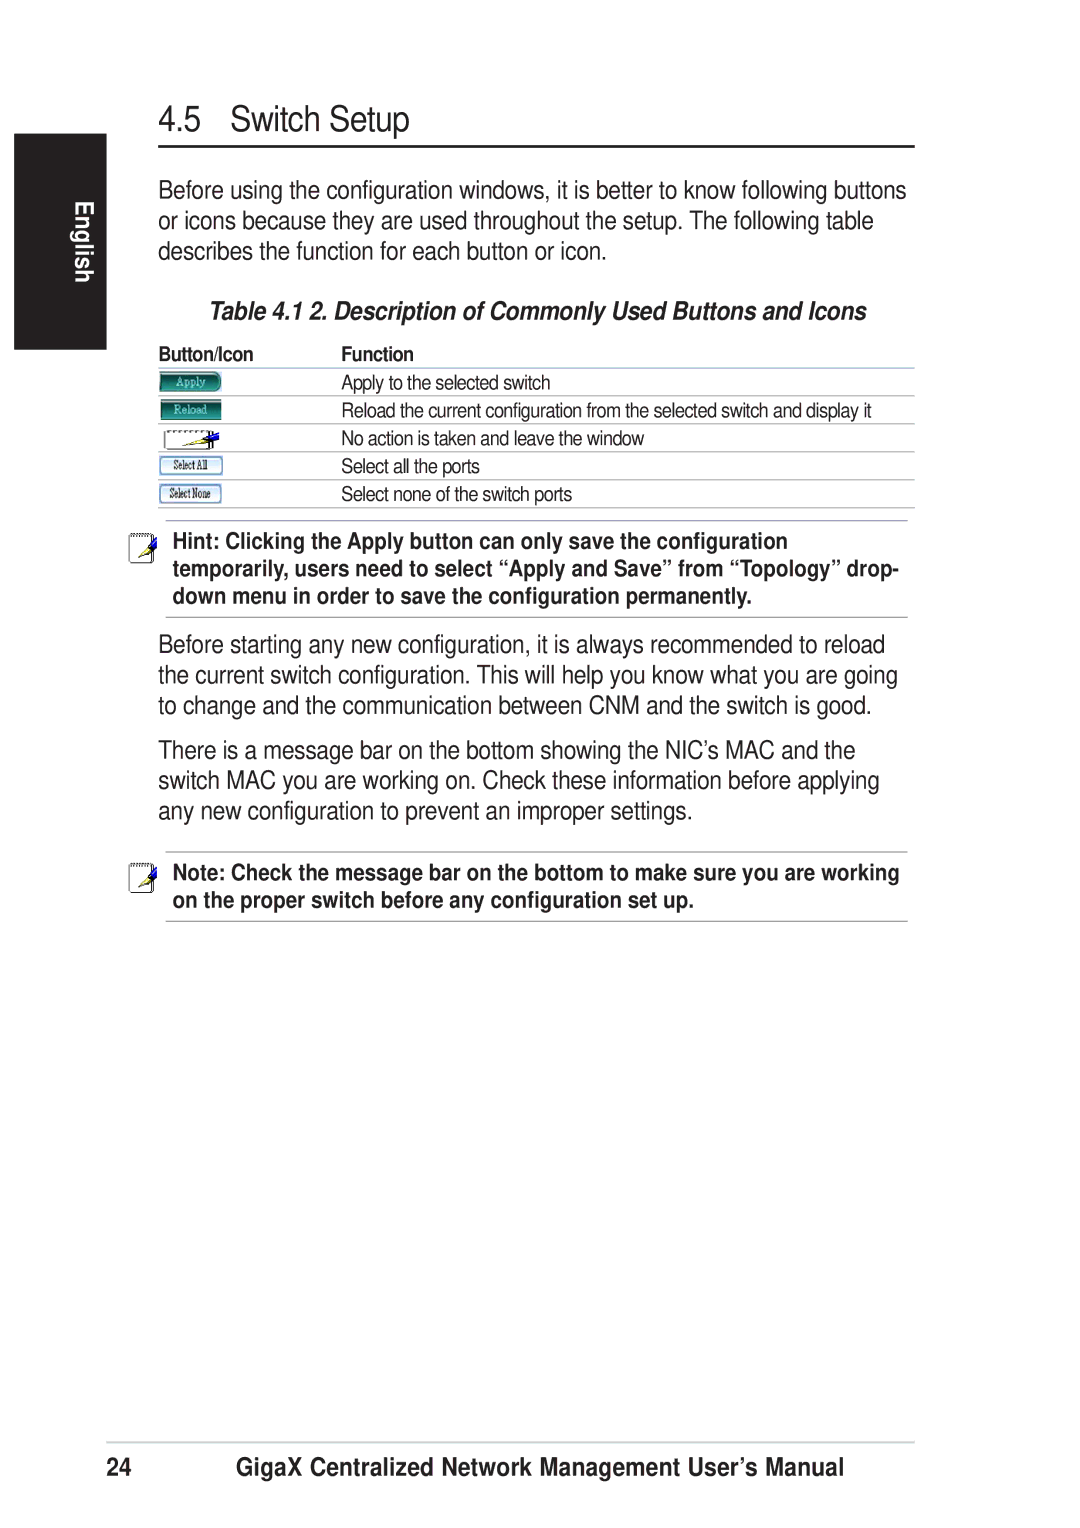
Before using the configuration windows, it is better to know following buttons or icons because they are used throughout the setup. The following table describes the function for each button or icon.
Table 4.1 2. Description of Commonly Used Buttons and Icons
Button/Icon Function
Apply to the selected switch
Reload the current configuration from the selected switch and display it
No action is taken and leave the window
Select all the ports
Select none of the switch ports
Hint: Clicking the Apply button can only save the configuration temporarily, users need to select “Apply and Save” from “Topology” drop- down menu in order to save the configuration permanently.
Before starting any new configuration, it is always recommended to reload the current switch configuration. This will help you know what you are going to change and the communication between CNM and the switch is good.
There is a message bar on the bottom showing the NIC’s MAC and the switch MAC you are working on. Check these information before applying any new configuration to prevent an improper settings.
Note: Check the message bar on the bottom to make sure you are working on the proper switch before any configuration set up.
24 | GigaX Centralized Network Management User’s Manual |