USE OF THE CD MAGAZINE
LOADING DISCS INTO THE MAGAZINE
This CD Changer uses a
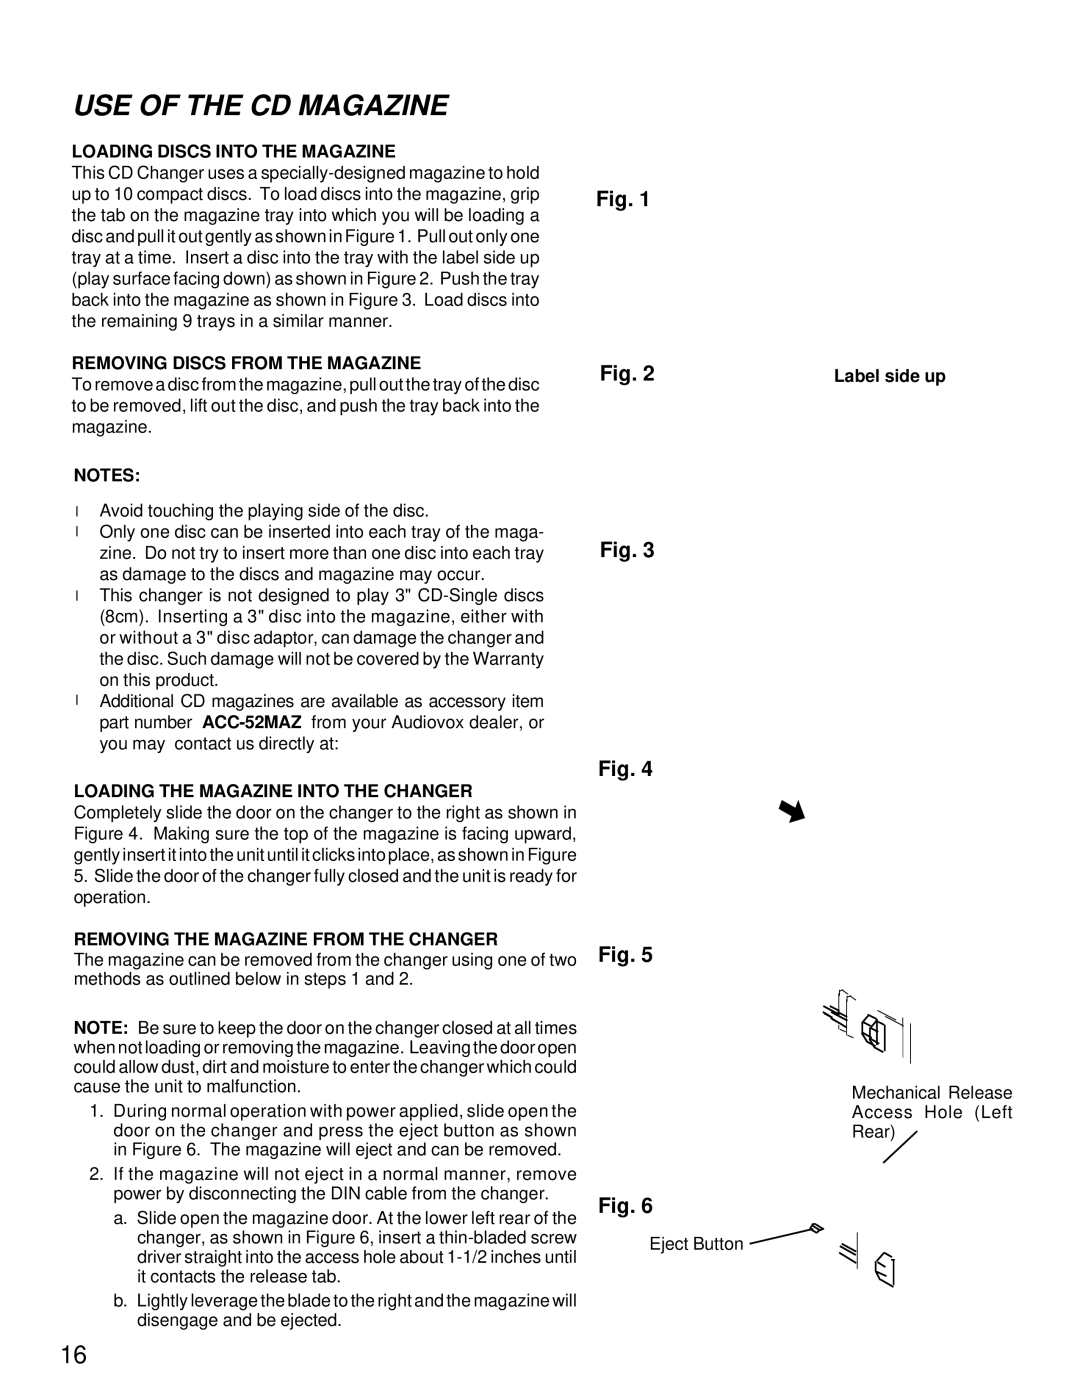
up to 10 compact discs. To load discs into the magazine, grip Fig. 1 the tab on the magazine tray into which you will be loading a
disc and pull it out gently as shown in Figure 1. Pull out only one tray at a time. Insert a disc into the tray with the label side up (play surface facing down) as shown in Figure 2. Push the tray back into the magazine as shown in Figure 3. Load discs into the remaining 9 trays in a similar manner.
REMOVING DISCS FROM THE MAGAZINE
To remove a disc from the magazine, pull out the tray of the disc to be removed, lift out the disc, and push the tray back into the magazine.
NOTES:
lAvoid touching the playing side of the disc.
lOnly one disc can be inserted into each tray of the maga- zine. Do not try to insert more than one disc into each tray as damage to the discs and magazine may occur.
lThis changer is not designed to play 3"
lAdditional CD magazines are available as accessory item part number
LOADING THE MAGAZINE INTO THE CHANGER
Completely slide the door on the changer to the right as shown in Figure 4. Making sure the top of the magazine is facing upward, gently insert it into the unit until it clicks into place, as shown in Figure
5.Slide the door of the changer fully closed and the unit is ready for operation.
REMOVING THE MAGAZINE FROM THE CHANGER
The magazine can be removed from the changer using one of two methods as outlined below in steps 1 and 2.
NOTE: Be sure to keep the door on the changer closed at all times when not loading or removing the magazine. Leaving the door open could allow dust, dirt and moisture to enter the changer which could cause the unit to malfunction.
1.During normal operation with power applied, slide open the door on the changer and press the eject button as shown in Figure 6. The magazine will eject and can be removed.
2.If the magazine will not eject in a normal manner, remove power by disconnecting the DIN cable from the changer.
a.Slide open the magazine door. At the lower left rear of the changer, as shown in Figure 6, insert a
b.Lightly leverage the blade to the right and the magazine will disengage and be ejected.
Fig. 2
Fig. 3
Fig. 4
Fig. 5
Fig. 6
Eject Button
Label side up
Mechanical Release
Access Hole (Left
Rear)
16
