AXIS 211M - Video and Image settings
Overlay/Mask Settings
Overlay/Mask Type
The following options are available for overlays and masks:
•Uploaded image as overlay
•Configurable areas as privacy mask
Uploaded image as overlay is a text and/or a static image superimposed over the video image, for extra information.
To upload an overlay image to the camera:
1.Select the type of overlay to use in Overlay/Mask Type.
2.In the field Upload own image, click the Browse button and locate the image file on your computer or server.
3.Click the Upload button and follow the
To use an already uploaded image:
1.Select an uploaded image from the Use image
2.Place the image at the required location by entering the x and y coordinates.
3.Click Save.
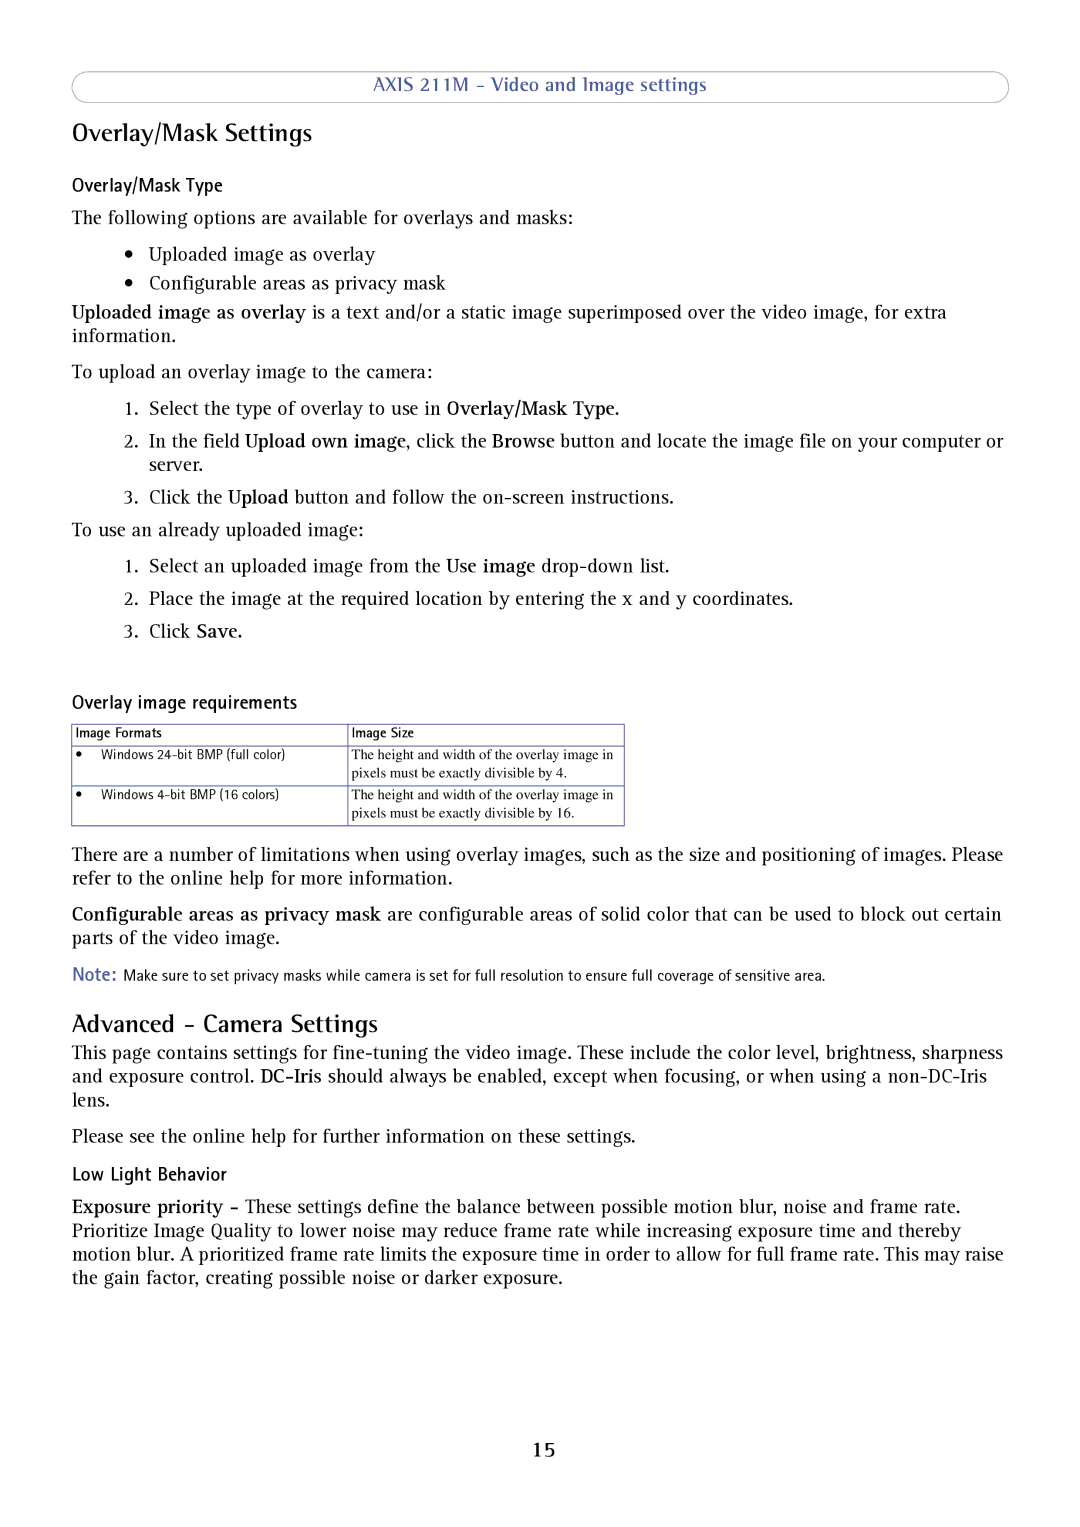
Overlay image requirements
Image Formats | Image Size | |
|
|
|
• | Windows | The height and width of the overlay image in |
|
| pixels must be exactly divisible by 4. |
|
|
|
• | Windows | The height and width of the overlay image in |
|
| pixels must be exactly divisible by 16. |
|
|
|
There are a number of limitations when using overlay images, such as the size and positioning of images. Please refer to the online help for more information.
Configurable areas as privacy mask are configurable areas of solid color that can be used to block out certain parts of the video image.
Note: Make sure to set privacy masks while camera is set for full resolution to ensure full coverage of sensitive area.
Advanced - Camera Settings
This page contains settings for
Please see the online help for further information on these settings.
Low Light Behavior
Exposure priority - These settings define the balance between possible motion blur, noise and frame rate. Prioritize Image Quality to lower noise may reduce frame rate while increasing exposure time and thereby motion blur. A prioritized frame rate limits the exposure time in order to allow for full frame rate. This may raise the gain factor, creating possible noise or darker exposure.
15
