AXIS
Audio Settings
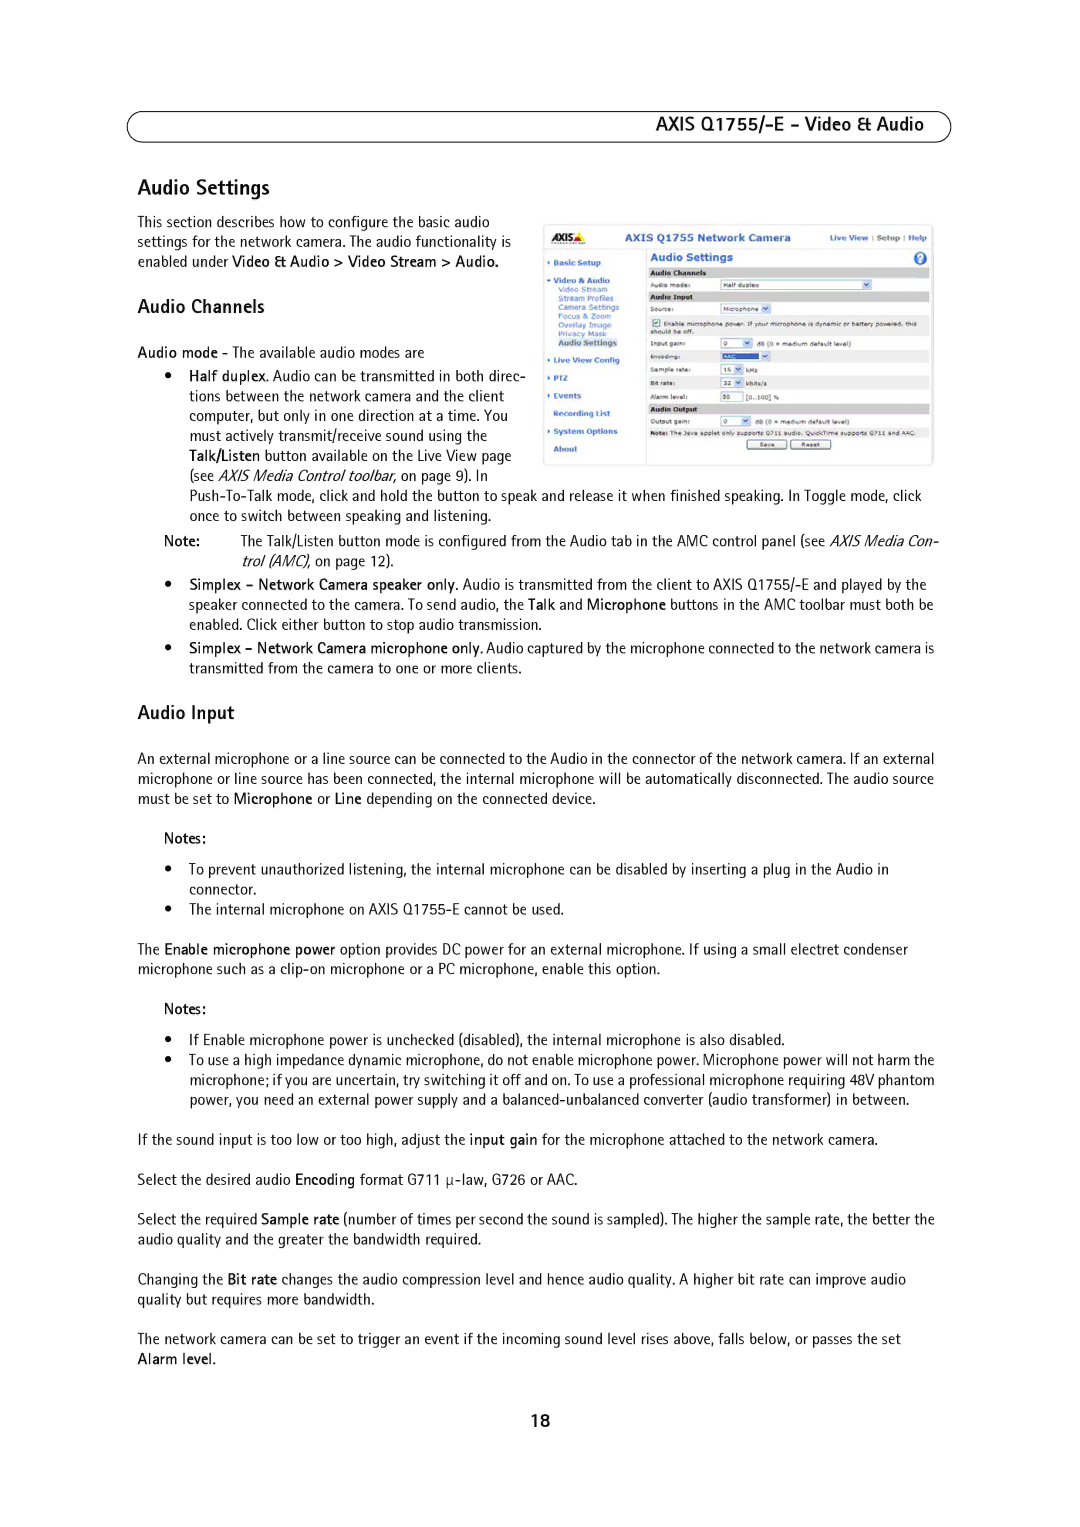
This section describes how to configure the basic audio settings for the network camera. The audio functionality is enabled under Video & Audio > Video Stream > Audio.
Audio Channels
Audio mode - The available audio modes are
•Half duplex. Audio can be transmitted in both direc- tions between the network camera and the client computer, but only in one direction at a time. You must actively transmit/receive sound using the Talk/Listen button available on the Live View page (see AXIS Media Control toolbar, on page 9). In
Note: The Talk/Listen button mode is configured from the Audio tab in the AMC control panel (see AXIS Media Con- trol (AMC), on page 12).
•Simplex - Network Camera speaker only. Audio is transmitted from the client to AXIS
•Simplex - Network Camera microphone only. Audio captured by the microphone connected to the network camera is transmitted from the camera to one or more clients.
Audio Input
An external microphone or a line source can be connected to the Audio in the connector of the network camera. If an external microphone or line source has been connected, the internal microphone will be automatically disconnected. The audio source must be set to Microphone or Line depending on the connected device.
Notes:
•To prevent unauthorized listening, the internal microphone can be disabled by inserting a plug in the Audio in connector.
•The internal microphone on AXIS
The Enable microphone power option provides DC power for an external microphone. If using a small electret condenser microphone such as a
Notes:
•If Enable microphone power is unchecked (disabled), the internal microphone is also disabled.
•To use a high impedance dynamic microphone, do not enable microphone power. Microphone power will not harm the microphone; if you are uncertain, try switching it off and on. To use a professional microphone requiring 48V phantom power, you need an external power supply and a
If the sound input is too low or too high, adjust the input gain for the microphone attached to the network camera.
Select the desired audio Encoding format G711
Select the required Sample rate (number of times per second the sound is sampled). The higher the sample rate, the better the audio quality and the greater the bandwidth required.
Changing the Bit rate changes the audio compression level and hence audio quality. A higher bit rate can improve audio quality but requires more bandwidth.
The network camera can be set to trigger an event if the incoming sound level rises above, falls below, or passes the set Alarm level.
18