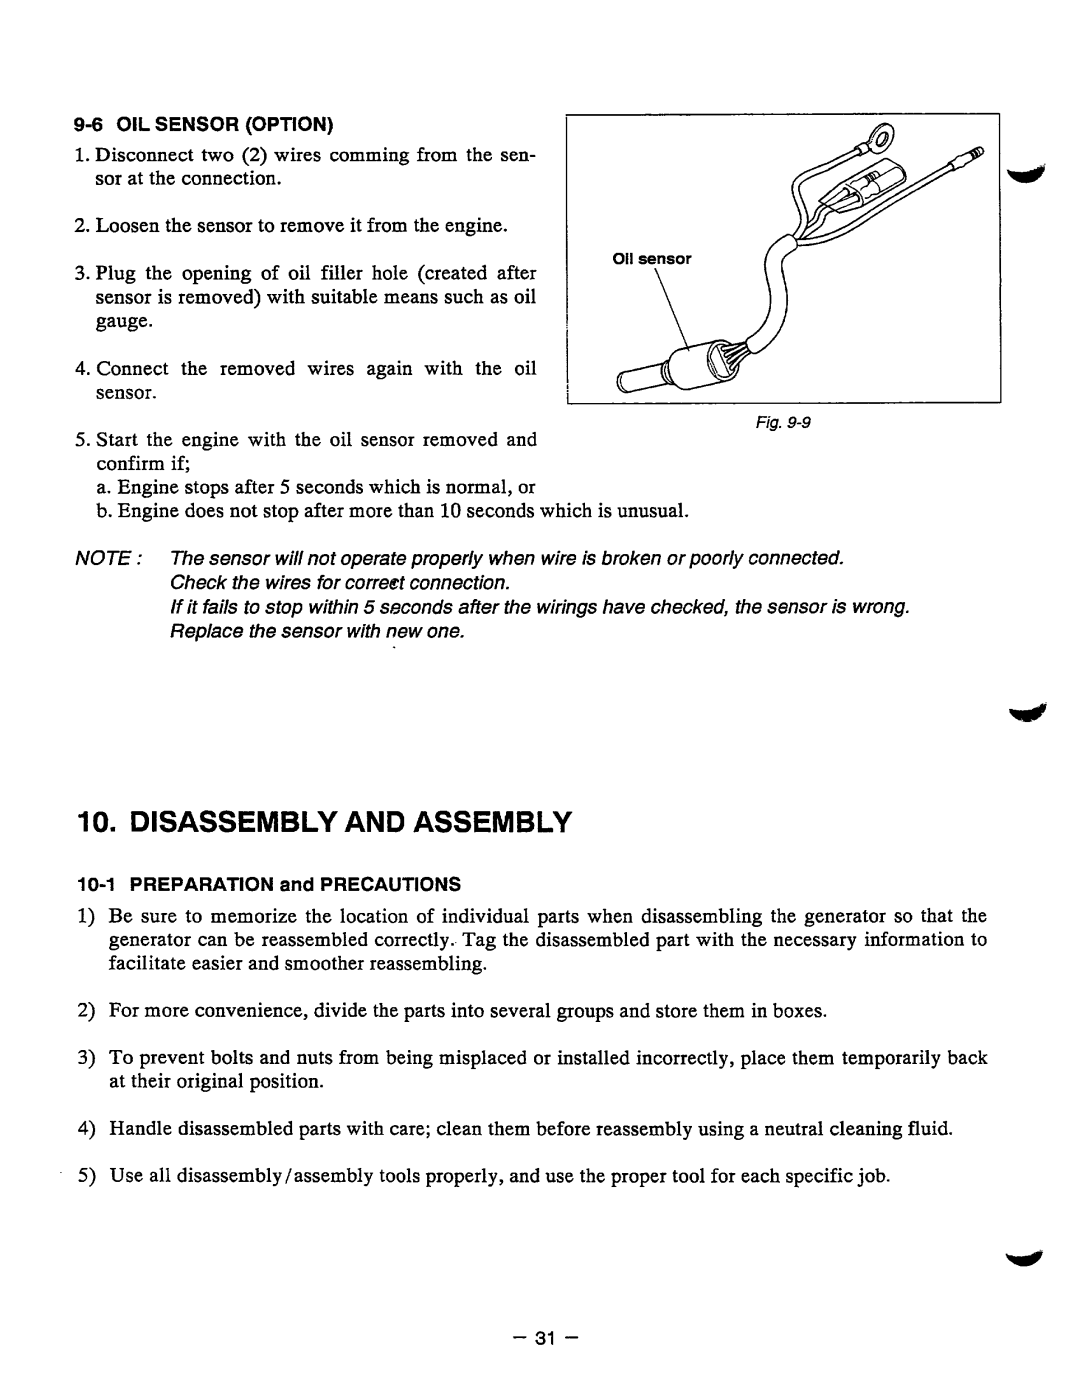
1.Disconnect two (2) wires comming from the sen- sor atthe connection.
2.Loosen the sensor to removeitfrom the engine.
3.Plugtheopening of oilfiller hole (created after sensor is removed) with suitable means such asoil gauge.
4.Connecttheremovedwires again withtheoil sensor.
~~~
Fig.
5.Start the engine with the oil sensor removed and confirm if;
a.Engine stops after5 seconds which is normal, or
b.Engine does not stop after morethan 10 seconds whichis unusual.
NOTE : The sensor will not operate properly when wireis broken or poorly connected.
Check the wires for correct connection.
If it fails to stop within5 seconds after the wirings have checked, the sensoris wrong. Replace the sensor with new one.
10.DISASSEMBLY AND ASSEMBLY
1)Be sure to memorize the location of individualparts when disassembling the generator so that the generator can be reassembledcorrectly..Tag the disassembled part with the necessary information to facilitate easier and smootherreassembling.
2)For moreconvenience, divide the parts into severalgroups and storethem in boxes.
3)To prevent bolts and nuts from being misplaced or installed incorrectly, place them temporarily back at their original position.
4)Handle disassembled partswith care; clean them before reassembly using a neutral cleaning fluid.
5)Use all disassembly /assemblytools properly, and use the proper tool for each specific job.
- 31 -