Installation
Mounting the PRO3 KVM Switch
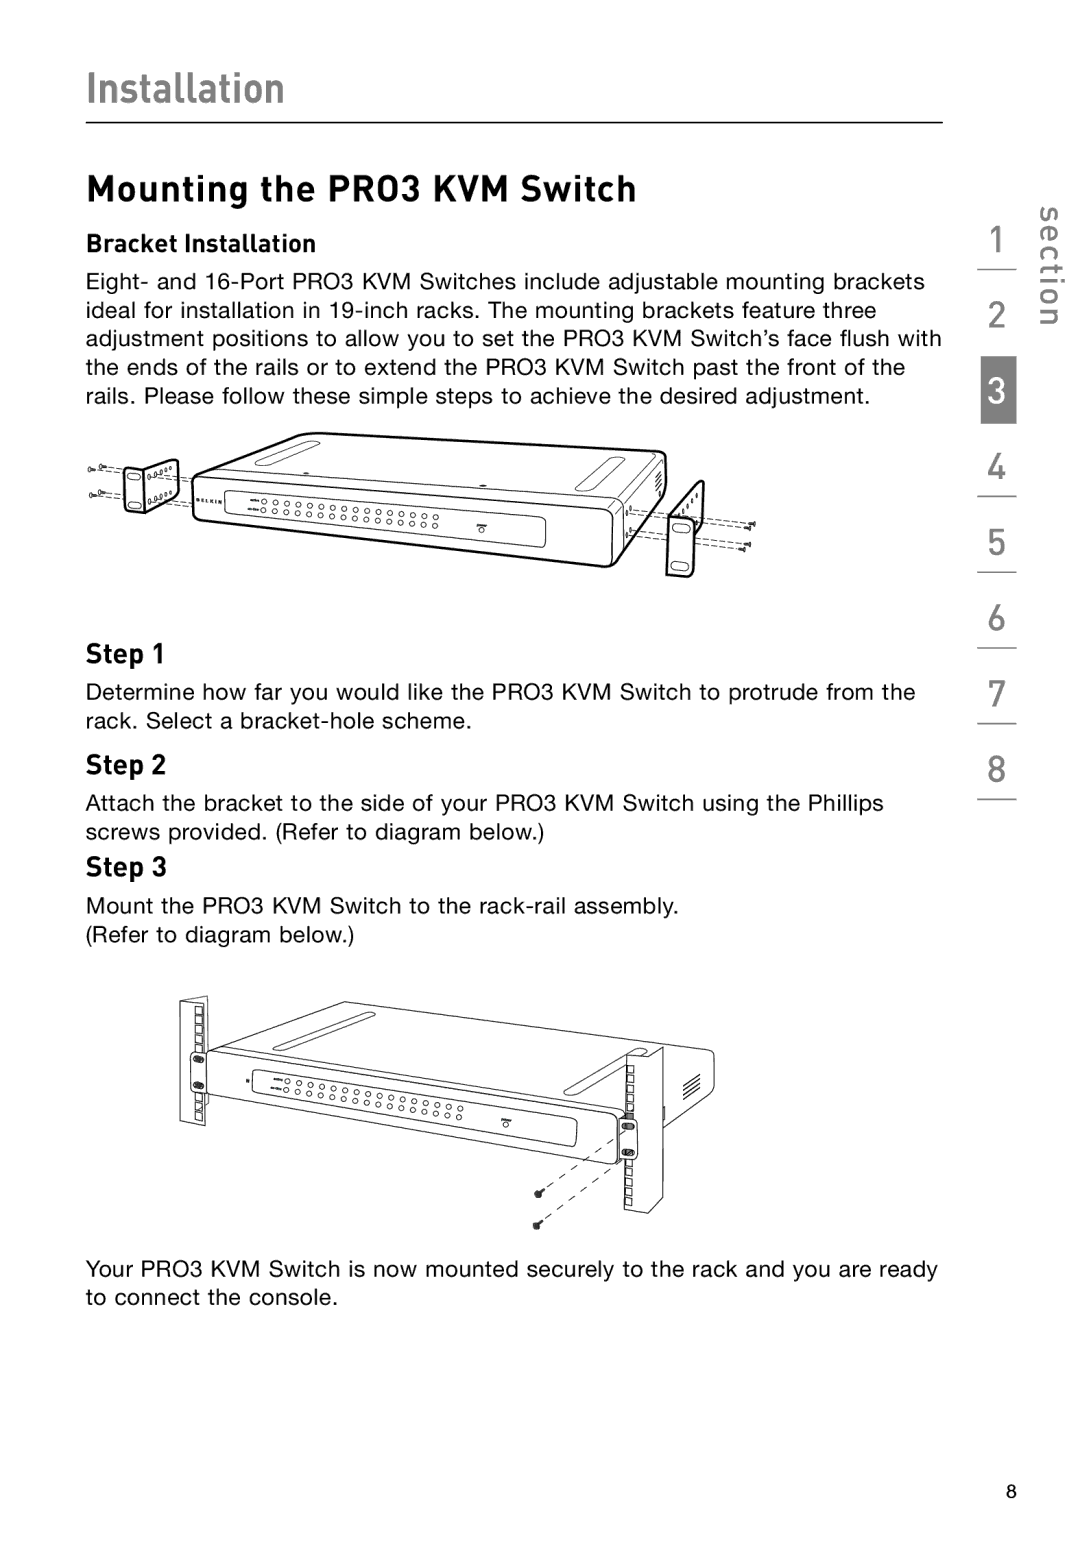
Bracket Installation
Eight- and
Step 1
Determine how far you would like the PRO3 KVM Switch to protrude from the rack. Select a
Step 2
Attach the bracket to the side of your PRO3 KVM Switch using the Phillips screws provided. (Refer to diagram below.)
Step 3
Mount the PRO3 KVM Switch to the
Your PRO3 KVM Switch is now mounted securely to the rack and you are ready to connect the console.
1
2
3
4
5
6
7
8
section
8