90539499 01 EM100B.qxd 7/7/08 10:05 AM Page 38
11 TROUBLESHOOTING AND Q&A
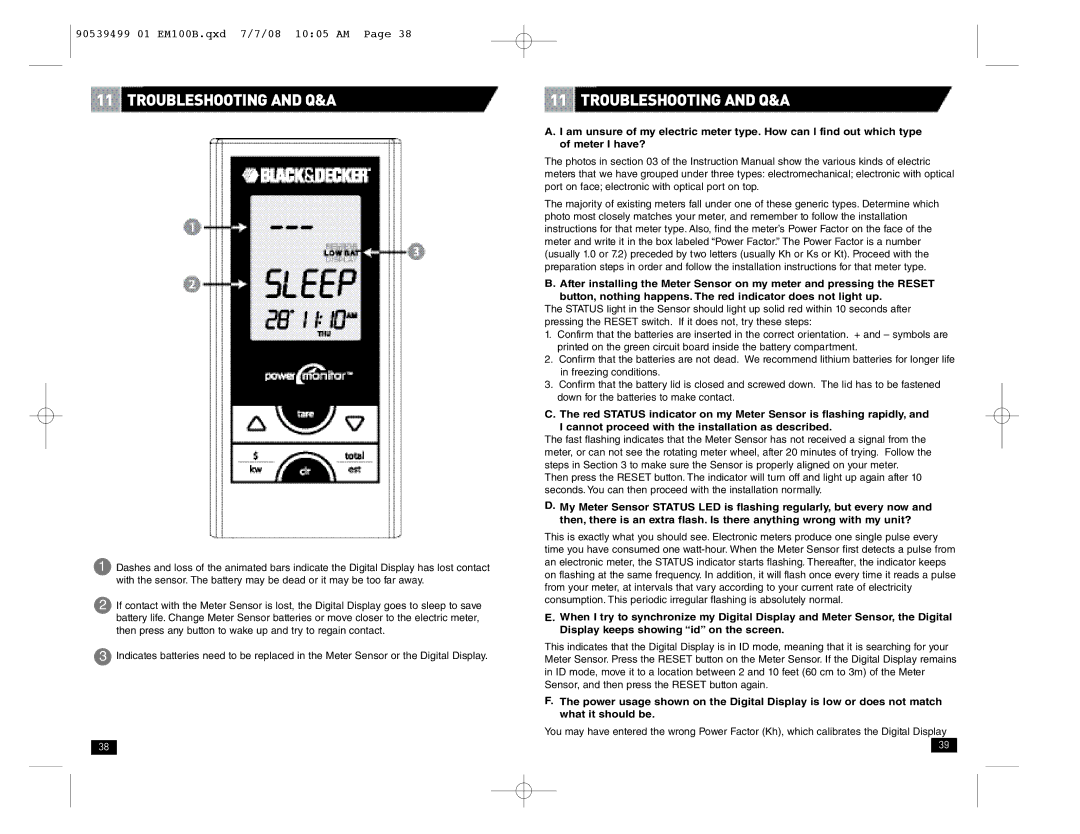
1Dashes and loss of the animated bars indicate the Digital Display has lost contact with the sensor. The battery may be dead or it may be too far away.
2If contact with the Meter Sensor is lost, the Digital Display goes to sleep to save battery life. Change Meter Sensor batteries or move closer to the electric meter, then press any button to wake up and try to regain contact.
3Indicates batteries need to be replaced in the Meter Sensor or the Digital Display.
38
11TROUBLESHOOTING AND Q&A
A.I am unsure of my electric meter type. How can I find out which type of meter I have?
The photos in section 03 of the Instruction Manual show the various kinds of electric meters that we have grouped under three types: electromechanical; electronic with optical port on face; electronic with optical port on top.
The majority of existing meters fall under one of these generic types. Determine which photo most closely matches your meter, and remember to follow the installation instructions for that meter type. Also, find the meter’s Power Factor on the face of the meter and write it in the box labeled “Power Factor.” The Power Factor is a number (usually 1.0 or 7.2) preceded by two letters (usually Kh or Ks or Kt). Proceed with the preparation steps in order and follow the installation instructions for that meter type.
B. After installing the Meter Sensor on my meter and pressing the RESET
button, nothing happens. The red indicator does not light up.
The STATUS light in the Sensor should light up solid red within 10 seconds after pressing the RESET switch. If it does not, try these steps:
1.Confirm that the batteries are inserted in the correct orientation. + and – symbols are printed on the green circuit board inside the battery compartment.
2.Confirm that the batteries are not dead. We recommend lithium batteries for longer life in freezing conditions.
3.Confirm that the battery lid is closed and screwed down. The lid has to be fastened down for the batteries to make contact.
C. The red STATUS indicator on my Meter Sensor is flashing rapidly, and
I cannot proceed with the installation as described.
The fast flashing indicates that the Meter Sensor has not received a signal from the meter, or can not see the rotating meter wheel, after 20 minutes of trying. Follow the steps in Section 3 to make sure the Sensor is properly aligned on your meter.
Then press the RESET button. The indicator will turn off and light up again after 10 seconds. You can then proceed with the installation normally.
D.My Meter Sensor STATUS LED is flashing regularly, but every now and then, there is an extra flash. Is there anything wrong with my unit?
This is exactly what you should see. Electronic meters produce one single pulse every time you have consumed one
E.When I try to synchronize my Digital Display and Meter Sensor, the Digital Display keeps showing “id” on the screen.
This indicates that the Digital Display is in ID mode, meaning that it is searching for your Meter Sensor. Press the RESET button on the Meter Sensor. If the Digital Display remains in ID mode, move it to a location between 2 and 10 feet (60 cm to 3m) of the Meter Sensor, and then press the RESET button again.
F.The power usage shown on the Digital Display is low or does not match what it should be.
You may have entered the wrong Power Factor (Kh), which calibrates the Digital Display
39