ASTC3000, ASTCBK, ASTCKEY, ASTCRCG, ASTCPOEK specifications
The Black Box ASTC series of products, including ASTCRCB, ASTCRCR, ASTC3000POE, ASTCPOEK, and ASTCRCG, represent a compelling suite of solutions designed for advanced technology applications in various environments. These devices are engineered for critical communication, reliable data transmission, and effective networking in both commercial and industrial contexts.The Black Box ASTCRCB is a robust solution designed for control room applications. One of its standout features is its ability to manage multiple video and data sources seamlessly, allowing operators to switch between different inputs effortlessly. This device is characterized by its user-friendly interface, which simplifies the monitoring process and enhances collaboration among teams. Another key characteristic is its high resolution and video quality, providing clear visuals essential for decision-making in high-stakes environments.
The ASTCRCR, on the other hand, is tailored for seamless audio and video signal distribution. Its robust infrastructure supports HD video formats and multiple connectivity options, including HDMI and DisplayPort outputs. A hallmark of the ASTCRCR is its support for 4K video resolution, ensuring that users can deliver stunning visuals to various displays without compromising quality. With advanced signal processing capabilities, it minimizes latency and preserves signal integrity.
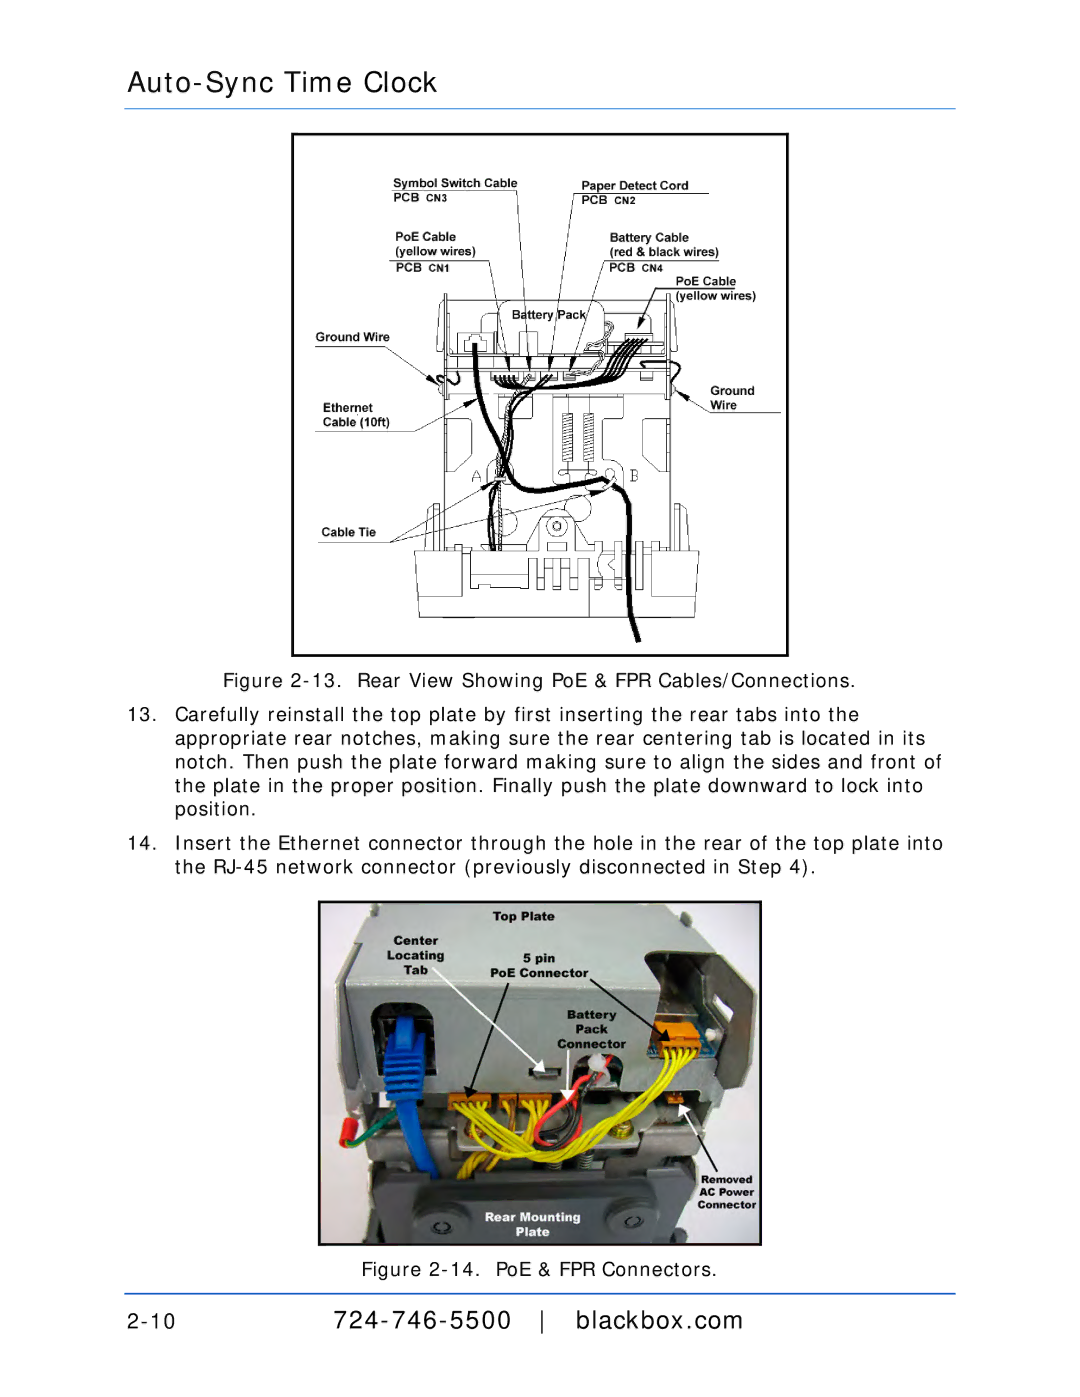
In contrast, the ASTC3000POE is focused on Power over Ethernet (PoE) functionality, allowing for the transmission of data and power over a single cable. This product is designed for easy installation and scalability, which is particularly beneficial in large network setups. The ASTC3000POE supports a variety of devices, including IP cameras and VoIP phones, making it an ideal choice for expanding IT infrastructures.
The ASTCPOEK builds on the PoE capabilities, adding enhanced energy efficiency and management features. Its energy-saving technologies not only reduce operational costs but also contribute to a more sustainable environment. This model is particularly valuable in minimizing setup complexity and maximizing cable management, making it a favorite among network engineers.
Finally, the ASTCRCG offers an all-in-one solution for collaborative groups, featuring integrated communication tools that facilitate team interaction. This device is characterized by its real-time data sharing capabilities and compatibility with various conferencing systems, making it ideal for educational and corporate settings.
Each model within the Black Box ASTC series embodies advanced technologies that emphasize reliability, efficiency, and user-centric design, ensuring they meet the evolving needs of today's digital landscapes.

