| | | | CHAPTER 4: Configuration |
| | Table 4-1. Jumper settings. |
| | | | |
Jumper | Port | | RS-232 | RS-422/485 |
| | | | |
E5 | 2 | | X | |
E6 | 2 | | | X |
E7 | 1 | | | X |
E8 | 1 | | X | |
| | | | |
Switch SW4 Settings
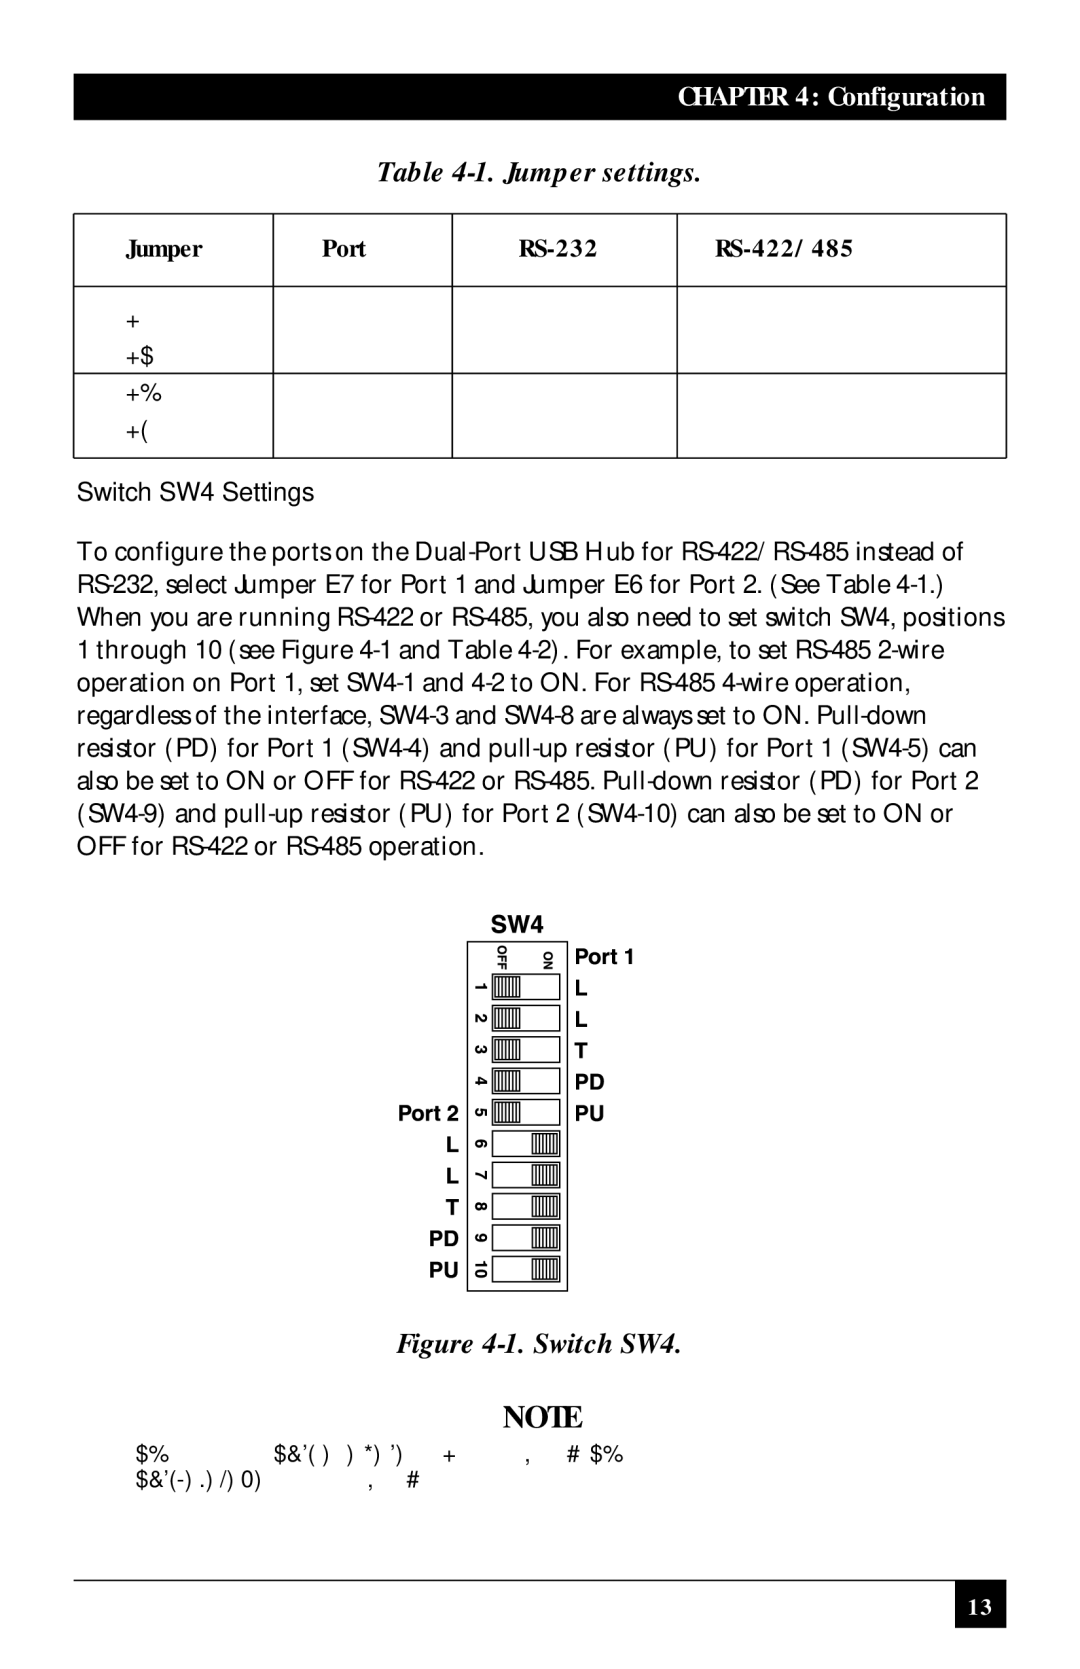
To configure the ports on the Dual-Port USB Hub for RS-422/RS-485 instead of RS-232, select Jumper E7 for Port 1 and Jumper E6 for Port 2. (See Table 4-1.) When you are running RS-422 or RS-485, you also need to set switch SW4, positions 1 through 10 (see Figure 4-1 and Table 4-2). For example, to set RS-485 2-wire operation on Port 1, set SW4-1 and 4-2 to ON. For RS-485 4-wire operation, regardless of the interface, SW4-3 and SW4-8 are always set to ON. Pull-down resistor (PD) for Port 1 (SW4-4) and pull-up resistor (PU) for Port 1 (SW4-5) can also be set to ON or OFF for RS-422 or RS-485. Pull-down resistor (PD) for Port 2 (SW4-9) and pull-up resistor (PU) for Port 2 (SW4-10) can also be set to ON or OFF for RS-422 or RS-485 operation.
Figure 4-1. Switch SW4.
NOTE
Switch positions SW4-1, 2, 3, 4, and 5 are for Port 1. Switch positions
SW4-6, 7, 8, 9, and 10 are for Port 2.