PM-3000, PM-3180 specifications
The Bogen PM-3180 and PM-3000 are two powerful audio amplifiers designed to meet the diverse needs of various sound reinforcement applications, from commercial settings to large outdoor events. Both models are part of Bogen’s esteemed product lineup, known for their reliability, performance, and quality sound.The Bogen PM-3180 is a high-performance amplifier capable of delivering up to 180 watts of power. It is designed for both commercial and institutional uses, featuring a versatile range of functionality. One of its significant attributes is the built-in mixing capabilities, allowing users to connect multiple audio sources effortlessly. With its broad frequency response and low total harmonic distortion, the PM-3180 ensures clear and robust audio output, making it suitable for music and speech applications alike.
In terms of connectivity, the PM-3180 offers various inputs, including balanced microphone inputs and unbalanced line inputs, catering to different audio source configurations. Its integral priority system allows for automatic switching in case of emergency announcements, ensuring critical communications get through without interruption. While operating, the PM-3180 remains energy-efficient, equipped with features that minimize power consumption while maximizing output.
On the other hand, the Bogen PM-3000 serves as an excellent companion for those with slightly lower power requirements, offering up to 150 watts of output. Its compact design makes it an ideal choice for applications where space is limited. Despite its size, the PM-3000 does not compromise on audio quality, delivering clean and distortion-free sound for various environments, such as classrooms, meeting rooms, and small events.
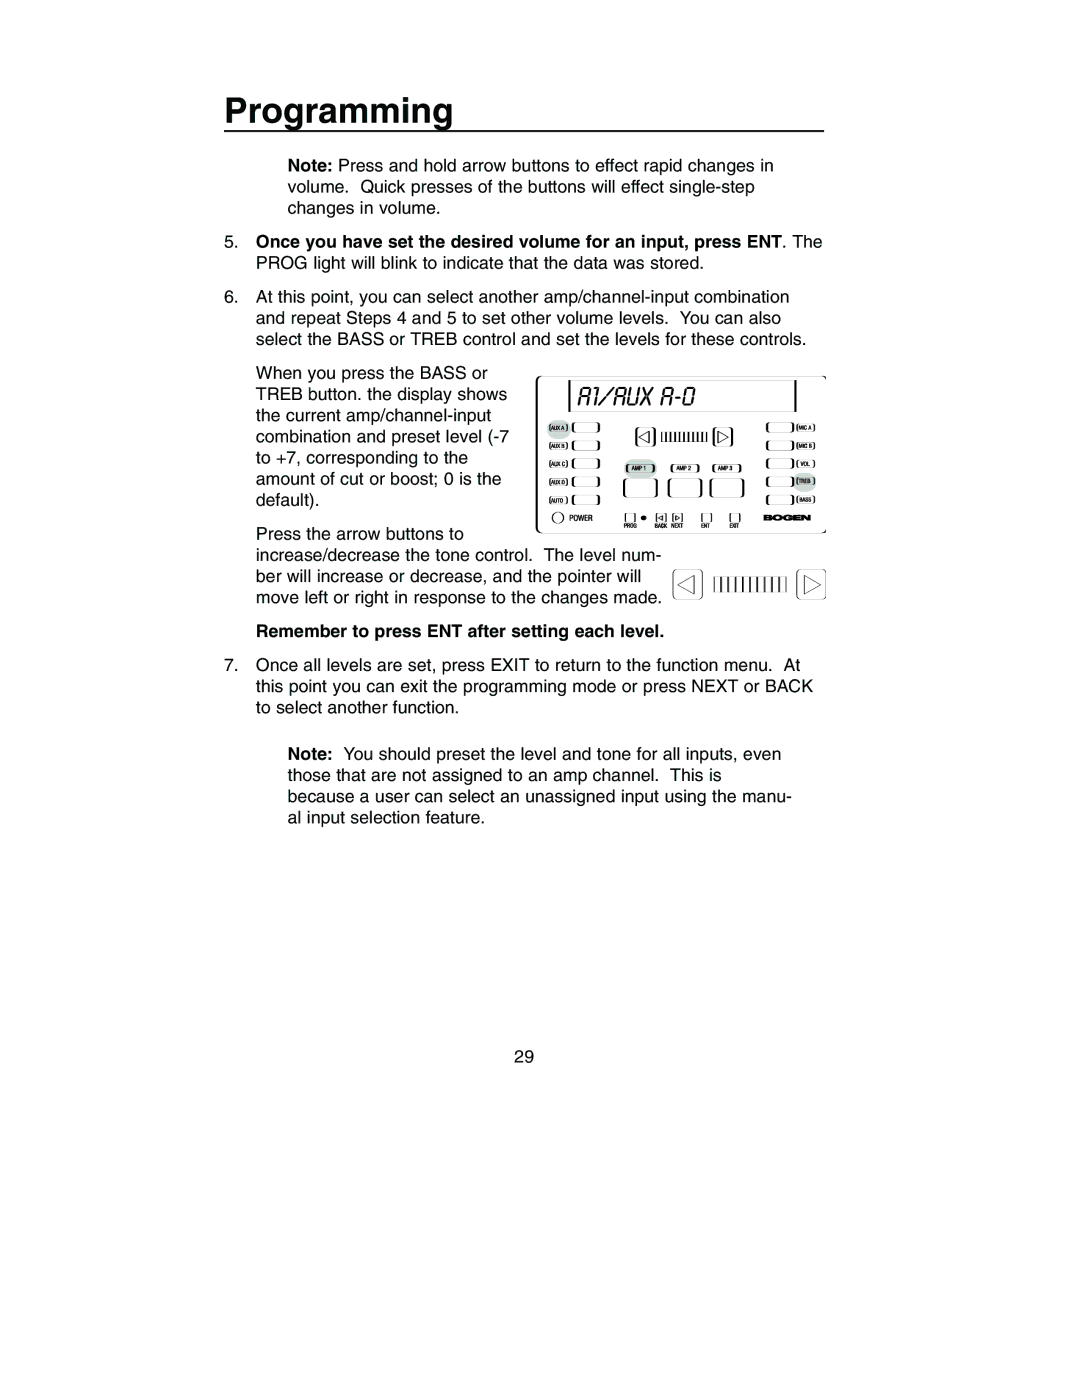
Both amplifiers utilize modern technology to ensure durability and performance. They incorporate advanced thermal protection, preventing overheating during extended use. Additionally, the PM-3000 includes a built-in LED power indicator that provides a visual cue of operational status. Both models are designed for easy installation and maintenance, featuring a user-friendly interface that simplifies adjustments and configuration.
In summary, the Bogen PM-3180 and PM-3000 amplifiers stand out for their exceptional features, performance-oriented design, and enduring reliability. Whether you're managing a school event, a business presentation, or a public address system, these amplifiers are equipped to deliver high-quality sound that meets your needs, backed by Bogen's longstanding reputation in the audio industry.

