
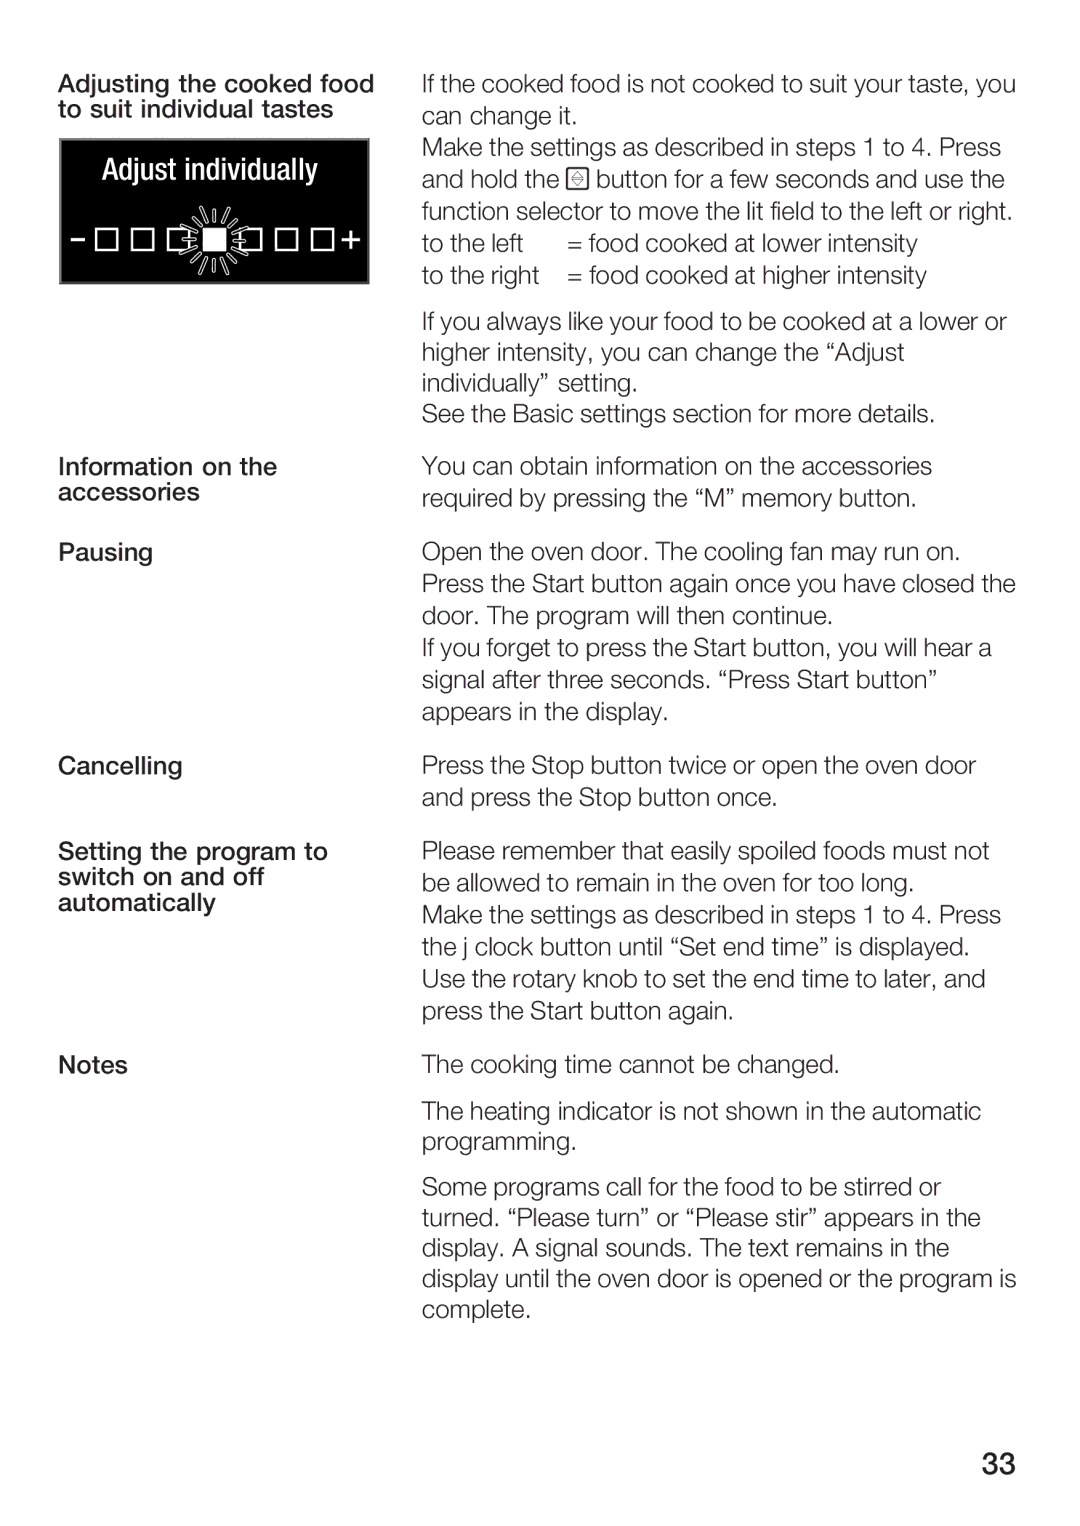
HBC86K7.0 specifications
The Bosch Appliances HBC86K7.0 is a remarkable addition to the world of built-in ovens, known for its innovative technology and user-friendly features. This model showcases Bosch’s commitment to quality, reliability, and modern design, making it an ideal choice for those looking to enhance their kitchen experience.One of the standout features of the HBC86K7.0 is its combination of microwave and convection cooking capabilities. This multifunctional aspect allows users to not only bake and roast but also to quickly heat or defrost food, providing unmatched versatility in meal preparation. With a built-in microwave function, dishes can be ready in a fraction of the time, making it perfect for busy households.
The oven boasts a generous capacity, allowing for large meals and multiple dishes to be prepared simultaneously. Its sleek stainless-steel finish adds a modern touch to any kitchen decor, while the easy-to-use control panel with intuitive touch controls ensures that setting temperatures and cooking modes is a breeze. The clear LED display provides real-time information, making it simple to monitor cooking progress at a glance.
Bosch has integrated state-of-the-art cooking technologies, including 3D Hotair, which ensures even heat distribution for consistent cooking results. This feature not only enhances baking performance but also allows for cooking on multiple levels without flavor transfer. Additionally, the HBC86K7.0 is equipped with various automatic cooking programs, enabling users to select specific dishes and rely on pre-set guidelines for optimal results.
Cleaning up after cooking is effortless, thanks to the oven's easy clean enamel interior which minimizes residue build-up. The built-in self-cleaning function also takes the hassle out of maintenance, allowing users to spend more time enjoying their culinary creations instead of scrubbing the oven.
Safety features are paramount in this model, with a child lock function and a cool-touch door ensuring peace of mind, especially for families with young children. Overall, the Bosch HBC86K7.0 stands out as a top-tier option for anyone seeking a reliable, stylish, and technologically advanced built-in oven that delivers exceptional performance and convenience in every cooking endeavor.