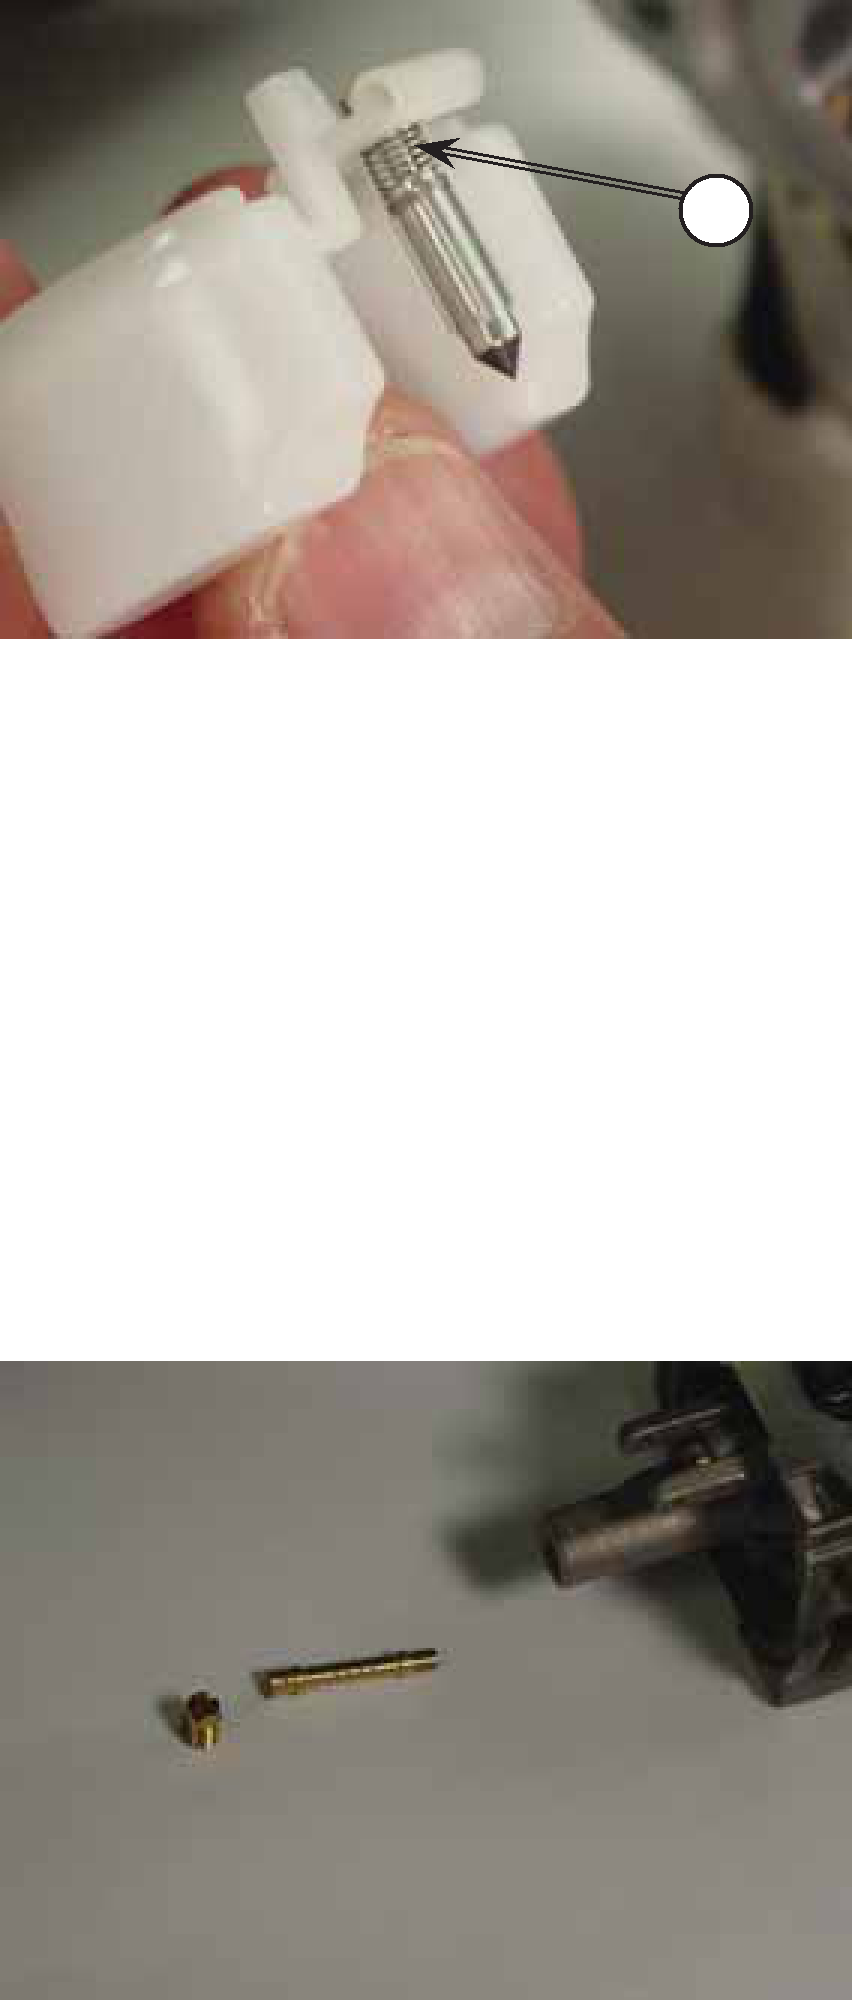
11.Ensure the inlet needle and spring (A) are assembled correctly, with the spring located below the float bosses (Figure 35).
A
Figure 35
14.Inspect openings in the carburetor body for blockage. Inspect throttle and choke shafts for wear or damage. If found, replace the entire carburetor assembly.
15.Inspect all valves, openings, and
16.Assemble carburetor using steps 8 through 12 in reverse order.
12. Using a carburetor nozzle screwdriver, remove the main
jet and emulsion tube (Figure 36). Clean as needed.
13. Using carburetor cleaner, thoroughly clean the following
components, then follow with compressed air to dry:
• Passages in the main jet
• Inside and outside of the fuel bowl
• Float
If any passages remain plugged after cleaning, replace the entire carburetor assembly.
Not |
|
for | |
| Reproduction |
Figure 36
22 | BRIGGSandSTRATTON.COM |