1, PED Basic specifications
Brother PED Basic is an innovative software solution designed for embroiderers who want to personalize and manage their embroidery designs efficiently. This powerful tool is a must-have for both beginners and experienced users tending to create stunning embroidery projects.One of the key features of Brother PED Basic is its ability to convert a wide range of image file formats into embroidery designs. Users can simply import their favorite graphics and transform them into professional-quality stitch files that are compatible with various Brother embroidery machines. The software supports formats such as BMP, JPEG, and GIF, making it versatile for creative exploration.
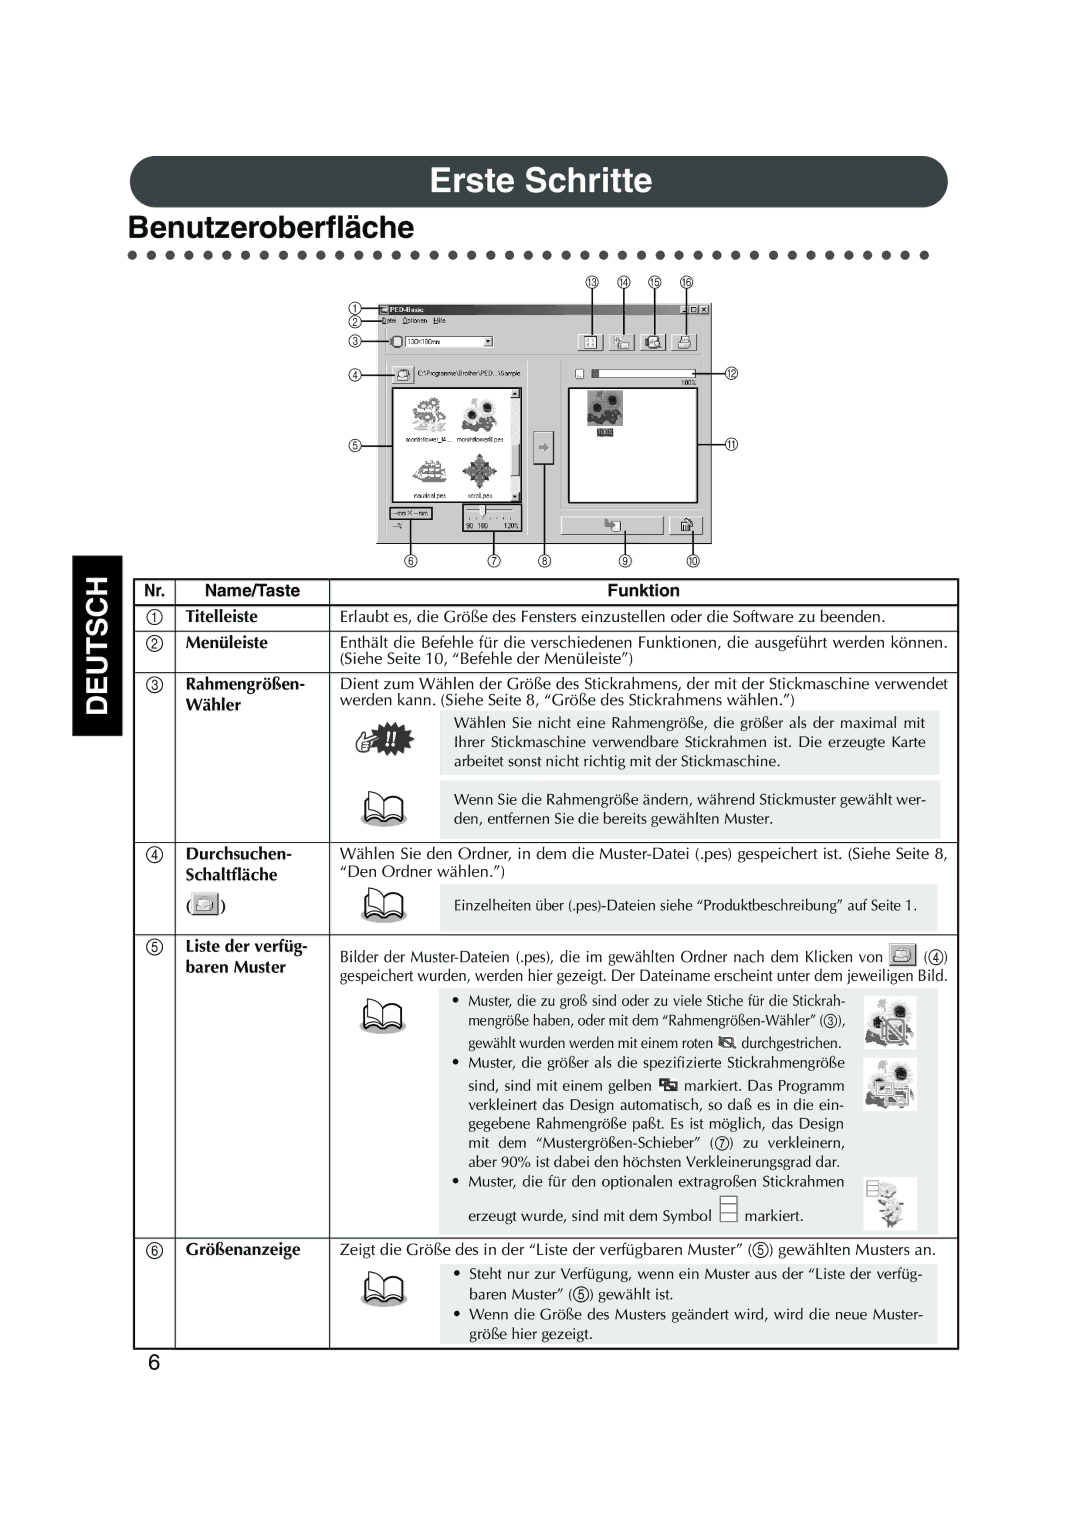
Another standout characteristic of Brother PED Basic is the user-friendly interface. The layout is intuitive, allowing users to navigate through the program with ease. New users particularly benefit from the step-by-step instructions and tutorials included within the software. This support makes it accessible for individuals with little to no background in embroidery or design, enabling them to get started on their projects quickly.
In terms of design capabilities, Brother PED Basic offers a robust set of editing tools. Users can resize, rotate, and mirror their designs, providing flexibility in customization. Additionally, the software allows users to select individual colors and adjust thread density to achieve the desired effect, ensuring the final product meets their specific requirements.
The software also integrates seamlessly with Brother's embroidery machines, allowing users to transfer designs effortlessly. By connecting through a USB cable or using a memory card, users can quickly upload their new embroidery creations to their machine and begin stitching without any hassles.
One of the technological advancements of Brother PED Basic is its built-in stitch simulator, which gives users a preview of how the design will look once stitched. This feature not only saves time but also helps in making adjustments before committing to the fabric.
Overall, Brother PED Basic stands out for its combination of user accessibility, functionality, and compatibility with a wide range of Brother embroidery machines. Whether you are looking to dip your toes into the world of embroidery or you are an experienced stitcher, Brother PED Basic provides the tools necessary to bring your creative visions to life. Its features and technologies are geared towards enhancing the embroidery experience, making it a valuable asset for anyone passionate about this artisanal craft.

