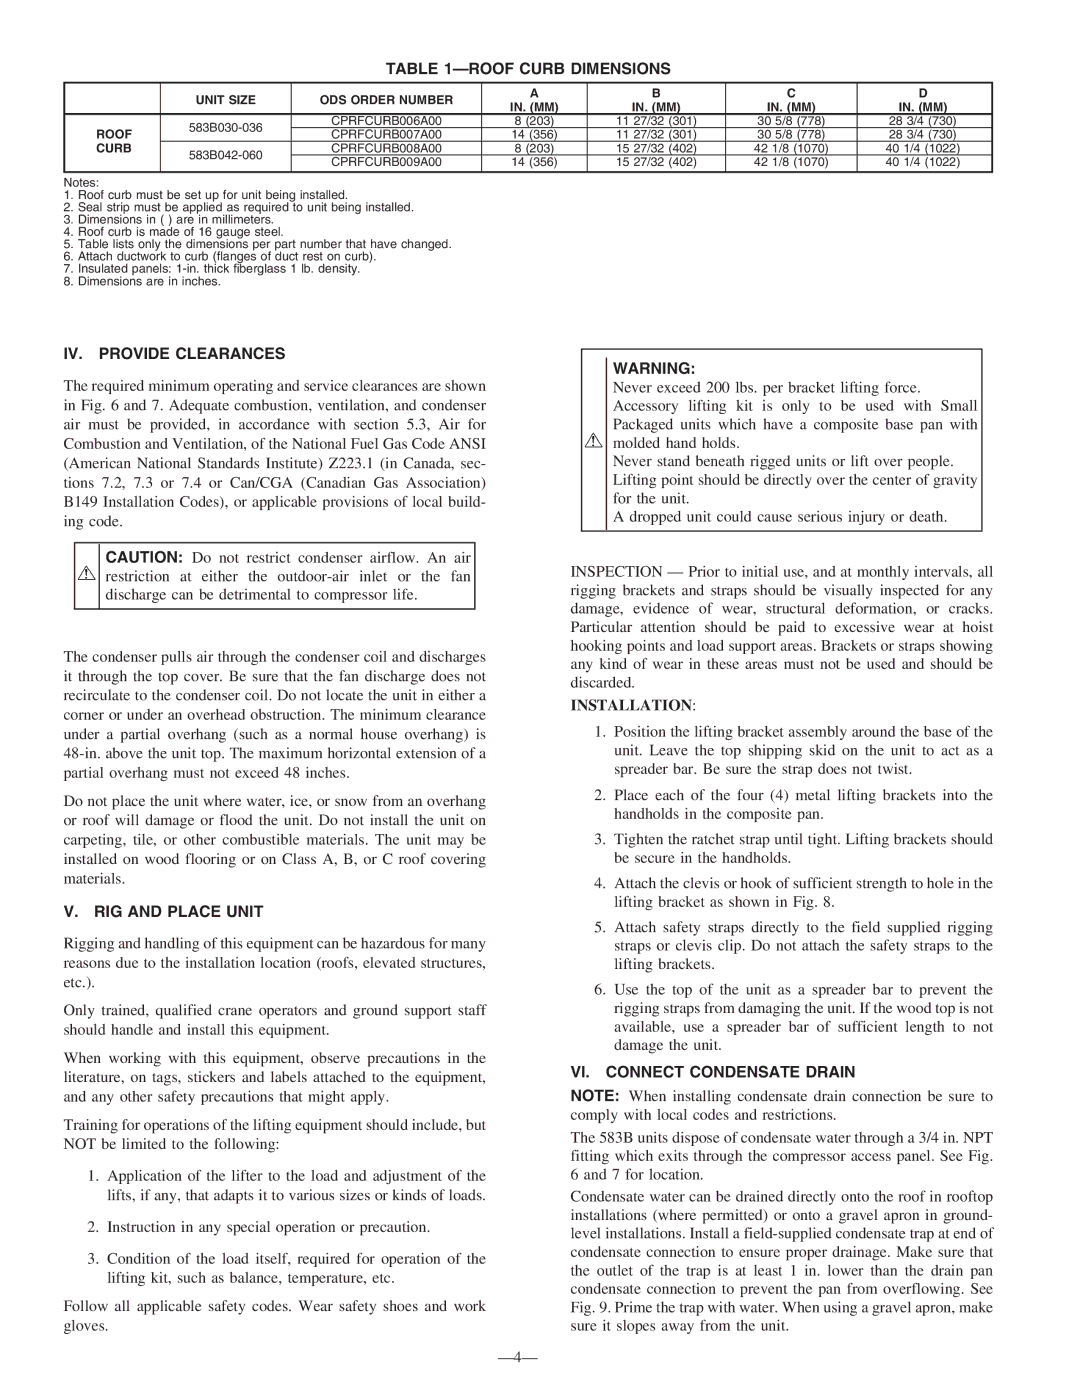
Notes:
1.Roof curb must be set up for unit being installed.
2.Seal strip must be applied as required to unit being installed.
3.Dimensions in ( ) are in millimeters.
4.Roof curb is made of 16 gauge steel.
5.Table lists only the dimensions per part number that have changed.
6.Attach ductwork to curb (flanges of duct rest on curb).
7.Insulated panels: 1-in. thick fiberglass 1 lb. density.
8.Dimensions are in inches.
IV. PROVIDE CLEARANCES
The required minimum operating and service clearances are shown in Fig. 6 and 7. Adequate combustion, ventilation, and condenser air must be provided, in accordance with section 5.3, Air for Combustion and Ventilation, of the National Fuel Gas Code ANSI (American National Standards Institute) Z223.1 (in Canada, sec- tions 7.2, 7.3 or 7.4 or Can/CGA (Canadian Gas Association) B149 Installation Codes), or applicable provisions of local build- ing code.
CAUTION: Do not restrict condenser airflow. An air restriction at either the outdoor-air inlet or the fan discharge can be detrimental to compressor life.
The condenser pulls air through the condenser coil and discharges it through the top cover. Be sure that the fan discharge does not recirculate to the condenser coil. Do not locate the unit in either a corner or under an overhead obstruction. The minimum clearance under a partial overhang (such as a normal house overhang) is 48-in. above the unit top. The maximum horizontal extension of a partial overhang must not exceed 48 inches.
Do not place the unit where water, ice, or snow from an overhang or roof will damage or flood the unit. Do not install the unit on carpeting, tile, or other combustible materials. The unit may be installed on wood flooring or on Class A, B, or C roof covering materials.
V. RIG AND PLACE UNIT
Rigging and handling of this equipment can be hazardous for many reasons due to the installation location (roofs, elevated structures, etc.).
Only trained, qualified crane operators and ground support staff should handle and install this equipment.
When working with this equipment, observe precautions in the literature, on tags, stickers and labels attached to the equipment, and any other safety precautions that might apply.
Training for operations of the lifting equipment should include, but NOT be limited to the following:
1.Application of the lifter to the load and adjustment of the lifts, if any, that adapts it to various sizes or kinds of loads.
2.Instruction in any special operation or precaution.
3.Condition of the load itself, required for operation of the lifting kit, such as balance, temperature, etc.
Follow all applicable safety codes. Wear safety shoes and work gloves.
—4—
WARNING:
Never exceed 200 lbs. per bracket lifting force. Accessory lifting kit is only to be used with Small Packaged units which have a composite base pan with molded hand holds.
Never stand beneath rigged units or lift over people. Lifting point should be directly over the center of gravity for the unit.
A dropped unit could cause serious injury or death.
INSPECTION — Prior to initial use, and at monthly intervals, all rigging brackets and straps should be visually inspected for any damage, evidence of wear, structural deformation, or cracks. Particular attention should be paid to excessive wear at hoist hooking points and load support areas. Brackets or straps showing any kind of wear in these areas must not be used and should be discarded.
INSTALLATION:
1.Position the lifting bracket assembly around the base of the unit. Leave the top shipping skid on the unit to act as a spreader bar. Be sure the strap does not twist.
2.Place each of the four (4) metal lifting brackets into the handholds in the composite pan.
3.Tighten the ratchet strap until tight. Lifting brackets should be secure in the handholds.
4.Attach the clevis or hook of sufficient strength to hole in the lifting bracket as shown in Fig. 8.
5.Attach safety straps directly to the field supplied rigging straps or clevis clip. Do not attach the safety straps to the lifting brackets.
6.Use the top of the unit as a spreader bar to prevent the rigging straps from damaging the unit. If the wood top is not available, use a spreader bar of sufficient length to not damage the unit.
VI. CONNECT CONDENSATE DRAIN
NOTE: When installing condensate drain connection be sure to comply with local codes and restrictions.
The 583B units dispose of condensate water through a 3/4 in. NPT fitting which exits through the compressor access panel. See Fig. 6 and 7 for location.
Condensate water can be drained directly onto the roof in rooftop installations (where permitted) or onto a gravel apron in ground- level installations. Install a field-supplied condensate trap at end of condensate connection to ensure proper drainage. Make sure that the outlet of the trap is at least 1 in. lower than the drain pan condensate connection to prevent the pan from overflowing. See Fig. 9. Prime the trap with water. When using a gravel apron, make sure it slopes away from the unit.

