Installation, start-up and service instructions
619CNF
619CNQ
CEILING-SUSPENDED FAN COIL UNITS
Sizes 024-060
Cancels: II | II |
| 4/15/06 |
CONTENTS
Page
SAFETY CONSIDERATIONS . . . . . . . . . . . . . . . . . . . . . . . . . 1
I. Step 1 — Complete
Checks . . . . . . . . . . . . . . . . . . . . . . . . . . . . . . . . . . . . 3 II. Step 2 — Select Location . . . . . . . . . . . . . . . . . . . . . 4 III. Step 3 — Mount Unit . . . . . . . . . . . . . . . . . . . . . . . . . 6 IV. Step 4 — Connect Refrigerant Piping . . . . . . . . . . . 7 V. Step 5 — Connect Condensate Drain Line . . . . . . . 8 VI. Step 6 — Make Electrical Connections . . . . . . . . . 10 VII. Step 7 — Install Thermostat . . . . . . . . . . . . . . . . . . 12
VIII. Step 8 — Make Connections Between
Indoor and Outdoor Units . . . . . . . . . . . . . . . . . . . . 15
I. After Extended Shutdown . . . . . . . . . . . . . . . . . . . . 18
II. Seasonal Changeovers . . . . . . . . . . . . . . . . . . . . . . 18
III. Adjusting Airflow . . . . . . . . . . . . . . . . . . . . . . . . . . . 18
IV. Operating Mode Memory. . . . . . . . . . . . . . . . . . . . . 18
V. Automatic Operation (Auto.) Mode. . . . . . . . . . . . . 18
VI. Operating Sequence . . . . . . . . . . . . . . . . . . . . . . . . 18
CLEANING AND MAINTENANCE . . . . . . . . . . . . . . . . . . 19,20
I. Lubrication . . . . . . . . . . . . . . . . . . . . . . . . . . . . . . . . 19
II. Air Filters . . . . . . . . . . . . . . . . . . . . . . . . . . . . . . . . . 19
III. Clean Indoor Unit Bottom Panel. . . . . . . . . . . . . . . 20
IV. Clean Indoor Coil . . . . . . . . . . . . . . . . . . . . . . . . . . . 20
V. Clean Outdoor Coil (Outdoor Unit). . . . . . . . . . . . . 20
VI. Clean Condensate Drains . . . . . . . . . . . . . . . . . . . . 20
SERVICE . . . . . . . . . . . . . . . . . . . . . . . . . . . . . . . . . . . . . . . . 20 I. Before Calling for Service . . . . . . . . . . . . . . . . . . . . 20
FRESH AIR INSTALLATION OPTION . . . . . . . . . . . . . . . . . 20 I.
TROUBLESHOOTING. . . . . . . . . . . . . . . . . . . . . . . . . . . . 20,21
SAFETY CONSIDERATIONS
Installing and servicing
Untrained personnel can perform basic maintenance, such as cleaning and replacing filters. All other operations should be
performed by trained service personnel. When working on
Follow all safety codes. Wear safety glasses and work gloves. Use quenching cloth for brazing operations. Have fire extinguisher available. Read these instructions thoroughly. Consult local building codes and National Electrical Code (NEC) for special installation requirements.
![]() WARNING: Before installing or servicing system, always turn off main power to system. There may be more than one disconnect switch. Turn off accessory heater power if applicable. Electrical shock can cause personal injury.
WARNING: Before installing or servicing system, always turn off main power to system. There may be more than one disconnect switch. Turn off accessory heater power if applicable. Electrical shock can cause personal injury.
INSTALLATION
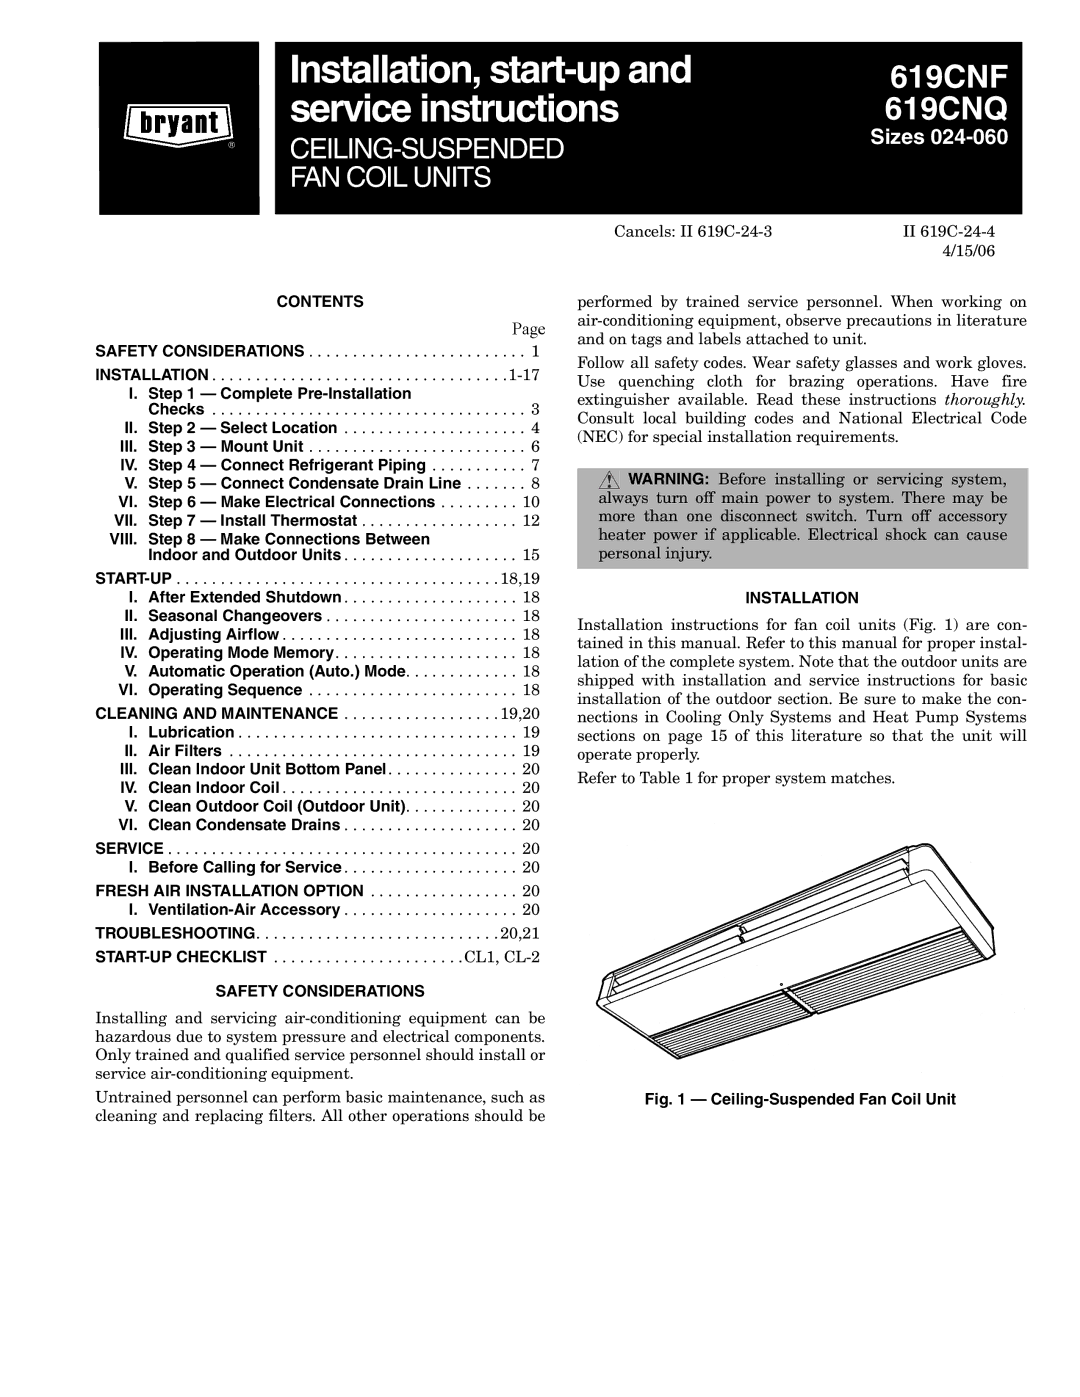
Installation instructions for fan coil units (Fig. 1) are con- tained in this manual. Refer to this manual for proper instal- lation of the complete system. Note that the outdoor units are shipped with installation and service instructions for basic installation of the outdoor section. Be sure to make the con- nections in Cooling Only Systems and Heat Pump Systems sections on page 15 of this literature so that the unit will operate properly.
Refer to Table 1 for proper system matches.
