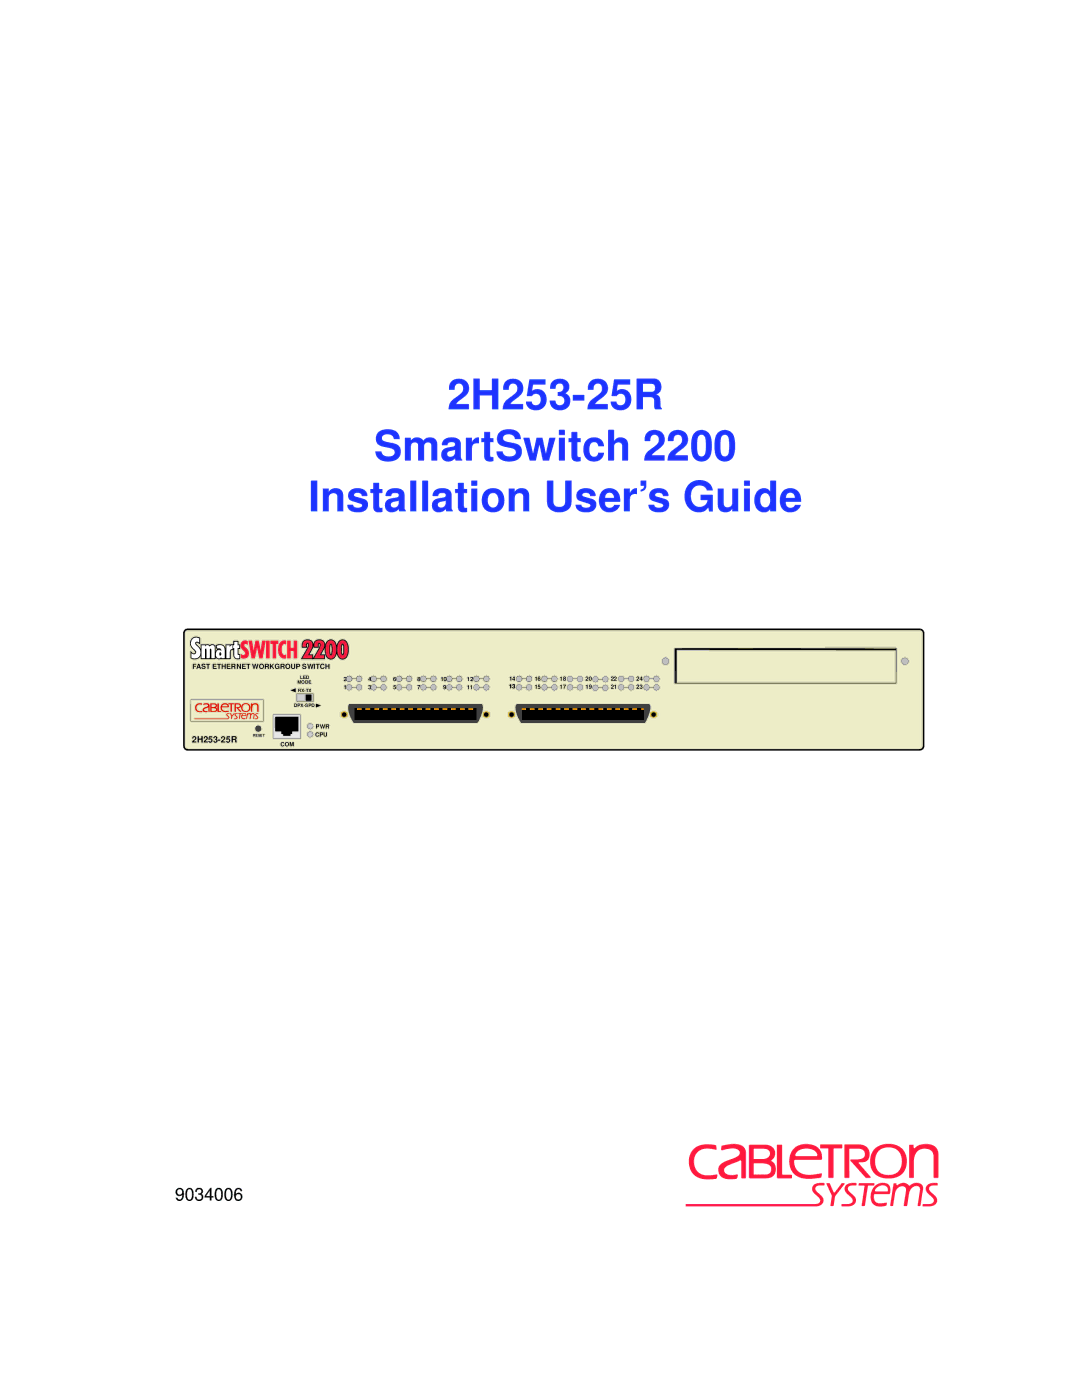
FAST ETHERNET WORKGROUP SWITCH
2H253-25R SmartSwitch Installation User’s Guide
RESET
2H253-25R
Page
Only qualified personnel should perform installation procedures
INDUSTRY CANADA NOTICE
FCC NOTICE
VCCI NOTICE
CABLETRON SYSTEMS, INC PROGRAM LICENSE AGREEMENT
Page
CABLETRON SYSTEMS SALES AND SERVICE, INC PROGRAM LICENSE AGREEMENT
7. NO LIABILITY FOR CONSEQUENTIAL DAMAGES. IN NO EVENT SHALL CABLETRON OR ITS SUPPLIERS BE LIABLE FOR ANY DAMAGES WHATSOEVER INCLUDING, WITHOUT LIMITATION, DAMAGES FOR LOSS OF BUSINESS, PROFITS, BUSINESS INTERRUPTION, LOSS OF BUSINESS INFORMATION, SPECIAL, INCIDENTAL, CONSEQUENTIAL, OR RELIANCE DAMAGES, OR OTHER LOSS ARISING OUT OF THE USE OR INABILITY TO USE THIS CABLETRON PRODUCT, EVEN IF CABLETRON HAS BEEN ADVISED OF THE POSSIBILITY OF SUCH DAMAGES. BECAUSE SOME STATES DO NOT ALLOW THE EXCLUSION OR LIMITATION OF LIABILITY FOR CONSEQUENTIAL OR INCIDENTAL DAMAGES, OR IN THE DURATION OR LIMITATION OF IMPLIED WARRANTIES IN SOME INSTANCES, THE ABOVE LIMITATION AND EXCLUSIONS MAY NOT APPLY TO YOU
CABLETRON SYSTEMS LIMITED PROGRAM LICENSE AGREEMENT
viii
If the Program is exported from the United States pursuant to the License Exception TSR under the U.S. Export Administration Regulations, in addition to the restriction on transfer set forth in Sections 1 or 2 of this Agreement, You agree not to i reexport or release the Program, the source code for the Program or technology to a national of a country in Country Groups D1 or E2 Albania, Armenia, Azerbaijan, Belarus, Bulgaria, Cambodia, Cuba, Estonia, Georgia, Iraq, Kazakhstan, Kyrgyzstan, Laos, Latvia, Libya, Lithuania, Moldova, North Korea, the People’s Republic of China, Romania, Russia, Rwanda, Tajikistan, Turkmenistan, Ukraine, Uzbekistan, Vietnam, or such other countries as may be designated by the United States Government, ii export to Country Groups D1 or E2 as defined herein the direct product of the Program or the technology, if such foreign produced direct product is subject to national security controls as identified on the U.S. Commerce Control List, or iii if the direct product of the technology is a complete plant o r any major component of a plant, export to Country Groups D1 or E2 the direct product of the plant or a major component thereof, if such foreign produced direct product is subject to national security controls as identified on the U.S. Commerce Control List or is subject to State Department controls under the U.S. Munitions List
DECLARATION OF CONFORMITY
Page
INTRODUCTION
Contents
NETWORK REQUIREMENTS
ABOUT THIS GUIDE
TROUBLESHOOTING
INSTALLATION
SPECIFICATIONS
OPTIONAL INSTALLATIONS AND MODE SWITCH BANK SETTINGS
xiii
Figures
Troubleshooting Checklist
Tables
LANVIEW LEDs
COM Port Pin Assignments
About This Guide
USING THIS GUIDE
STRUCTURE OF THIS GUIDE
Important Notice
RELATED DOCUMENTS
HSIM-W6 Installation Guide HSIM-W84 Installation Guide
Ethernet Technology Guide Cabling Guide SmartTrunk User’s Guide
WAN Series Local Management User’s Guide
The guide uses the following conventions
DOCUMENT CONVENTIONS
Page
1.1 OVERVIEW
Introduction
Important Notice
1.1.2 Auto-Negotiation
1.1.1 Connectivity
1.1.3 Runtime IP Address Discovery
1.1.4 Full Duplex Switched Ethernet
1.1.5 SmartTrunk
The 2H253-25R will reboot after RAD is successful
1.1.7 Broadcast Suppression
1.1.6 Remote Monitoring RMON
1.1.8 Port/VLAN Redirect Functions
1.1.10 Flow Control
1.1.9 Rate Limiting
1.1.14 Switching Options
1.1.11 GARP Switch Operation
1.1.12 802.1 Port Priority
1.1.13 Management
1.1.15 Optional HSIMs and VHSIMs
1.1.18 LANVIEW Diagnostic LEDs
1.1.16 Standards Compatibility
1.1.17 Year 2000 Compliant
anonymous
1.2 GETTING HELP
your email address
2.1 SmartTrunk
Network Requirements
2.2 10BASE-T NETWORK
100BASE-TX Network
2.3 100BASE-TX NETWORK
2-2 Network Requirements
3.1 UNPACKING THE DEVICE
Installation
3.3 INSTALLING THE DEVICE
3.2 INSTALLING OPTIONS
Table 3-1 Contents of 2H253-25R Carton
Guidelines for Tabletop and Shelf Installations
3.3.1 Tabletop or Shelf Installation
Installation
Guidelines for the Rackmount Installation
3.3.2 Rackmount Installation
A = 15 cm 6 in B = 57 cm 22.5 in C = 53 cm 21 in D = 213 cm 7 ft
Installation
Attaching the Strain-Relief Bracket
Rack mounting the 2H253-25R involves the following
Rack Mounting the 2H253-25R
To connect the 2H253-25R to the power sources, proceed as follows
3.3.3 Connecting Power
3.4 CONNECTING TO THE NETWORK
Transmit TX
Figure 3-6 Straight Cable Connection
3.5 COMPLETING THE INSTALLATION
4.1 USING LANVIEW
Troubleshooting
Device electronics not
Table 4-1 LANVIEW LEDs Cont’d
Should flash green every two
Refer to the SmartSwitch Series
4.2 TROUBLESHOOTING CHECKLIST
1. Refer to the SmartSwitch Series
2E253, 2H252, 2H253, and 2H258
2H258 Local Management User’s
Series 2E253, 2H252, 2H253, and
Refer to the SmartSwitch Series
2E253, 2H252, 2H253, and 2H258
sometime before either cycling
NVRAM Reset, was changed
Figure 4-2 RESET Button
4.3 USING THE RESET BUTTON
Specifications
A.1 DEVICE SPECIFICATIONS
A.2 PHYSICAL PROPERTIES
A.4 ENVIRONMENTAL REQUIREMENTS
A.3 ELECTRICAL SPECIFICATIONS
A.5 INPUT/OUTPUT PORTS
200-240 Vac
A.7 REGULATORY COMPLIANCE
A.6 COM PORT PINOUT ASSIGNMENTS
FCC Part 15, CSA C108.8, 89/336/EEC, EN
Page
B.1 REQUIRED TOOLS
Optional Installations and Mode Switch Bank Settings
This section describes how to remove the 2H253-25R chassis cover
B.2 REMOVING THE CHASSIS COVER
B-2 Optional Installations and Mode Switch Bank Settings
Removing the Chassis Cover
To remove the chassis cover, proceed as follows
Removing the Chassis Cover
B-4 Optional Installations and Mode Switch Bank Settings
Screws Chassis Cover Front Panel Chassis
Figure B-1 Removing the Chassis Cover
B.3 SETTING THE MODE SWITCHES
SIMM Upgrade
B.4 SIMM UPGRADE
B-6 Optional Installations and Mode Switch Bank Settings
B.4.1 Locating SIMMs
B.4.2 Installing the DRAM SIMM
Connector Connector Teeth Clip Side Notch
SIMM Upgrade
Figure B-4 Installing the DRAM
B-8 Optional Installations and Mode Switch Bank Settings
Installing Optional HSIM or VHSIM Interface Modules
B.5 INSTALLING OPTIONAL HSIM OR VHSIM INTERFACE MODULES
Figure B-5 HSIM and VHSIM Connector Locations
Optional Installations and Mode Switch Bank Settings
Page
Numerics
Index
Index-2
Index