Chapter 4: Installation
Rack Mounting the SEH
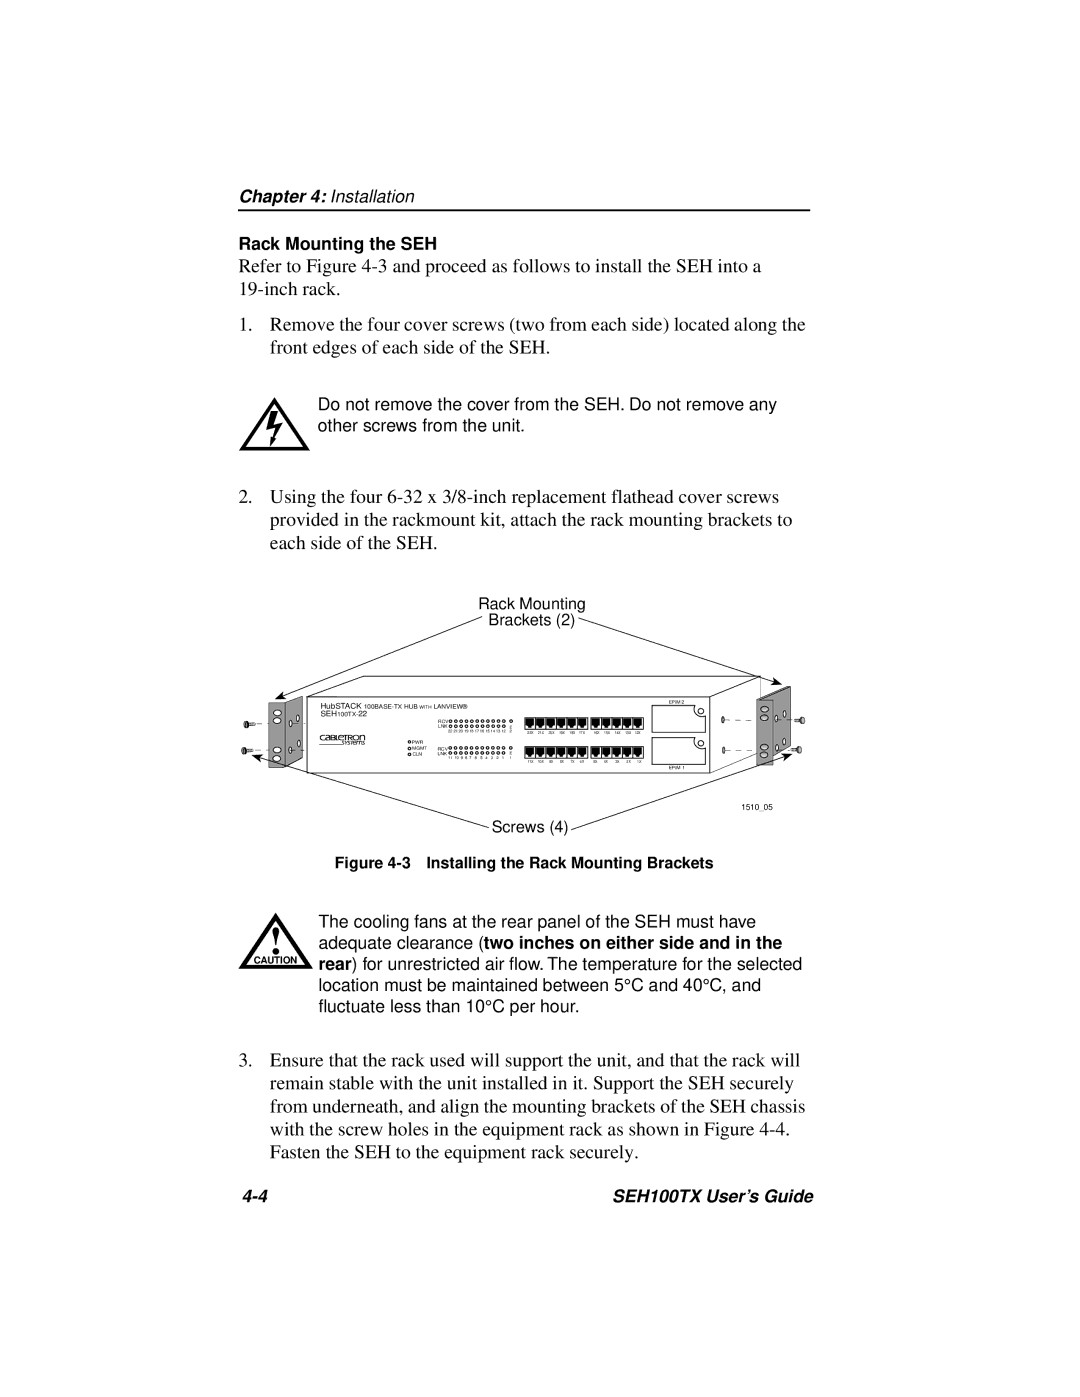
Refer to Figure
1.Remove the four cover screws (two from each side) located along the front edges of each side of the SEH.
Do not remove the cover from the SEH. Do not remove any other screws from the unit.
2.Using the four
Rack Mounting
Brackets (2)
HubSTACK 100BASE-TX HUB WITH LANVIEW® SEH100TX-22
| RCV |
|
|
|
|
|
|
|
| LNK |
|
|
|
|
|
| E |
| 22 21 20 19 18 17 16 15 14 13 12 | 2 | ||||||
PWR |
|
|
|
|
|
|
|
|
MGMT | RCV |
|
|
|
|
|
|
|
CLN | LNK |
|
|
|
|
|
| E |
| 11 10 9 8 7 | 6 | 5 | 4 | 3 | 2 | 1 | 1 |
EPIM 2
|
|
|
|
|
|
|
|
|
|
|
|
|
|
|
|
|
|
|
|
|
|
22X | 21X | 20X | 19X | 18X | 17X | 16X | 15X | 14X | 13X | 12X |
|
|
|
|
|
|
|
|
|
|
|
|
|
|
|
|
|
|
|
|
|
|
|
|
|
|
|
|
|
|
|
|
|
11X | 10X | 9X | 8X | 7X | 6X | 5X | 4X | 3X | 2X | 1X |
EPIM 1
1510_05
Screws (4)
Figure 4-3 Installing the Rack Mounting Brackets
The cooling fans at the rear panel of the SEH must have
!adequate clearance (two inches on either side and in the
CAUTION | rear) for unrestricted air flow. The temperature for the selected |
| |
| location must be maintained between 5°C and 40°C, and |
| fluctuate less than 10°C per hour. |
3.Ensure that the rack used will support the unit, and that the rack will remain stable with the unit installed in it. Support the SEH securely from underneath, and align the mounting brackets of the SEH chassis with the screw holes in the equipment rack as shown in Figure
SEH100TX User’s Guide |