3. Projecting an Image (Basic Operation)
❺Automatically Optimizing on RGB Image
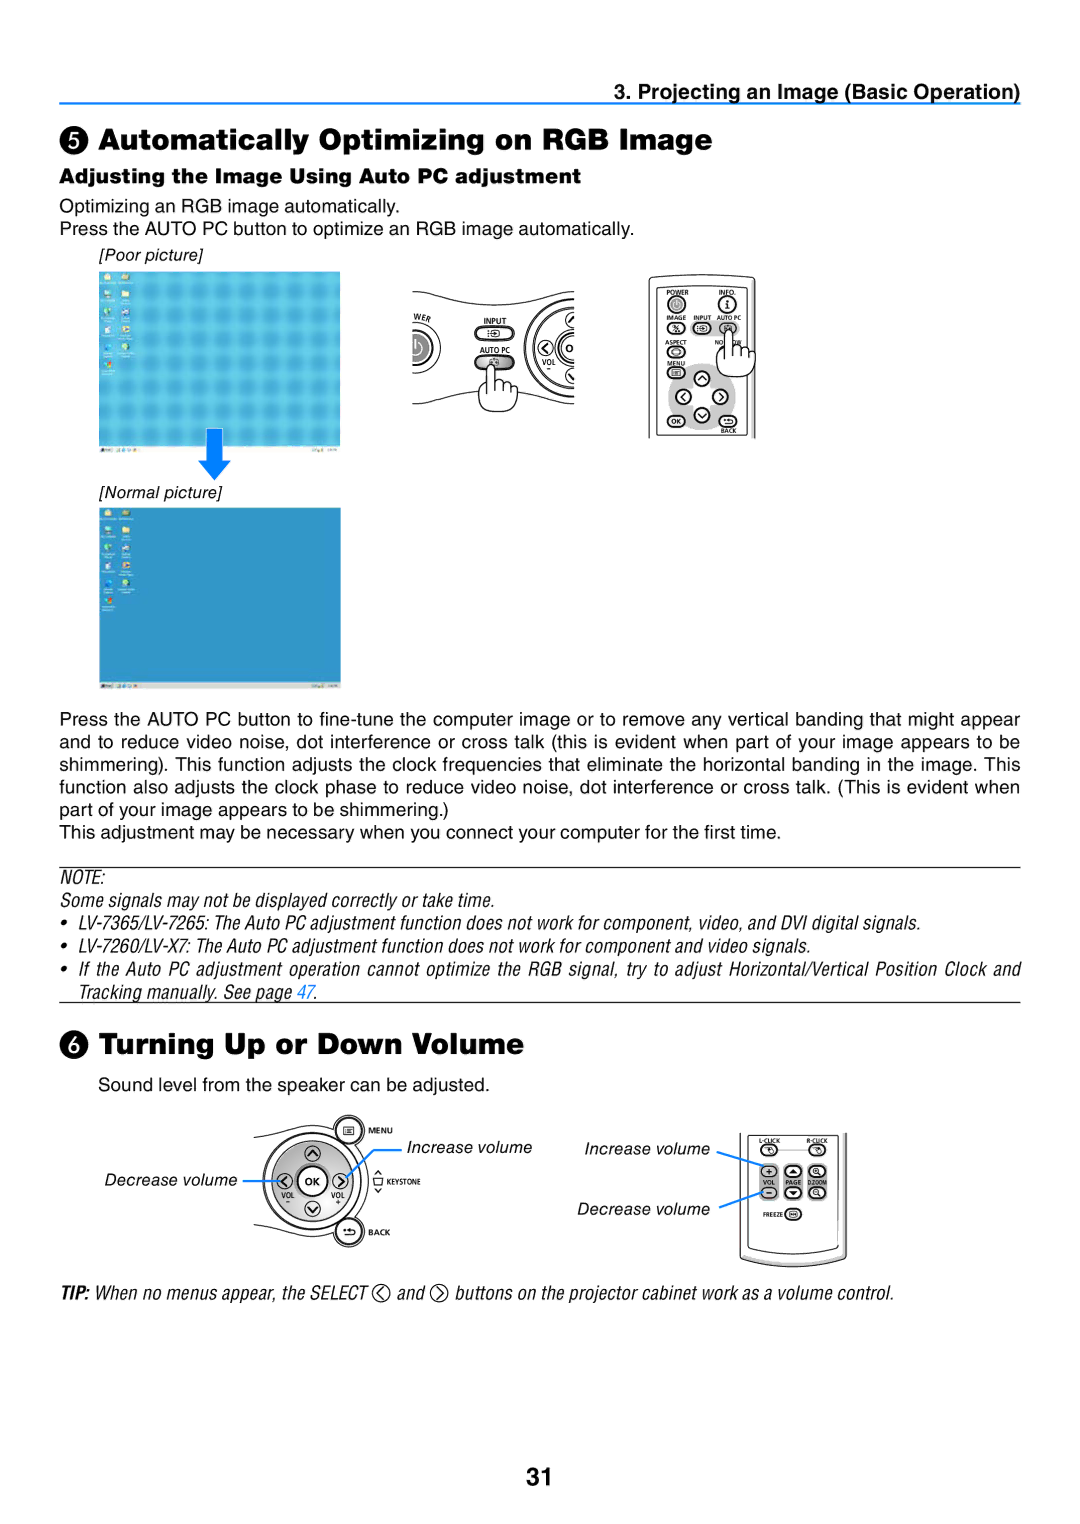
Adjusting the Image Using Auto PC adjustment
Optimizing an RGB image automatically.
Press the AUTO PC button to optimize an RGB image automatically.
[Poor picture]
O
WER
| POWER | INFO. |
INPUT | IMAGE | INPUT AUTO PC |
|
| |
AUTO PC | ASPECT | NO SHOW |
|
| |
VOL | MENU |
|
- |
|
|
BACK
[Normal picture]
Press the AUTO PC button to
This adjustment may be necessary when you connect your computer for the first time.
NOTE:
Some signals may not be displayed correctly or take time.
•
•
•If the Auto PC adjustment operation cannot optimize the RGB signal, try to adjust Horizontal/Vertical Position Clock and Tracking manually. See page 47.
❻Turning Up or Down Volume
Sound level from the speaker can be adjusted.
MENU
Increase volume | Increase volume |
Decrease volume | KEYSTONE |
VOL | VOL |
|
- | + | Decrease volume |
|
| |
|
| BACK |
VOL PAGE D.ZOOM
FREEZE![]()
TIP: When no menus appear, the SELECT ![]() and
and ![]() buttons on the projector cabinet work as a volume control.
buttons on the projector cabinet work as a volume control.
31