Main
Checking the Package Contents
Using the Manuals
Also refer to the manuals on the DIGITAL CAMERA Manuals Disk.
Read This First
Test Shots and Disclaimer
Warning Against Copyright Infringement
Warranty Limitations
LCD Monitor
Page
Page
Table of Contents
1
2
3
Conditions and Commonly Used Functions...................... 53
4
5
Camera.......................... 77
10
6
for Shooting Movies.....85
Conventions Used in This Guide
Safety Precautions
Camera
Warning Caution Caution
Warning
Battery and Battery Charger
Caution
Caution
Page
Getting Started
Attaching the Strap/Holding the Camera
Charging the Battery
1 2
3
4
Approximate Number of Shots That Can Be Taken
Battery Charge Indicator
An icon or message will appear on the screen indicating the batterys charge state.
Using the battery and charger effectively
Compatible Memory Cards (Sold Separately)
1
2
3
4
5
Removing the Battery and Memory Card
Approximate Number of Shots per Memory Card
Can you check the number of shots that can be taken?
Setting the Date and Time
1
2
3
Reappearing Date/Time screen
Daylight saving time settings
1
2
3
Date/Time battery
Page
Formatting Memory Cards
2
3
Pressing the Shutter Button
1
2
Taking Pictures (Smart Auto)
1
2
3
4
5
Scene Icons
What if...
Viewing Images
You can view the images you have taken on the screen.
Switching to Shooting mode
Erasing Images
2
3
Shooting in Easy Mode
1
Turning Off the Flash
Viewing or Erasing in Easy Mode
Viewing Single Images
Viewing Slideshows
2
Page
5
Estimated Shooting Times
Magnifying the subject while shooting
Viewing Movies
2
3
Transferring Images to a Computer for Viewing
Macintosh
System Requirements
Windows
Preparations
1
2
computer.
3
4
Windows
Transfer and View Images
Accessories
Supplied with Camera
Separately Sold Accessories
Power Supplies
Flash
Using accessories abroad
Printers
Page
Components Guide
Mode Dial
Use the mode dial to change the Shooting mode.
If you turn the mode dial while in Playback mode, the camera will switch to Shooting mode.
Indicator
Screen Display
Switching the Display
Shooting
Playback
Screen Display in Dark Shooting Conditions
Power Saving Function (Auto Power Down)
Power Saving during Shooting
Power Saving during Playback
FUNC. Menu Basic Operations
1
2
3
4
5
Page
Changing the Sound Settings
Muting Sounds
2
Adjusting the Volume
3
Changing the Screen Brightness
The screen brightness can be changed in two ways.
2
3
Using the l Button
Returning the Camera to Default Settings
2
3
Low Level Memory Card Formatting
2
3
Clock Functions
You can check the current time.
About low level formatting
Page
Shooting in Various Conditions
1
Shooting in Special Scenes
2
Page
Adding Effects and Shooting
Turning the Flash Off
1 2
Zooming in Closely on Subjects (Digital Zoom)
1
2
What if the zoom factor appears in blue?
Turning off the digital zoom
Digital Tele-Converter
1
2
What if the zoom factor appears in blue?
Inserting the Date and Time
1
2
Using the Self-Timer
1 2
Using the Face Self-Timer
1
2
3
4
Page
Choosing Settings Yourself
Shooting in Program AE
1 2
Adjusting the Brightness (Exposure Compensation)
1
2
Turning the Flash On
Choose h.
Shooting Close-ups (Macro)
Choose e.
How can I take better close-ups?
1
Changing the Compression Ratio (Image Quality)
1
setting.
After pressing the m button, press the op buttons to choose , then press the l button.
Approximate Values for Recording Pixels and Compression Ratio
Approximate Values for Paper Size
Suitable for sending images as e-mail attachments. For printing on wide size paper.
Changing the ISO Speed
1
Changing the ISO speed
Adjusting the White Balance
1
function.
Custom White Balance
Changing the Tone of an Image (My Colors)
You can change the tone of an image to sepia or black and white when shooting.
1
Custom Color
Continuous Shooting
1
Shooting Using the Two Second Self- Timer
Choose .
Customizing the Self-Timer
You can set the time delay (0 30 seconds) and the number of shots (1 10 shots).
2
What if the number of shots is set to two or more shots?
Shooting Using a TV Monitor
Changing the Composition with the Focus Lock
1
2
Page
Changing the AF Frame Mode
Choose [AF Frame].
Face AiAF
Center
Magnifying the Focal Point
1
2
You can reduce the AF frame size
What if the display does not magnify?
Choosing the Person to Focus On (Face Select)
1
2
focus.
Confirming the number of detected faces
Shooting with the AF Lock
1
2
Changing the Metering Mode
You can change the Metering mode (brightness measuring function) to match the shooting conditions.
1
Shooting with the AE Lock
2
3
Shooting with the FE Lock
1 2
Shooting with Slow Synchro
1
Red-Eye Correction
2
Shooting Long Exposures
1
2
3
Page
Changing the Image Quality
You can choose between three image quality settings.
1
After pressing the m button, press the op buttons to choose .
Image Quality Table
Estimated Shooting Time
AE Lock/Exposure Shift
2
3
4
Other Shooting Functions
The following functions can be used in the same way as for still images.
Playback Functions
The following functions can be used in the same way as for still images.
Summary of Movie Control Panel in Viewing Movies (p. 33)
Editing
You can trim the beginnings and ends of recorded movies in one-second increments.
1
2
3
4
Page
Quickly Searching Images
Searching Images Using Index Display
Displaying multiple images at a time lets you quickly find the image you want.
1
Searching Images by Scrolling
Searching from a large number of images
Searching for Images Using the Jump Display
2
Viewing Slideshows
You can automatically play back images recorded to a memory card.
1
2
3
Checking the Focus
1
2
3
Magnifying Images
Press the zoom button toward k.
Changing Image Transitions
You can choose from two transition effects when switching between images in Single Image Playback.
Choose [Transition].
1 2
3
4
Protecting Images
1
2
Page
3
4
Choose All Images
1
2
1
2
3
1
2
1
2
1
2
Tagging Images as Favorites
1
3
Organizing Images by Category (My Category)
1
2
3
1
2
Rotating Images
You can change the orientation of an image and save it.
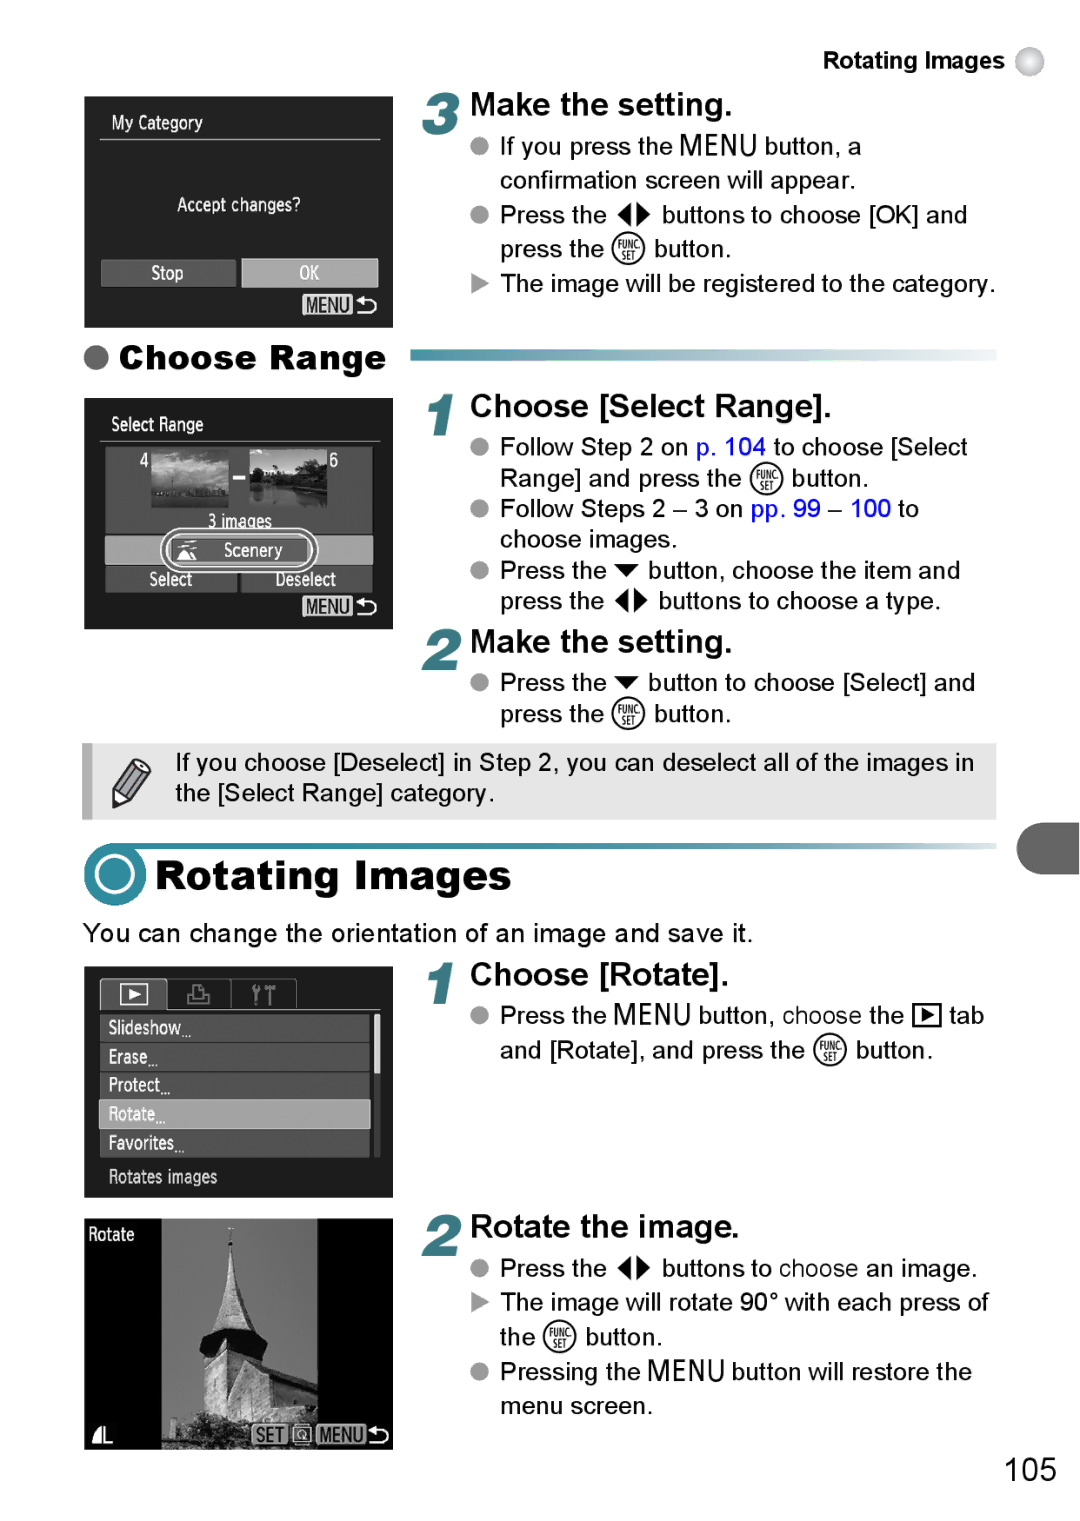
1
3
4
5
Trimming
1
3
4
Correcting the Red-Eye Effect
You can automatically correct red eyes in images and save them as new files.
1
3
4
Page
Page
6
Choosing Images for Printing (DPOF)
Print Settings
1
2
Choosing the Number of Copies
1
3
Choose Range
1
2
Page
Page
Changing Camera Settings
Turning off Hints & Tips
Change Sounds
Changing the Start-up Screen
You can change the start-up image that appears on the screen when you turn on the camera.
Registering the Start-up Screen
Register images or sounds with the included software
Turning Off the Start-up Image
You can turn off the start-up image that displays when you turn on the camera.
Changing the File Number Assignment
Creating Folders by Shooting Date
Changing the Lens Retract Time
Turning off the Power Saving Function
Setting the Screen Shut-Off Time
Using the World Clock
1
2
3
Changing Shooting Function Settings
Turning off the AF Assist Beam
Turning Off the Red-Eye Reduction Function
Changing the Image Display Time Right After Shooting
You can change the length of time the images display after shooting.
Changing the Way the Image Displays Right After Shooting
You can change the way the image displays after shooting.
Displaying the Overlay
Changing the IS-Mode Settings
Changing Playback Function Settings
Page
Using Household Power
1
2
3
Troubleshooting
Power
TV output
Shooting
Page
Shooting movies
Playback
Computer
List of Messages That Appear on the Screen
Page
Information Displayed on the Screen
Shooting (Information Display)
Playback (Detailed Information Display)
Functions Available in Each Shooting Mode
Page
Menus
4 Shooting Menu
Page
3 Set up Menu
1 Playback Menu
2 Print Menu
Specifications
Specifications
Specifications
Battery Pack NB-8L
Battery Charger CB-2LA/2LAE
Handling Precautions
Index
Numerics
A
B
C
G
H
I
K
L
R
S
T
V
W
Disclaimer